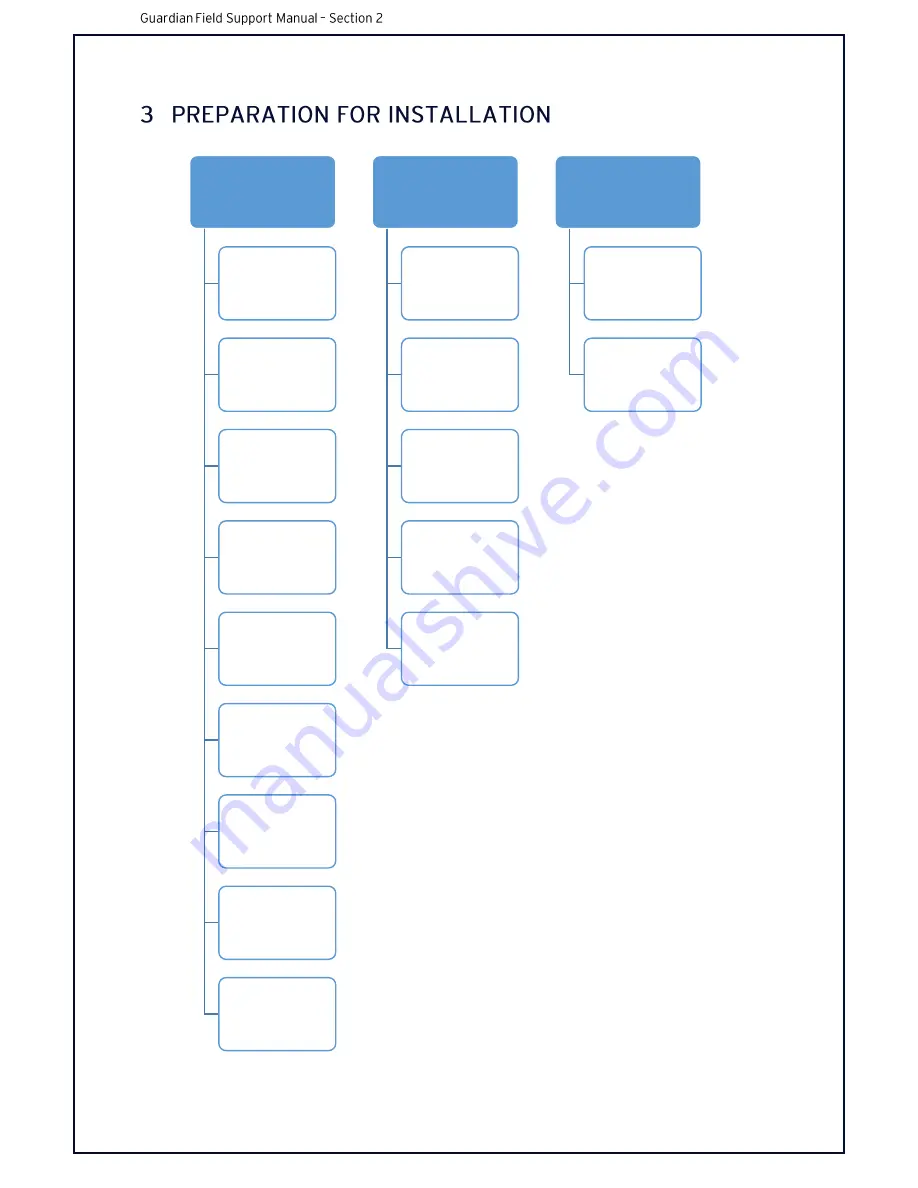
This chart shows an overview of the steps required to successfully complete an installation
Pre-Install
Call Site before arrival
•
SIM Cards
•
SIM Cards are activated
•
Arrival time
•
opening hours
•
MORE THINGS
Safety Requirements
•
Make sure all site safety rules are followed
before starting on the vehicle.
•
Ensure you have all Persional Protection
Equipment (PPE)
•
Ensure all site inductions are performed prior
to arrival
SIM Card Collection
•
Pickup SIM cards from the installation site
contact
•
Nano SIM cards are required
Pre-installation Photos
•
For insurance reasons photos should be
taken inside the vehicle before installation.
•
This will provide evidence for any insurance
claims.
Installer Kit
•
Security T20 Key
•
24/7 Support Contact Card
•
USB to Ethernet adapter
•
Ethernet Cable
•
USB Recovery Dongle
Customer Configuration
•
Ensure you have called 24/7 Support or have
been given the latest Configuration file for
your site and customer settings.
Package & Contents
•
Check Packaging to make sure you have all
required parts to complete your installation.
•
Check if you are installing Optional Extras or
not this is described on the Job Card.
Paperwork - Checklist / Job card
•
Fill in the information requested on this
document before commencing the
installation.
Installation Requirements
•
Check against the Job Card if you have been
provided one, to see if there are any special
installation requests including Hard or Soft
Installation.
During
Install
Installation of Hardware
•
Complete the installation of the system into
the vehicle shown over this document
Section.
Setup of Software
•
Using your Recovery Dongle update the
system to the latest version.
•
Run through the IVS Wizard.
System Checks & Configuration
•
Confirm all installed components are
reporting to the IVS interface.
•
Run the "System Test" button.
•
Confirm the video is in the correct position
and perform a sleep event at the high and
low seat position.
Call Support
•
After you have completed the installation
and software.
•
Have your checklist or job card handy.
•
Call 24/7 Support stating your name as a
certified technician to activate the vehicle.
Photo Evidence of installation
•
Take photos of each component installed for
evidence of a quality install.
Post Install
Submit Paperwork
•
After the System Activation an email will be
sent to your email address.
•
scan or photograph the paperwork.
•
or submit the infomation digitally.
•
by replying to the vehicles email.
•
or submit a ticket stating the Job Card
number.
Store Photos
•
Archive photos for Seeing Machines to recall
if needed.
Summary of Contents for Guardian Gen 2
Page 1: ...FIELD SUPPORT MANUAL Guardian Generation 2 Gen2 ...
Page 7: ...FIELD SUPPORT MANUAL Section 1 Introduction to Guardian Gen 2 2 ...
Page 32: ......
Page 35: ...T ...
Page 53: ...4 2 COMPONENT INTERCONNECTIONS ...
Page 77: ...4 5 SUMMARY OF INSTALLATION PROCESS o ...
Page 83: ......
Page 84: ...Table of Contents 3 4 6 9 10 11 12 ...
Page 85: ......
Page 86: ...2 1 PREVENTATIVE MAINTENANCE ...
Page 87: ......
Page 88: ...3 1 Self Checks during boot up ...
Page 89: ... 3 2 System Test Mode ...
Page 90: ... ...
Page 91: ......
Page 92: ......
Page 93: ......
Page 94: ...7 1 Blackbox Overview ...
Page 95: ...7 2 Copying Blackbox Data from the unit ...
Page 96: ......
Page 97: ......
Page 98: ......
Page 99: ......
Page 100: ...7 3 Delivering Blackbox Data to 24 7 Support ...
Page 101: ......


