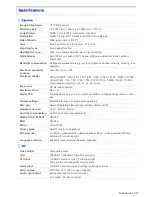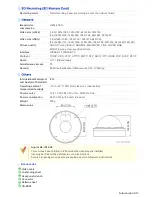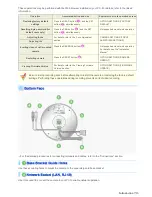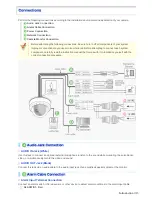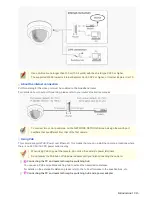
To remove the cover, remove the three screws using the supplied hex wrench.
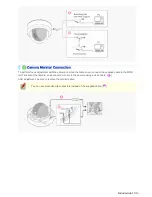
Connecting the camera and monitor using the supplied cable enables you to perform focus and iris adjustments
while monitoring the live video.
For details, see the “Connections” section.
You can use crocodile clip connectors instead of the supplied cable.
This cover protects the lens assembly.
Use this slot to install an SD memory card (a type of SD card containing an SLC chip) for backup purposes.
This enables alarm video, backup video in the event of network failures, log information, and other data to be
stored with the camera.
You can format the SD memory card via network operation on the SD MEMORY CARD screen.
The LED indicator will blink if an error occurs on the SD memory card.
1
How to insert the SD card
Loosen the two screws, lift the circuit board in the direction of the arrow, insert the SD memory card with the
labeled side upward, and push until it clicks.
2
How to remove the SD card
Make sure the camera is powered off before removing the SD card.
Push the SD card a bit further into the slot to eject it.
Introduction 5/16


