Click
SECURITY
in the configuration menu to display the SECURITY SETTINGS screen.
Configuring the security function on this screen enables you to restrict the PCs that can access the camera.
Required operation privilege: admin, operator1
1
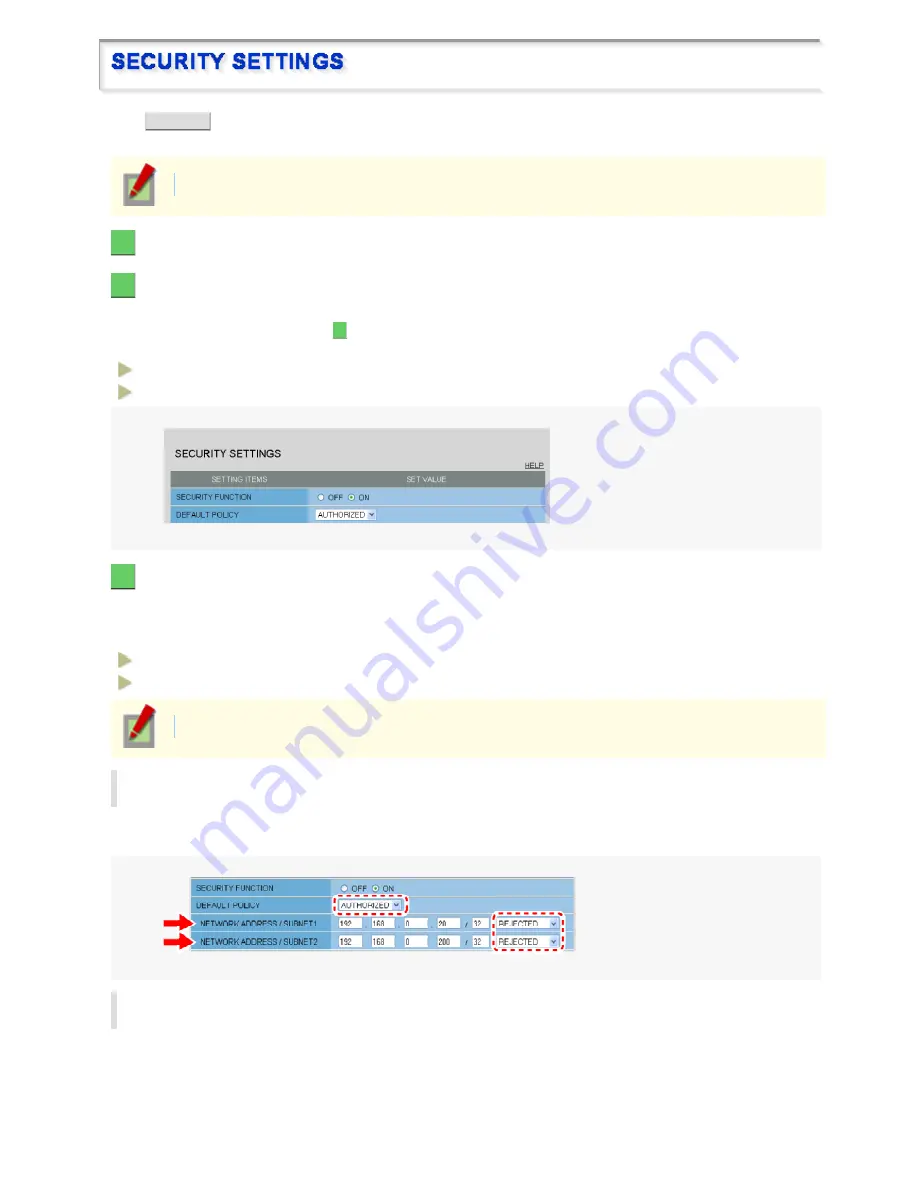
In [SECURITY FUNCTION], select “ON”.
2
In [DEFAULT POLICY], select the global access policy.
Here, you specify the access policy for all PCs, except for those for which you configure the access settings in
[NETWORK ADDRESS/SUBNET] (
3
).
<Global access policy>
AUTHORIZED
: Permits access to the camera.
REJECTED
: Rejects access to the camera.
3
In [NETWORK ADDRESS/SUBNET], configure the access settings for individual PCs.
Type the IP address and the subnet mask of each PC and specify whether or not to grant it access to the camera.
You can configure the access settings for up to 10 PCs.
<Individual access policy>
AUTHORIZED
: Permits access to the camera.
REJECTED
: Rejects access to the camera.
If there are duplicate address/subnet mask settings, one in the uppermost row is valid.
Example 1: When the global access policy (DEFAULT POLICY) is set to “AUTHORIZED” and
the individual access policy is set to “REJECTED”
The PCs configured in [NETWORK ADDRESS/SUBNET 1] and [NETWORK ADDRESS/SUBNET 2] cannot
access the camera because their individual access policy is “REJECTED”.
Example 2: When the global access policy (DEFAULT POLICY) is set to “REJECTED” and the
individual access policy is set to “AUTHORIZED” ...
The PCs configured in [NETWORK ADDRESS/SUBNET 1] and [NETWORK ADDRESS/SUBNET 2] can access
the camera because their individual access policy is “AUTHORIZED”.
Working with Administrator Configuration Screens 59/66


