I
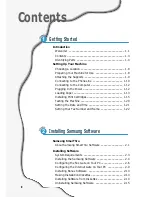
Introduction
Welcome!
–––––––––––––––––––––––––––––––––––––––––
1.1
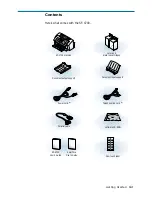
Contents
––––––––––––––––––––––––––––––––––––––––––
1.3
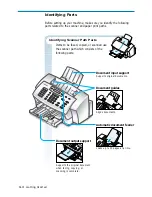
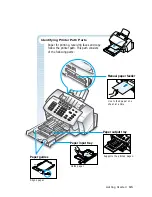
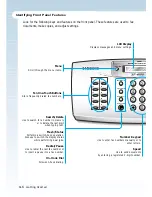
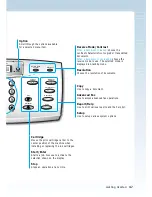
Identifying Parts
–––––––––––––––––––––––––––––––––––
1.4
Setting Up Your Machine
Choosing a Location
––––––––––––––––––––––––––––––––
1.8
Preparing Your Machine for Use
–––––––––––––––––––––
1.8
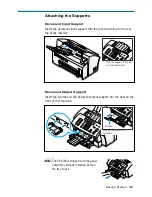
Attaching the Supports
–––––––––––––––––––––––––––––
1.9
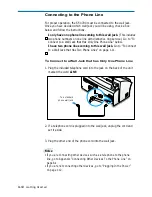
Connecting to the Phone Line
––––––––––––––––––––––
1.10
Connecting to the Computer
–––––––––––––––––––––––
1.12
Plugging In the Power
–––––––––––––––––––––––––––––
1.12
Loading Paper
––––––––––––––––––––––––––––––––––––
1.13
Installing Print Cartridges
––––––––––––––––––––––––––
1.15
Testing the Machine
–––––––––––––––––––––––––––––––
1.20
Setting the Date and Time
–––––––––––––––––––––––––
1.21
Setting Your Fax Number and Name
––––––––––––––––
1.22
Contents
Getting Started
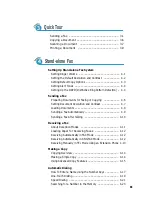
Samsung SmarThru
About Samsung SmarThru Software
–––––––––––––––––
2.1
Installing Software
System Requirements
––––––––––––––––––––––––––––––
2.3
Installing the Samsung Software
––––––––––––––––––––
2.4
Configuring the Fax Gate on Your PC
–––––––––––––––––
2.6
Configuring the Internet Gate on Your PC
––––––––––––
2.9
Installing Bonus Software
–––––––––––––––––––––––––
2.13
Making Installation Diskettes
–––––––––––––––––––––––
2.13
Installing Software from Diskettes
––––––––––––––––––
2.14
Uninstalling Samsung Software
––––––––––––––––––––
2.15
1
2
Installing Samsung Software

