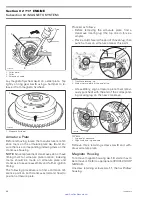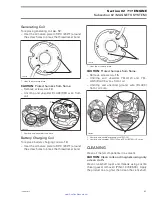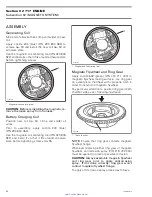
Section 01 ENGINE MEASUREMENT
Subsection 01 (MEASUREMENT PROCEDURES)
NOTE:
Ring/piston groove clearance can be cor-
rectly measured only on rectangular ring which is
bottom ring.
A35C31A
TYPICAL
RING END GAP
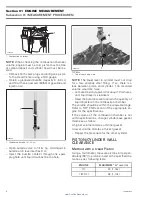
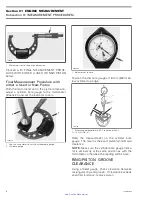
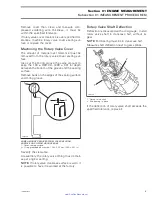
Position ring halfway between exhaust port and
top of cylinder.
NOTE:
In order to correctly position ring in cylin-
der, use piston as a pusher.
Using a feeler gauge, check ring end gap. If gap
exceeds specified tolerance, rings should be re-
placed.
F01D0OA
1
2
1. Top of cylinder
2. Ring end gap
CRANKSHAFT (ASSEMBLED
ENGINE)
The following checks can be performed with en-
gine in watercraft without overhauling engine.
Crankshaft Alignment at Center
Main Journal
Since it is an assembled crankshaft it can become
misaligned or deflected. Crankshaft can be twist-
ed on center main journal, changing timing of one
cylinder in relation with the other.
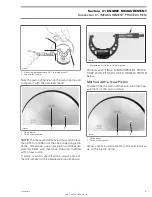
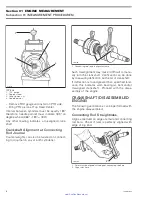
F01D1NA
1
1. Main journal alignment here
To accurately check if crankshaft is twisted on cen-
ter main journal, proceed as follows:
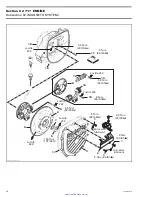
– Remove magneto housing cover.
– Remove flywheel nut and magneto roto. Refer
to MAGNETO SYSTEM for procedures.
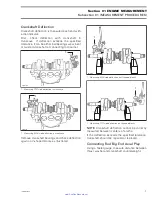
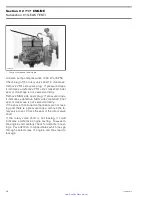
– Install the degree wheel (P/N 529 035 607) on
crankshaft end. Hand-tighten nut only.
– Remove both spark plugs.
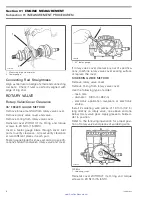
– Install a TDC gauge in spark plug hole on MAG
side.
– Bring MAG piston at Top Dead Center.
– As a needle pointer, secure a wire with a cover
screw and a washer.
– Rotate degree wheel (NOT crankshaft) so that
needle pointer reads 360°.
smr2005-085
5
www.SeaDooManuals.net


