Section 03 787 RFI ENGINE
Subsection 04 (BOTTOM END)
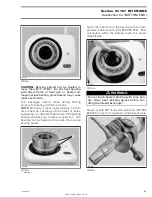
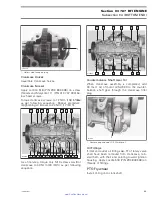
F00D0UA
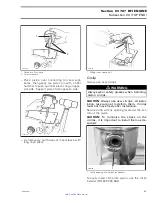
1
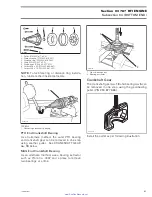
1. Gear notch aligned with the crankcase
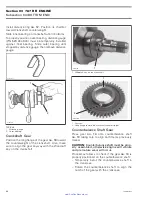
– The notch of the couterweight on the opposite
end of the counterbalance shaft must also be
aligned with the cranckcase.
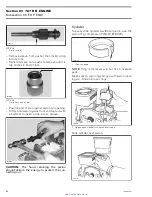
F00D0VA
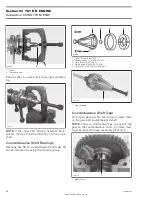
1
1. Counterweight notch aligned with the crankcase
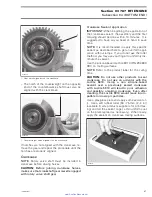
If notches are not aligned with the crankcase, re-
move the gear and repeat the procedure until the
notches are properly aligned.
Crankcase
NOTE:
Rotary valve shaft must be installed in
crankcase before closing halves.
CAUTION:
Before joining crankcase halves,
make sure that crankshaft gear is well engaged
with rotary valve shaft gear.
Crankcase Sealant Application
IMPORTANT:
When beginning the application of
the crankcase sealant, the assembly and the first
torquing should be done within 10 minutes. It is
suggested to have all you need on hand to save
time.
NOTE:
It is recommended to apply this specific
sealant as described here to get an uniform appli-
cation without lumps. If you do not use the roller
method, you may use your finger to uniformly dis-
tribute the sealant.
Use the silicone-based Loctite 5910 (P/N 293 800
081) on mating surfaces.
NOTE:
Refer to the product label for the curing
time.
CAUTION:
Do not use other products to seal
crankcase. Do not use an activator with the
Loctite 5910.
Using a non silicone-based
sealant over a previously sealed crankcase
with Loctite 5910 will lead to poor adhesion
and possibly a leaking crankcase. Even after
cleaning, the Loctite 5910 would leave incom-
patible microscopic particles.
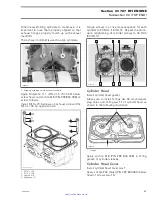
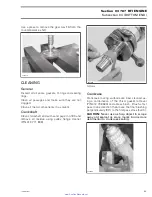
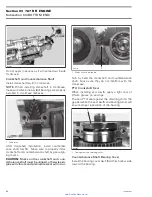
Use a plexiglass plate and apply some sealant on
it. Use a soft rubber roller (50 - 75 mm (2 - 3 in))
(available in arts products suppliers for printmak-
ing) and roll the sealant to get a thin uniform coat
on the plate (spread as necessary). When ready,
apply the sealant on crankcase mating surfaces.
F12R17A
smr2005-083
97
www.SeaDooManuals.net

