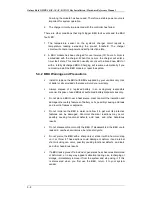
Galaxy Raid GHDX4 SAS<>SAS/ SATA 12Bay
Installation / Hardware Reference Manual
5-18
Step 6.
Place the replacement drive into the drive tray
, making sure
that the interface connector is facing the open side of the drive
tray, and the label side facing up.
Step 7.
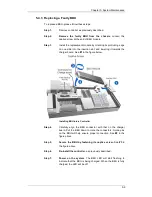
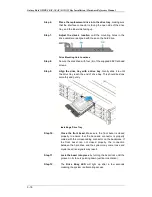
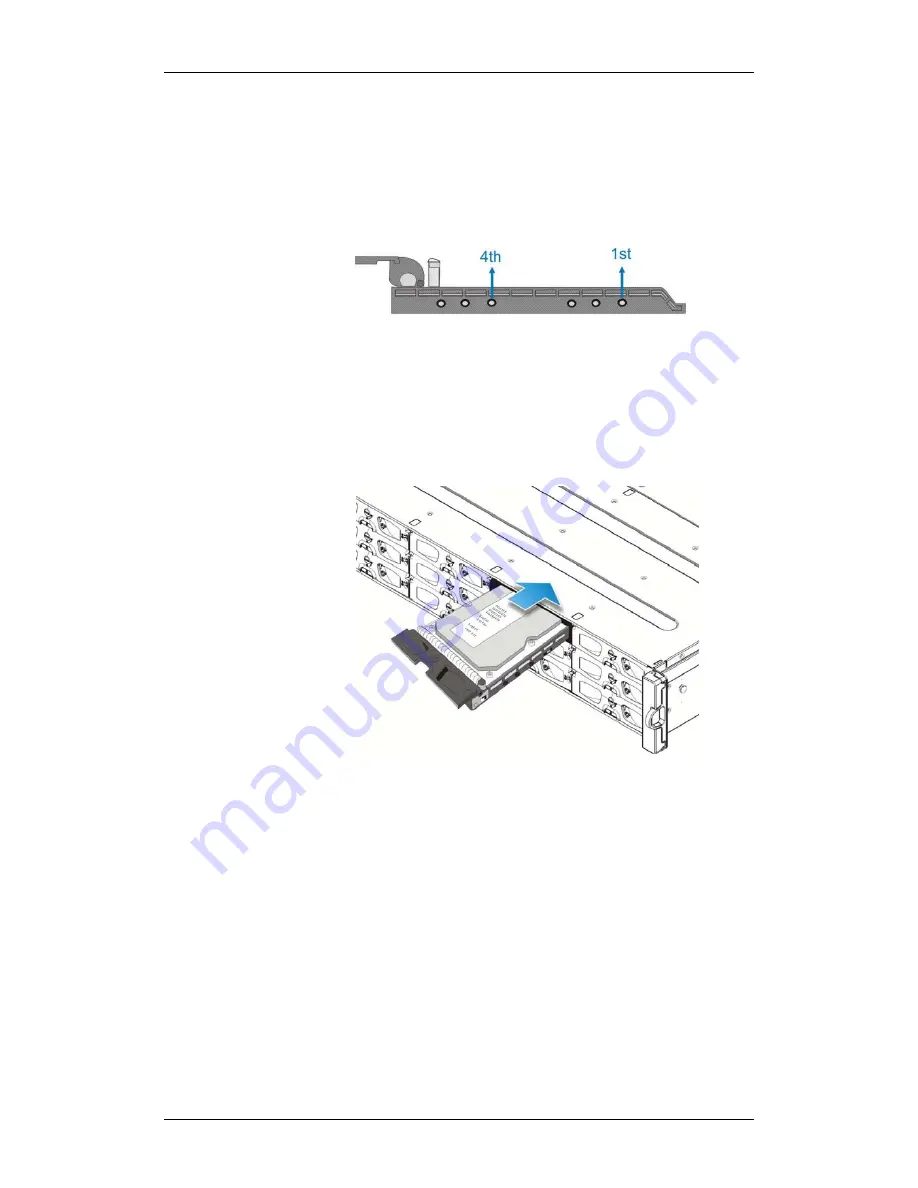
Adjust the drive’s location
until the mounting holes in the
drive canister are aligned with those on the hard drive.
Drive Mounting Hole Locations
Step 8.
Secure the disk drive with four (4) of the supplied 6/32 flat-head
screws.
Step 9.
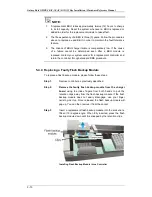
Align the drive tray with a drive bay
. Gently slide it in until
the drive tray reach the end of drive bay. This should be done
smoothly and gently.
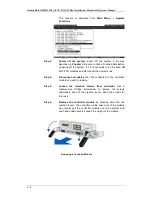
Installing a Drive Tray
Step 10.
Close the front bezel
. Make sure the front bezel is closed
properly to ensure that the back-end connector is properly
mated with the corresponding connector on the backplane. If
the front bezel can not closed properly, the connection
between the hard drive and the system may come loose and
mysterious drive signals may result.
Step 11.
Lock the bezel into place
by turning the bezel lock until the
groove on its face is pointing down (vertical orientation).
Step 12.
The
Drive Busy LED
will light up after a few seconds
meaning the system is attempting access.

