Chapter 5: System Maintenance
5-7
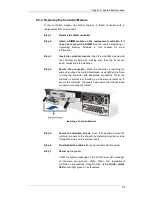
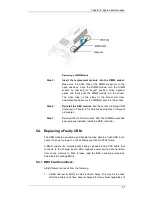
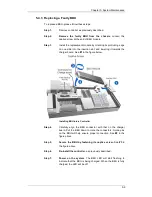
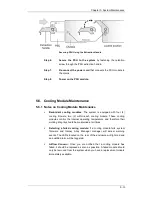
Removing a DIMM Module
Step 5.
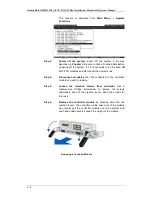
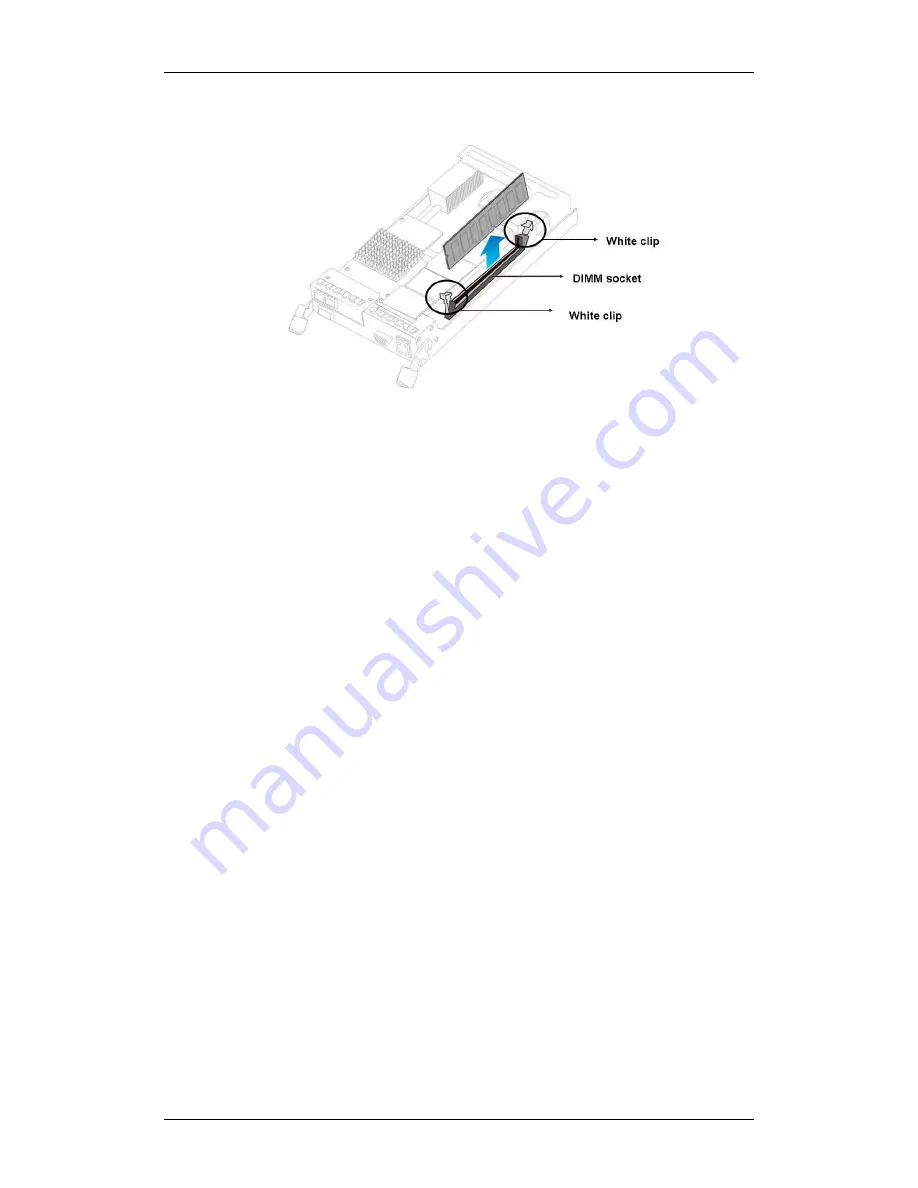
Insert the replacement module into the DIMM socket
.
Make sure the white clips of the DIMM socket are in the
open positions. Align the DIMM module with the DIMM
socket by checking its “keyed” position. Once aligned,
gently and firmly push the DIMM module into the socket.
The white clips on the sides of the socket will close
automatically and secure the DIMM module into the socket.
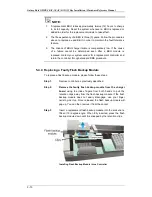
Step 6.
Reinstall the BBU module.
See the section
Installing CBM
(Optional)
in Chapter 2 for detailed descriptions of relevant
procedures.
Step 7.
Reinstall the controller module. After the DIMM module has
been properly installed, install the RAID controller.
5.4. Replacing a Faulty CBM
The CBM module can sustain and transfer cached data to a flash SSD in the
event of a power outage or in the unlikely event of both PSUs failing.
A BBU consists of a metal bracket, battery cell pack, and a PCB board that
connects to the charger board. BBU supplies power during data transition
from cache memory to flash. Please read the BBU handling precautions
below before handling BBUs.
5.4.1 BBU Fault Conditions:
A BBU failure can result from the following:
1.
A BBU has lost its ability to hold electrical charge. This may be the case
after the battery cells have been recharged for many times regardless of

