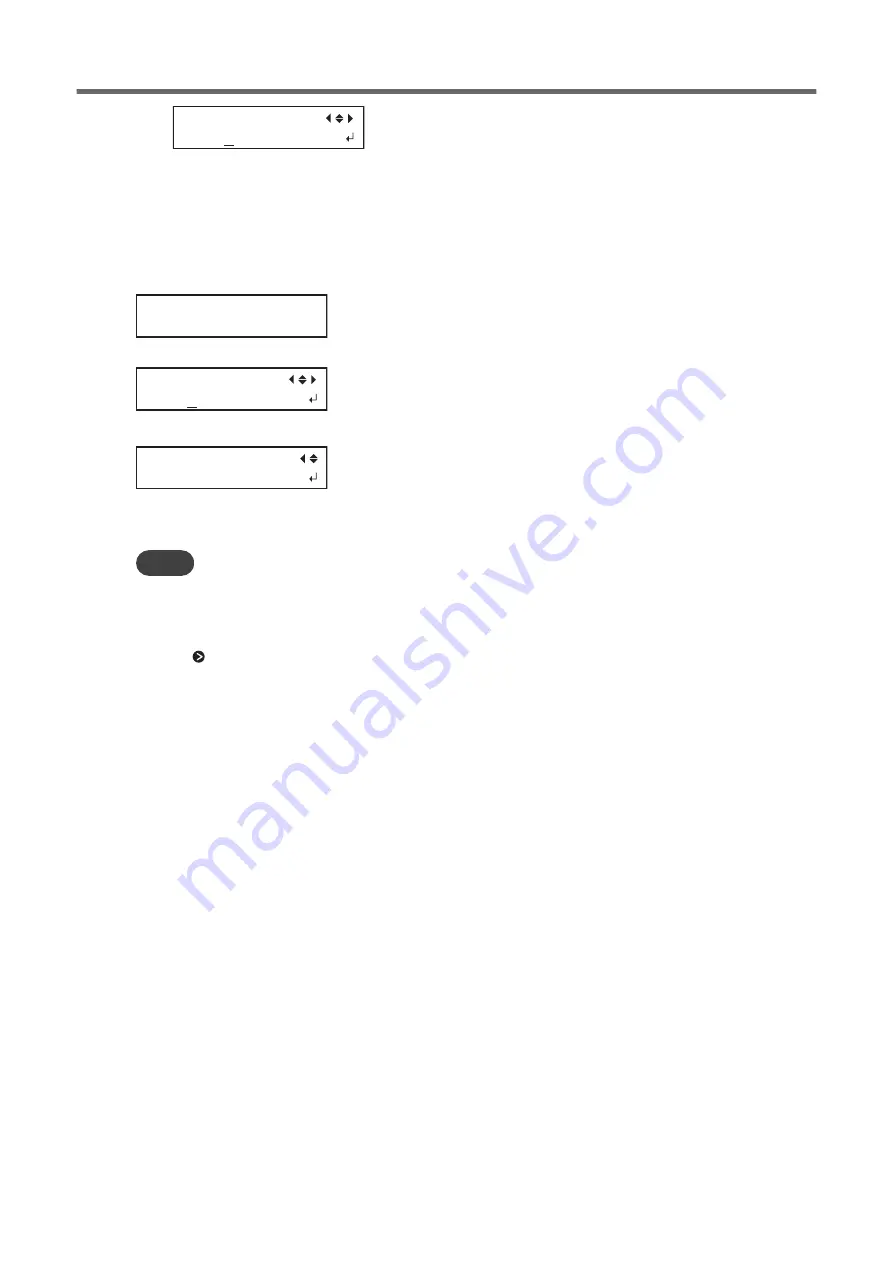
POWERFLL CL.
A
(3)
Repeat steps 1 and 2 to display only the group of print heads that requires cleaning.
Only the displayed groups will be cleaned. If A and B are displayed, they will both be cleaned.
9.
Press [ENTER] to confirm your entry.
The screen shown below appears, and then cleaning starts. The (approximate) remaining time for the proce-
dure is displayed on the screen. (The display shown below is an example. "01:45" = "1 minute and 45 sec-
onds")
CLEANING...
>> 01:45
When finished, the screen shown below appears again.
POWERFULL CL.
AB
10.
Press [
◀
] once, and then press [
▼
] several times to display the screen shown below.
CLEANING
TEST PRINT
11.
Press [ENTER].
Perform a printing test again to check whether the dot drop-out and dot displacement have been corrected.
MEMO
• If the problem persists, try performing powerful cleaning again.
• This cleaning can be effective when carried out periodically, according to the frequency of use.
• If problems such as dot drop-out and dot displacement persist even after you have performed powerful cleaning several
times, perform "manual cleaning."
When Normal Cleaning Is Not Effective
234
2. Regular maintenance
Summary of Contents for TrueVIS VG2-540
Page 9: ...Chapter 1 Basic Handling Methods 8 ...
Page 36: ...Setup of Media 2 Basic Operations 35 ...
Page 43: ...Setup of Media 42 2 Basic Operations ...
Page 60: ...Ink Pouch TR2 Cleaning Liquid Pouch Replacement 2 Basic Operations 59 ...
Page 61: ...Chapter 2 Output Method 60 ...
Page 70: ...REDO ADJ YES DONE 10 Press ENTER to confirm your entry Printing Output 1 Printing Method 69 ...
Page 138: ...Chapter 3 Optimizing Quality and Efficiency 137 ...
Page 195: ...W1100mm B Adjusting the Output start Location 194 2 Optimizing Work Efficiency ...
Page 217: ...Chapter 4 Maintenance 216 ...
Page 272: ...Chapter 5 Troubleshooting Methods 271 ...
Page 305: ...Chapter 6 Appendix 304 ...
Page 308: ...8 Detach the blade holder Preparing to Move the Machine 1 Operations When Moving the Unit 307 ...


