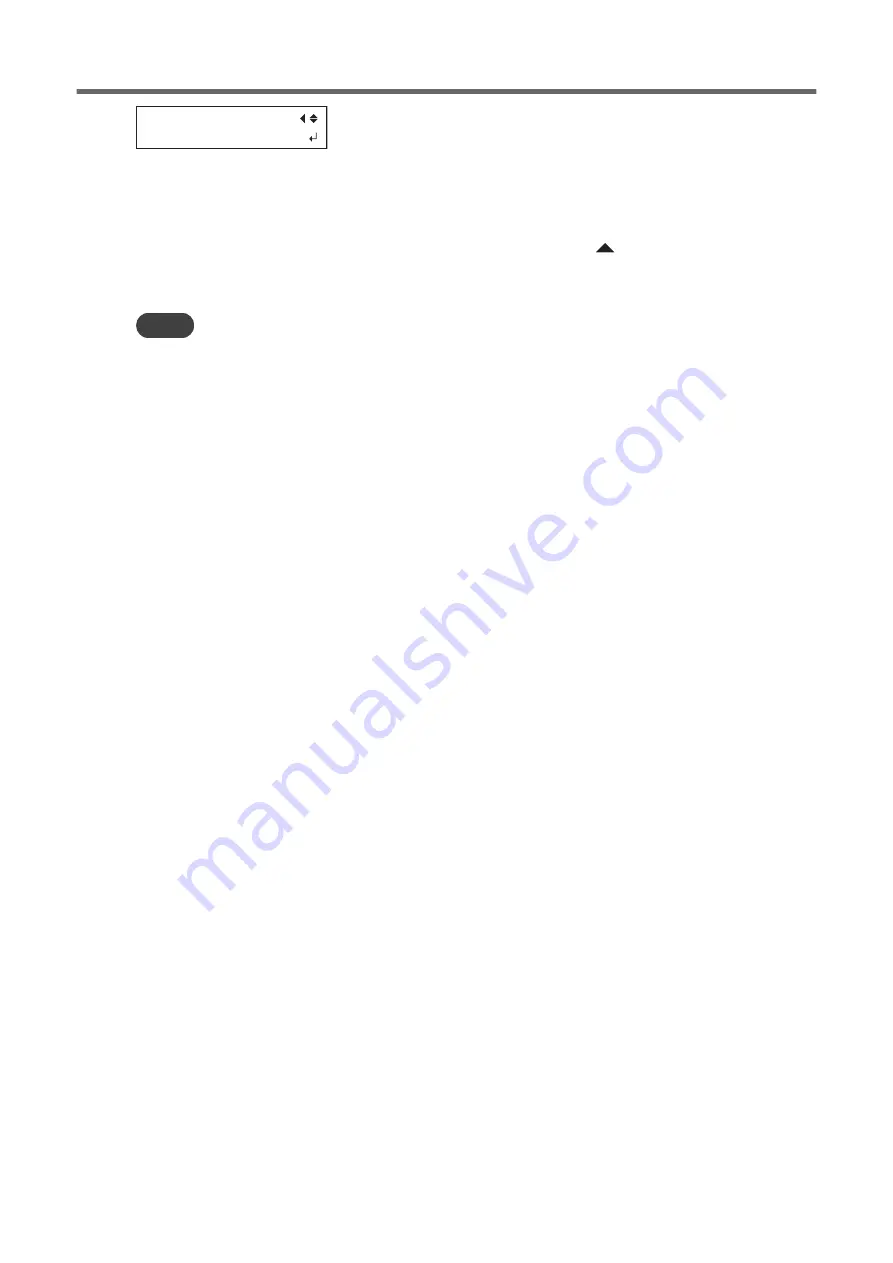
CALIBRATION
TEST PRINT
11.
Press [ENTER].
Printing of the test pattern starts.
12.
Check the test pattern to see whether the correction was successful.
Check that the gap and overlap are the smallest for the figure indicated by "
" (that is, the current correc-
tion value). If the gap and overlap are smaller for another figure, set the correction value again.
13.
When you have successfully performed the correction, press [MENU] to go back to the original screen.
MEMO
Depending on the software RIP you are using, you can also configure this setting in the software RIP (by, for example, choosing
the media type). When you have made the setting in the software RIP, the software RIP's setting is used and the printer's
setting is ignored.
Using the Correction Functions
1. Optimizing the Output Quality
143
Summary of Contents for TrueVIS VG2-540
Page 9: ...Chapter 1 Basic Handling Methods 8 ...
Page 36: ...Setup of Media 2 Basic Operations 35 ...
Page 43: ...Setup of Media 42 2 Basic Operations ...
Page 60: ...Ink Pouch TR2 Cleaning Liquid Pouch Replacement 2 Basic Operations 59 ...
Page 61: ...Chapter 2 Output Method 60 ...
Page 70: ...REDO ADJ YES DONE 10 Press ENTER to confirm your entry Printing Output 1 Printing Method 69 ...
Page 138: ...Chapter 3 Optimizing Quality and Efficiency 137 ...
Page 195: ...W1100mm B Adjusting the Output start Location 194 2 Optimizing Work Efficiency ...
Page 217: ...Chapter 4 Maintenance 216 ...
Page 272: ...Chapter 5 Troubleshooting Methods 271 ...
Page 305: ...Chapter 6 Appendix 304 ...
Page 308: ...8 Detach the blade holder Preparing to Move the Machine 1 Operations When Moving the Unit 307 ...


