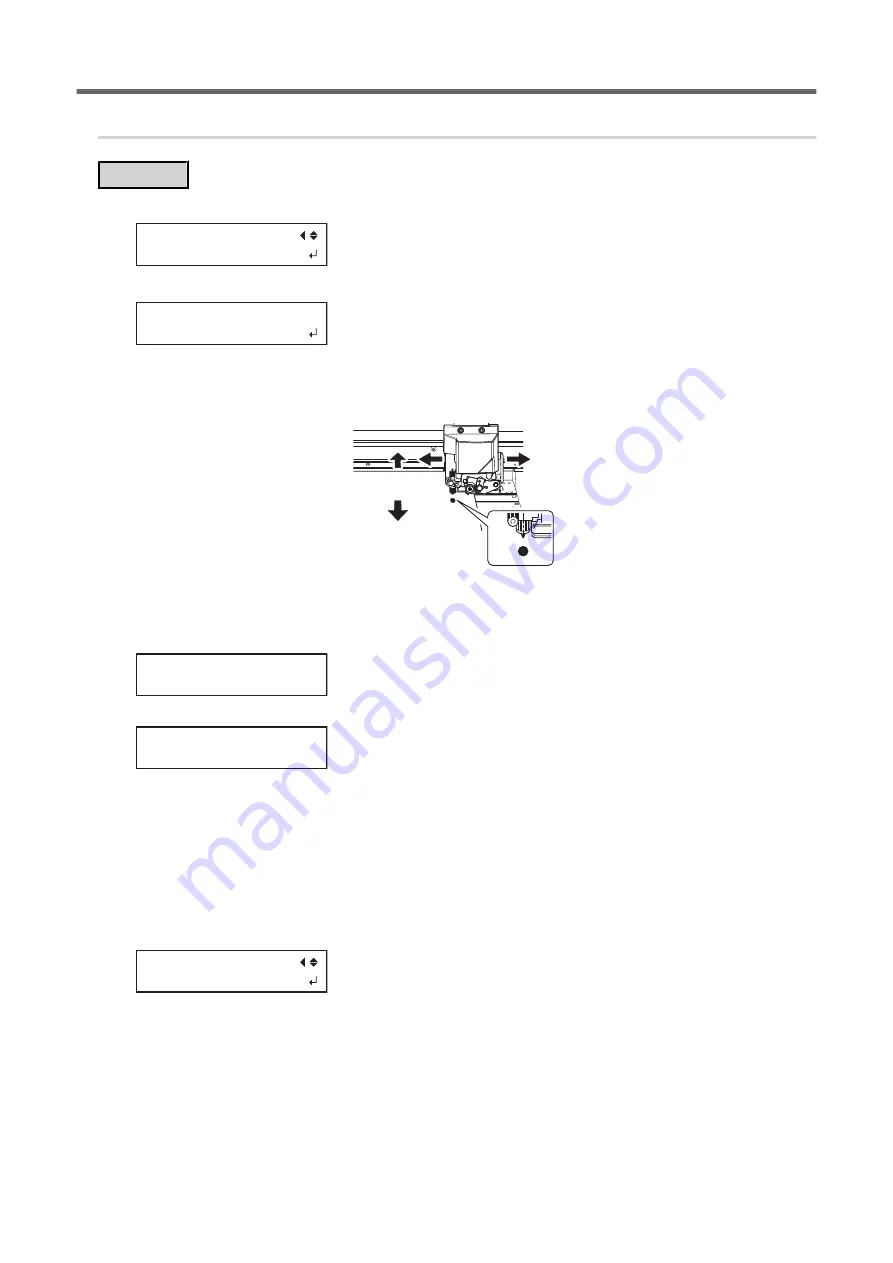
2.
Check whether crop marks can be read.
Procedure
1.
Press [
▲
] to display the screen shown below.
CROPSENS CALIB
SENS CHECK
2.
Press [ENTER] to display the screen shown below.
MOVE CUT TOOL
TO MARK CENTER
3.
Press [
◀
], [
▶
], [
▲
] or [
▼
] to move the center of the blade over the crop marks.
The center of the blade should only be over the crop marks, and does not need to be aligned with the cen-
ter of the crop marks.
4.
Press [ENTER].
Check whether crop marks can be read.
If reading succeeds, the following message appears. Proceed to the next step.
CHECK SUCCESS
MARK FOUND
If reading fails, the following message appears.
CHECK FAILED
MARK NOT FOUND
It is possible that crop marks cannot be detected because they are not the crop marks output from the
software RIP that is compatible with this machine. Crop marks drawn using drawing software also cannot be
detected.
Use the software RIP that is compatible with this machine to output the crop marks and redo the correction
from the start.
If detection failed even with crop marks output by the compatible software RIP, redo the correction from the
sensor correction stage.
5.
Press any one of the keys on the operation panel to display the screen shown below.
CROPSENS CALIB
SENS CHECK
6.
Press [MENU] to go back to the original screen.
Accurately Adjusting the Settings for Cutting with Crop Marks
186
1. Optimizing the Output Quality
Summary of Contents for TrueVIS VG2-540
Page 9: ...Chapter 1 Basic Handling Methods 8 ...
Page 36: ...Setup of Media 2 Basic Operations 35 ...
Page 43: ...Setup of Media 42 2 Basic Operations ...
Page 60: ...Ink Pouch TR2 Cleaning Liquid Pouch Replacement 2 Basic Operations 59 ...
Page 61: ...Chapter 2 Output Method 60 ...
Page 70: ...REDO ADJ YES DONE 10 Press ENTER to confirm your entry Printing Output 1 Printing Method 69 ...
Page 138: ...Chapter 3 Optimizing Quality and Efficiency 137 ...
Page 195: ...W1100mm B Adjusting the Output start Location 194 2 Optimizing Work Efficiency ...
Page 217: ...Chapter 4 Maintenance 216 ...
Page 272: ...Chapter 5 Troubleshooting Methods 271 ...
Page 305: ...Chapter 6 Appendix 304 ...
Page 308: ...8 Detach the blade holder Preparing to Move the Machine 1 Operations When Moving the Unit 307 ...


