


Setting the Drying Time after Printing (When Printing and Cutting)
To dry the ink thoroughly, set the drying time after the 1st page is printed. This setting applies to output data de-
signed for printing and cutting.
Procedure
1.
Press [MENU].
2.
Press [
▼
] several times to display the screen shown below.
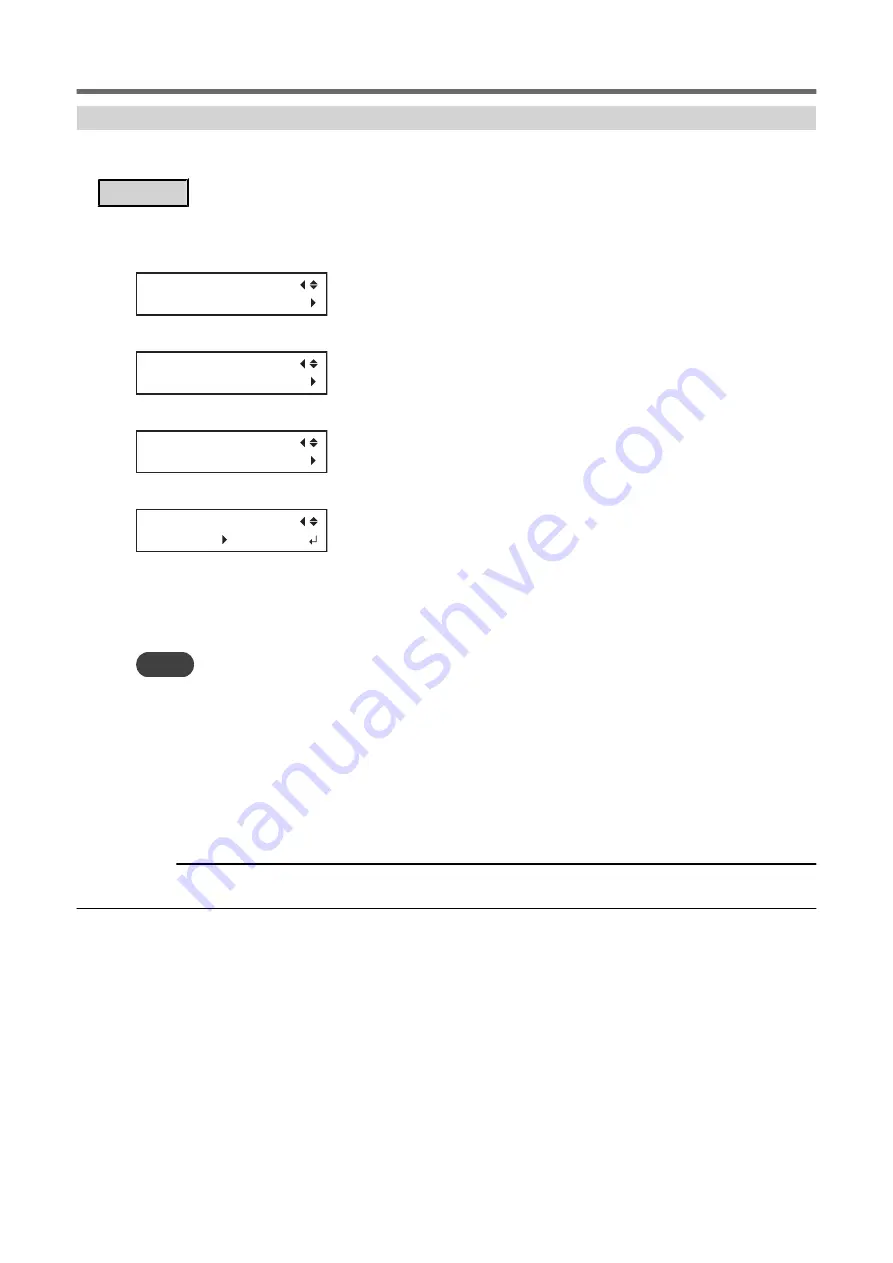
MENU
HEATER MENU
3.
Press [
▶
] once, and then press [
▼
] several times to display the screen shown below.
HEATER MENU
DRYING TIME
4.
Press [
▶
], then [
▼
] to display the screen shown below.
DRYING TIME
P&C
5.
Press [
▶
] to display the screen shown below.
P&C
0min 0min
6.
Press [
▲
] or [
▼
] to select the drying time.
7.
Press [ENTER] to confirm your entry.
8.
Press [MENU] to go back to the original screen.
MEMO
• Default setting: 0 min
• The next operation is not started until the set time elapses.
• During drying, [PAUSE] is lit. Press [PAUSE] while [PAUSE] is lit to finish the drying time and start the next operation.
• Hold down [PAUSE] while [PAUSE] is lit to cancel the output.
• When you have configured this setting, we recommend setting the [FEED FOR DRY] menu to "ENABLE" or "P&C". ()
• This setting is also applied during printing and cutting with crop marks.
• Even if the drying time has been set in the included software RIP, priority is given to the setting on this machine.
• This setting is ignored for output data designed only for printing. To set the drying time after printing when only printing, see
the following section.
RELATED LINKS
P. 158 "Setting the Drying Time after Printing (When Only Printing)"
Adjusting the Ink-drying Method
1. Optimizing the Output Quality
159
Summary of Contents for TrueVIS VG2-540
Page 9: ...Chapter 1 Basic Handling Methods 8 ...
Page 36: ...Setup of Media 2 Basic Operations 35 ...
Page 43: ...Setup of Media 42 2 Basic Operations ...
Page 60: ...Ink Pouch TR2 Cleaning Liquid Pouch Replacement 2 Basic Operations 59 ...
Page 61: ...Chapter 2 Output Method 60 ...
Page 70: ...REDO ADJ YES DONE 10 Press ENTER to confirm your entry Printing Output 1 Printing Method 69 ...
Page 138: ...Chapter 3 Optimizing Quality and Efficiency 137 ...
Page 195: ...W1100mm B Adjusting the Output start Location 194 2 Optimizing Work Efficiency ...
Page 217: ...Chapter 4 Maintenance 216 ...
Page 272: ...Chapter 5 Troubleshooting Methods 271 ...
Page 305: ...Chapter 6 Appendix 304 ...
Page 308: ...8 Detach the blade holder Preparing to Move the Machine 1 Operations When Moving the Unit 307 ...


