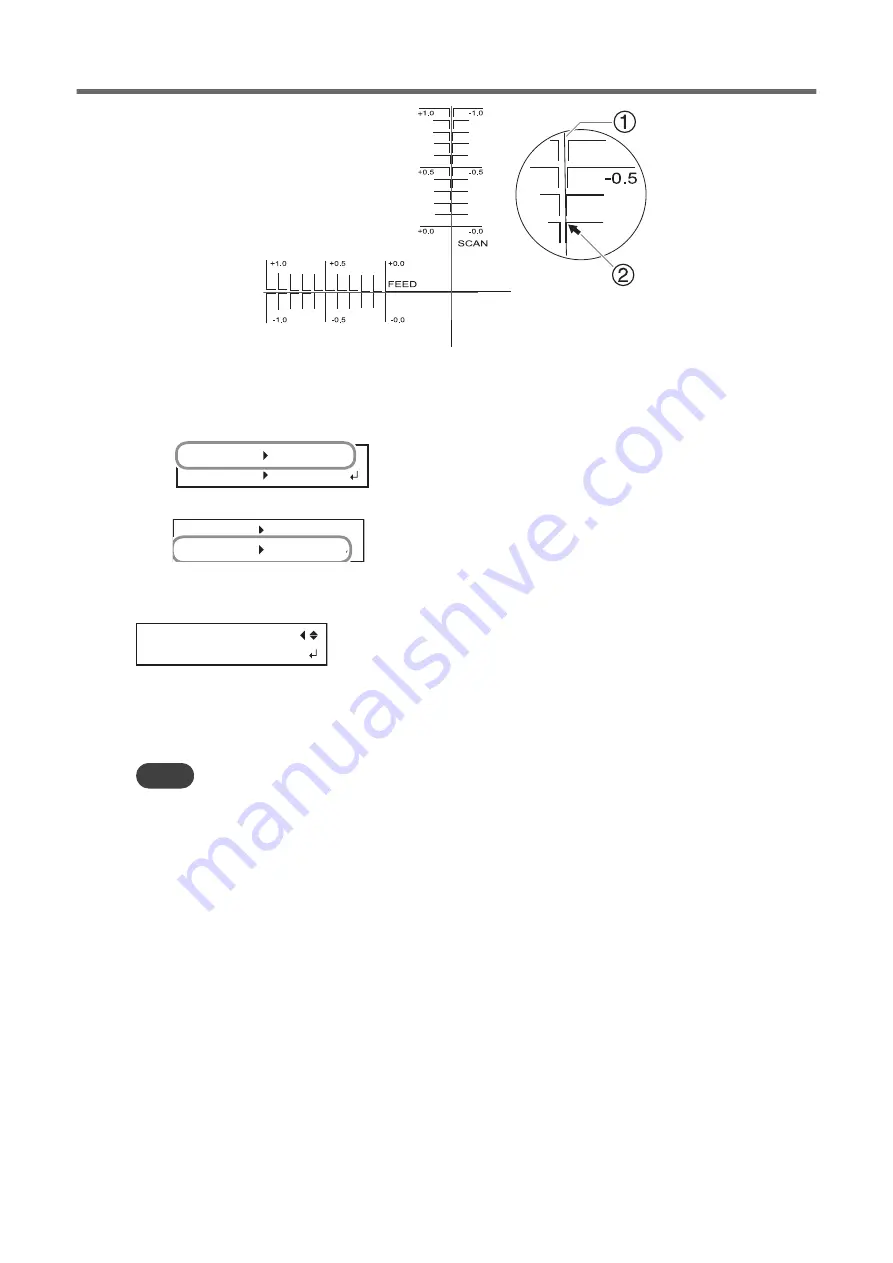
9.
Press [
▶
].
10.
Set the correction values for the feed direction "F" and the scan direction "S."
(1)
Press [
▲
] or [
▼
] to set the correction value for the feed direction (F).
F:+0.30 +0.35mm
S:-0.40 -0.45mm
(2)
Press [
◀
] or [
▶
] to set the correction value for the scan direction (S).
F:+0.30 +0.35mm
S:-0.40 -0.45mm
(3)
When you have finished setting the correction values, press [ENTER].
11.
Press [MENU], then [
▲
] to display the screen shown below.
PRINT-CUT ADJ.
TEST PRINT
12.
Press [ENTER].
The test pattern (P&C1) is printed and cut. If the printing and cutting lines are aligned, adjustment is com-
plete. If further adjustment is needed, press [
▼
], then [
▶
] to go back to step 10 and fine-tune the adjust-
ment.
MEMO
• Default settings
• F (correction value of the media feed direction): 0.00 mm
• S (correction value of the cutting carriage movement direction): 0.00 mm
Accurately Adjusting the Settings for Printing and Cutting
1. Optimizing the Output Quality
171
Summary of Contents for TrueVIS VG2-540
Page 9: ...Chapter 1 Basic Handling Methods 8 ...
Page 36: ...Setup of Media 2 Basic Operations 35 ...
Page 43: ...Setup of Media 42 2 Basic Operations ...
Page 60: ...Ink Pouch TR2 Cleaning Liquid Pouch Replacement 2 Basic Operations 59 ...
Page 61: ...Chapter 2 Output Method 60 ...
Page 70: ...REDO ADJ YES DONE 10 Press ENTER to confirm your entry Printing Output 1 Printing Method 69 ...
Page 138: ...Chapter 3 Optimizing Quality and Efficiency 137 ...
Page 195: ...W1100mm B Adjusting the Output start Location 194 2 Optimizing Work Efficiency ...
Page 217: ...Chapter 4 Maintenance 216 ...
Page 272: ...Chapter 5 Troubleshooting Methods 271 ...
Page 305: ...Chapter 6 Appendix 304 ...
Page 308: ...8 Detach the blade holder Preparing to Move the Machine 1 Operations When Moving the Unit 307 ...


