146
Designating Areas
Right Angle Polygon and Polygon
1
Set your original on the exposure glass.
2
Press the [Area Editing] key.
3
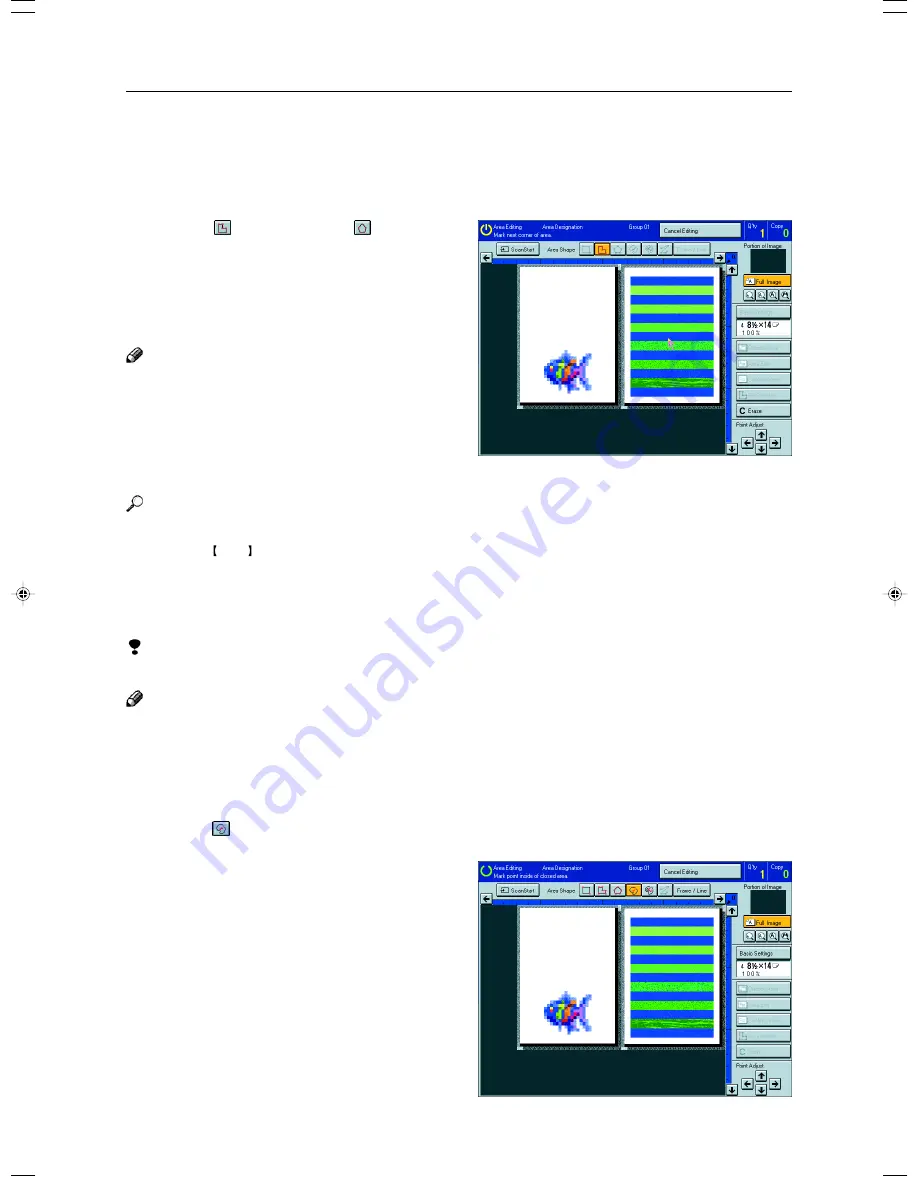
Press the
(R.A. Polygon) or
(Polygon)
key.
4
Mark the first point with the editor pen.
5
Mark the next points.
Note
❐
When you use Right Angle Polygon mode, mark
points that make right angles.
6
After making the last point, press the [Confirm
Selection] key.
7
Press the [Area Edit] key, specify your settings,
then press the [OK] key.
Reference
For details,
☛
see page 152.
8
Press the Start key.
Closed Loop
Limitation
❐
If you specify an area with Closed Loop, you cannot specify any additional areas with other selection tools.
Note
❐
When you color areas with the Closed Loop, the area boundary may shift depending on the image.
1
Set your original on the exposure glass.
2
Press the [Area Editing] key.
3
Press the
(Closed Loop) key.
4
Touch on a point inside a closed loop.
Summary of Contents for Aficio 6010
Page 4: ...ii...
Page 17: ...Where it is what it is 1 Where it is What it is...
Page 23: ...7 What You can do with this Machine What You can do with this Machine...
Page 40: ...24...
Page 43: ...27 Basics Basics...
Page 53: ...37 Copying Basic Operation Copying...
Page 124: ...108...
Page 125: ...109 Copying Image Overlay Only for Edit Type Image Overlay Only for Edit Type...
Page 139: ...123 Adjustment and Color Memory Adjustment and Color Memory...
Page 155: ...139 Area Editing Only for Edit Type Area Editing Only for Edit Type...
Page 182: ...166...
Page 183: ...167 What to do if Something Goes Wrong What to do if Something Goes Wrong...
Page 199: ...183 Changing the Machine s Settings Changing the Machine s Settings...
Page 223: ...207 Projector Unit Operation Projector Unit Operation...
Page 253: ...237 Specification Specification...
Page 260: ...244...
Page 261: ...245 Index Index...
Page 264: ...248 UE USA A257...


