•
Erase Track
(not available during track creation.)
•
Edit Track
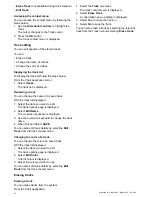
Accessing the context menu
You can access the context menu by following the
steps below.
1. Use the
Directional controls
to highlight the
Track.
The cursor changes to the Track cursor.
2. Press the
OK
button.
The Track context menu is displayed.
Track editing
You can edit aspects of the stored tracks.
You can:
• Erase a track.
• Change the name of a track.
• Change the color of a track.
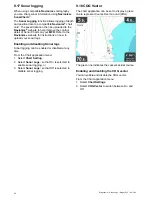
Displaying the track list
To display the track list follow the steps below.
From the Chart application menu:
1. Select
Tracks
.
The track list is displayed.
Renaming a track
You can change the name of a saved track.
With the track list displayed.
1. Select the track you want to edit.
The track options page is displayed.
2. Select
Edit Name
.
The on-screen keyboard is displayed.
3. Use the on-screen keyboard to change the track
name.
4. When finished Select
SAVE
.
You can also edit track details by selecting
Edit
Track
from the track context menu.
Changing the color of a track
You can change the color of a saved track.
With the track list displayed.
1. Select the track you want to edit.
The track options page is displayed.
2. Select
Edit Color
.
A list of colors is displayed.
3. Select the color you want to use.
You can also edit track details by selecting
Edit
Track
from the track context menu.
Erasing tracks
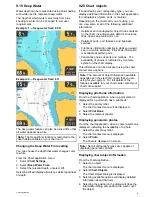
Erasing a track
You can erase tracks from the system.
From the Chart application:
1. Select the
Track
on-screen
The track context menu is displayed.
2. Select
Erase Track
.
A confirmation pop-up dialog is displayed.
3. Select
Yes
to erase the track, or
4. Select
No
to keep the track.
You can also erase a track by selecting the relevant
track from the Track list and selecting
Erase Track
.
82
Dragonfly–4 / Dragonfly–5 / Dragonfly–7 / Wi–Fish


