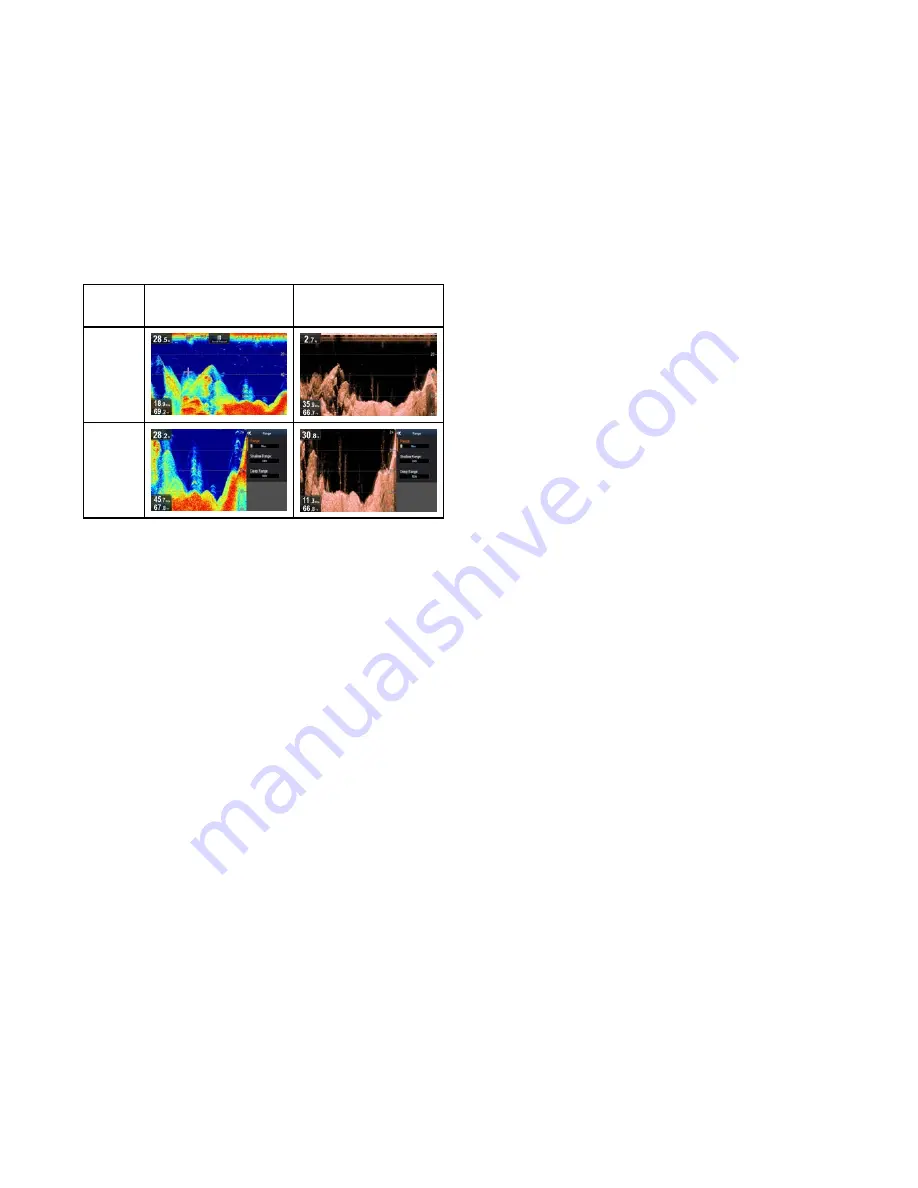
8.6 Range
The
Range
function enables you to change the range
of depth displayed onscreen. Where applicable
changes to the Range will apply to both the Sonar
and
DownVision
™
applications.
By default, the Range is set to automatic, this adjusts
the Range to ensure the bottom is always displayed
onscreen. This is useful for targeting bigger fish and
other objects located closer to the bottom such as
wrecks
Manual Range allows you to specify a Shallow range
depth and Deep range depth which defines the area
displayed onscreen.
Sonar application
DownVision
™
application
Auto
Range
Manual
Range
Switching between Auto and Manual range
From the application menu:
1. Select
Range
.
2. Select
Range:
to switch between Auto and Man.
3. With manual mode selected you can now adjust
the depth range shown onscreen.
Manually adjusting range
To specify the area of depth to be displayed onscreen
follow the steps below.
From the application menu:
1. Select
Range
.
2. Select
Range:
so that Man is selected.
3. Select
Shallow Range
.
The
Shallow Range
defines the depth that will
be shown at the top of the screen.
4. Adjust the
Shallow Range
to the required depth.
5. Select
Deep Range
.
The
Deep Range
defines the depth that will be
shown at the bottom of the screen.
6. Adjust the
Deep Range
to the required depth.
8.7 Scrolling
The image scrolls from right to left. The scroll speed
can be adjusted to help with target identification. The
scrolling can be paused by entering Cursor mode.
Scroll speed
The default scrolling speed is 100%. The scroll
speed can be slowed down to 10% of the default
speed.
Adjusting the scroll speed
From the
Display Options
menu:
1. Select
Scroll Speed
.
The Scroll speed adjustment control is displayed.
2. Use the
Up
and
Down Directional controls
to
adjust the scroll speed between 10% and 100%.
3. Press the
Ok
or
Back
button to confirm and close
the adjustment control.
64
Dragonfly–4 / Dragonfly–5 / Dragonfly–7 / Wi–Fish


