Chapter 3
Note:
Enter the registration code with dashes as shown the sheet provided.
10. In the
Corrections
area toward the bottom of the page, select
No
.
Note:
RTK
1
corrections are provided by the receiver on the machine and not through
the Slingshot® network.
11. Select the
Save Device
button to add the device to the OLAF.
Note:
It is not recommended to activate multiple OMNiDRIVE™ devices on a single
OLAF. If additional devices are activated via one OLAF, the appropriate codes must be
associated with the correct devices. All devices on an OLAF must be associated with the
same client account.
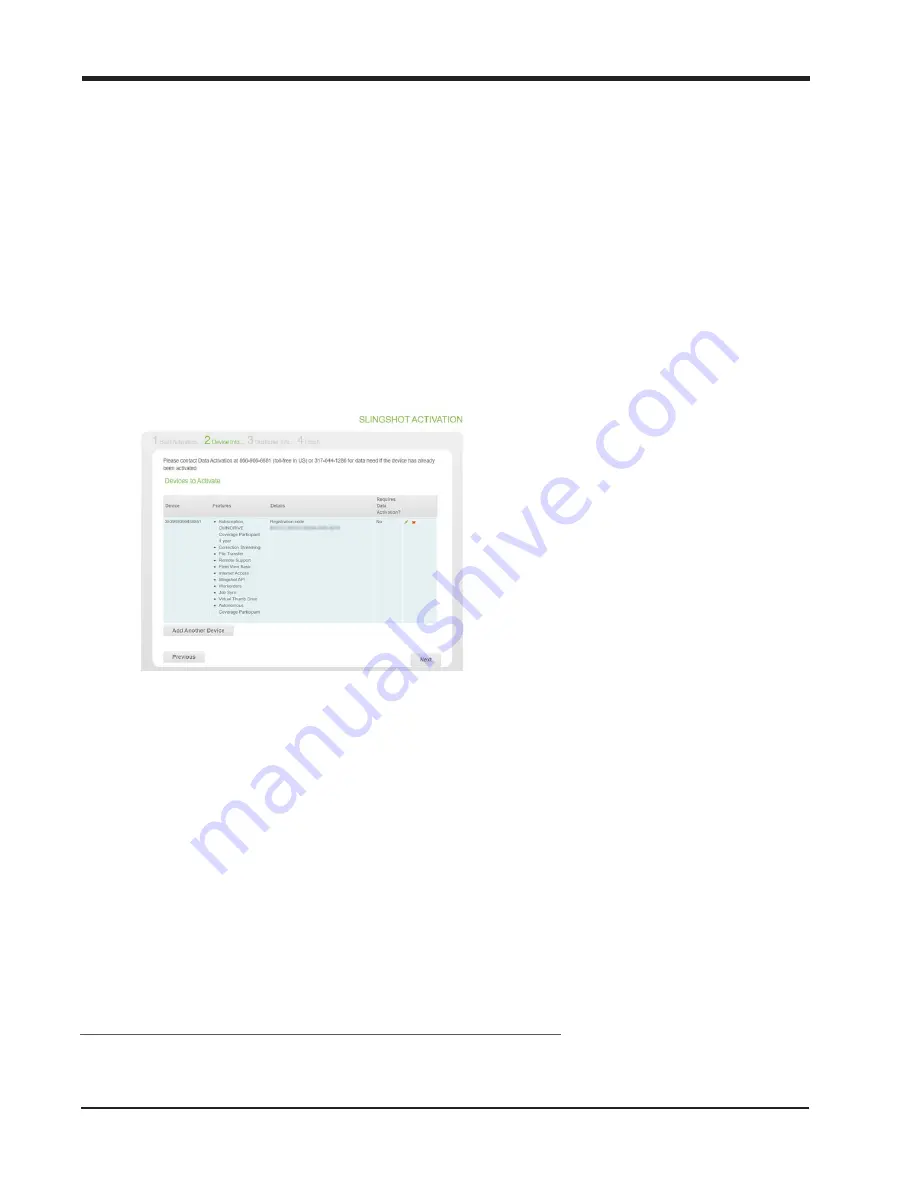
12. The OLAF form will update and a page similar to the following example is displayed.
Note:
If a page similar to the above does not display, check that the correct
information has been entered on the Device Info form and select
Save Device
again. If
the page still does not update correctly, contact the Raven Technical Service team.
13. Select the
Next
button in the lower, right corner of the page.
14. On the
Customer Info
page, select the
New Slingshot Customer
or
Change
button
and fill in the information for the customer responsible for managing the cellular data
plan and associated charges.
1
Real-time Kinematic
151
Summary of Contents for OMNiDRIVE
Page 2: ......
Page 30: ...Chapter 2 30 ...
Page 36: ...Chapter 2 36 ...
Page 42: ...Chapter 2 OMNiDRIVE System Diagram Combine 42 ...
Page 75: ...Installation Overview 75 ...
Page 121: ...Installation Overview 2 Connect the autonomous bypass switch to the arm rest cable 121 ...
Page 130: ...Chapter 2 2 Connect the autonomous bypass switch to the arm rest cable 130 ...
Page 192: ...Field Provisioning Overview 192 ...
Page 220: ...2 Next select Applications then StarFire and select the Setup tab 220 ...
Page 261: ......
Page 275: ......


