


Chapter 9: DXi4500 Utilities
Software
156
Quantum DXi4500 User’s Guide
Uploading Software
Note:
The system should be scheduled for downtime during a
software upgrade. Before you start the upgrade, ensure that all
replication and backup jobs are completed, all space
management tasks are completed, and all hardware statuses
on the system are Normal (see
To upload a new software image:
1
From the
Utilities
menu, click the
Software
tab.
The
Software
page displays (see
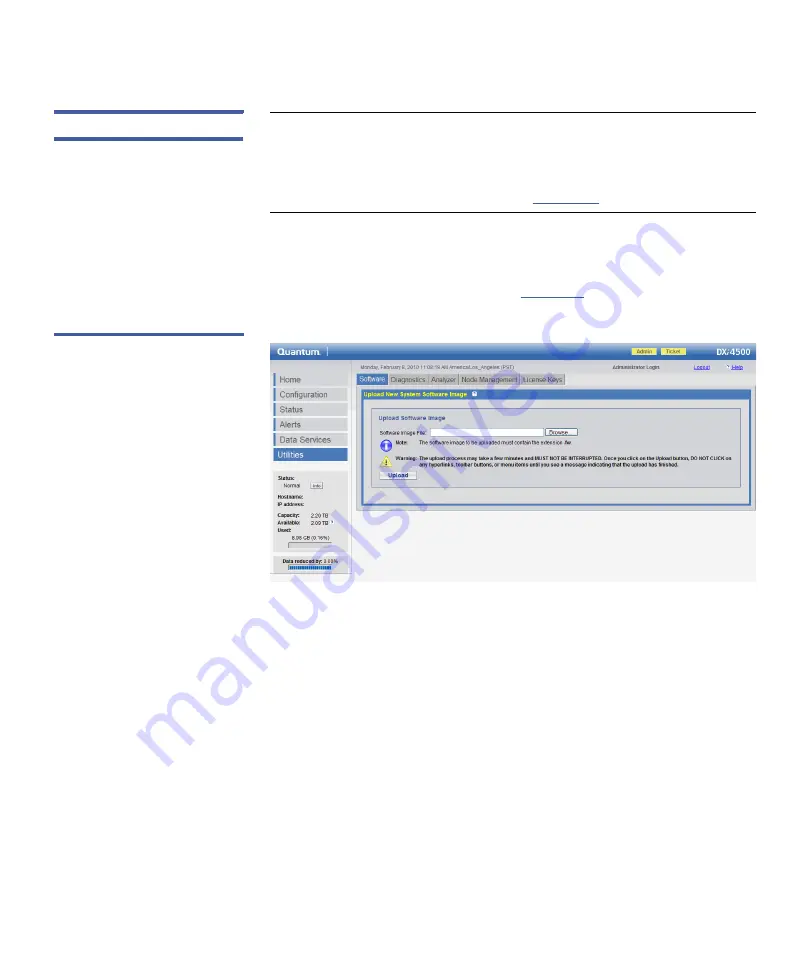
Figure 62 Software Page
2
Type the location and filename of the new software image, or click
the
Browse
button and locate the new software image.
3
Click
Upload
to place the new software image in a temporary area
of the system.
A
Successful Upload
page displays indicating that the software has
been uploaded. Click
OK
to continue.
4
Click
Activate
to activate the new software image or
Remove
to
remove the software image from the system.
An
Information
page indicates the software has been either
activated or removed. If activated, the system enters limited mode
and displays activation progress until the system reboots.
Summary of Contents for DXi4500
Page 18: ...Preface xviii Quantum DXi4500 User s Guide...
Page 22: ...Preface xxii Quantum DXi4500 User s Guide...
Page 34: ...Chapter 1 DXi4500 System Description DXi Advanced Reporting 12 Quantum DXi4500 User s Guide...
Page 56: ...Chapter 3 DXi4500 Concepts Network Segmentation 34 Quantum DXi4500 User s Guide...
Page 146: ...Chapter 6 DXi4500 Status System 124 Quantum DXi4500 User s Guide...
Page 218: ...Appendix A DXi4500 System Specifications 196 Quantum DXi6500 User s Guide...


