SETUP & OPERATION
53
17.
Select the
More…
key.
18.
Press the
V Tab
soft key.
19.
Press the
Automatic
soft key.
If instructed to increase or decrease transport
speed, do as instructed until the message “Feed
1 Product now” appears.
20.
Feed 1 Product (one piece of media).
The Tabber will place 2 or 3 tabs on the media
and stop.
21.
Verity the correct t voltages:
In this case (running translucent tabs with a
black line between each tab), the Backing
voltage (gap between tabs) should read higher
than the Tab voltage (tab and backing). If the
reading is opposite then you need to verify that
you have selected the correct liner type. In this
example, the liner type “clear” was selected.
Tip
: If the Tab V or Backing V values are displayed as 2.20V this could be an indication
that the Tabber was not able to automatically set these sensor values. In this case, you
may need to use the manual tab sensor adjustment procedure.
22.
Press EXIT three times, to return to the “Startup Screen”.
23.
To begin running the job, make sure the Tabber is in the operate mode before pressing the RUN
button.
Status: Advanced
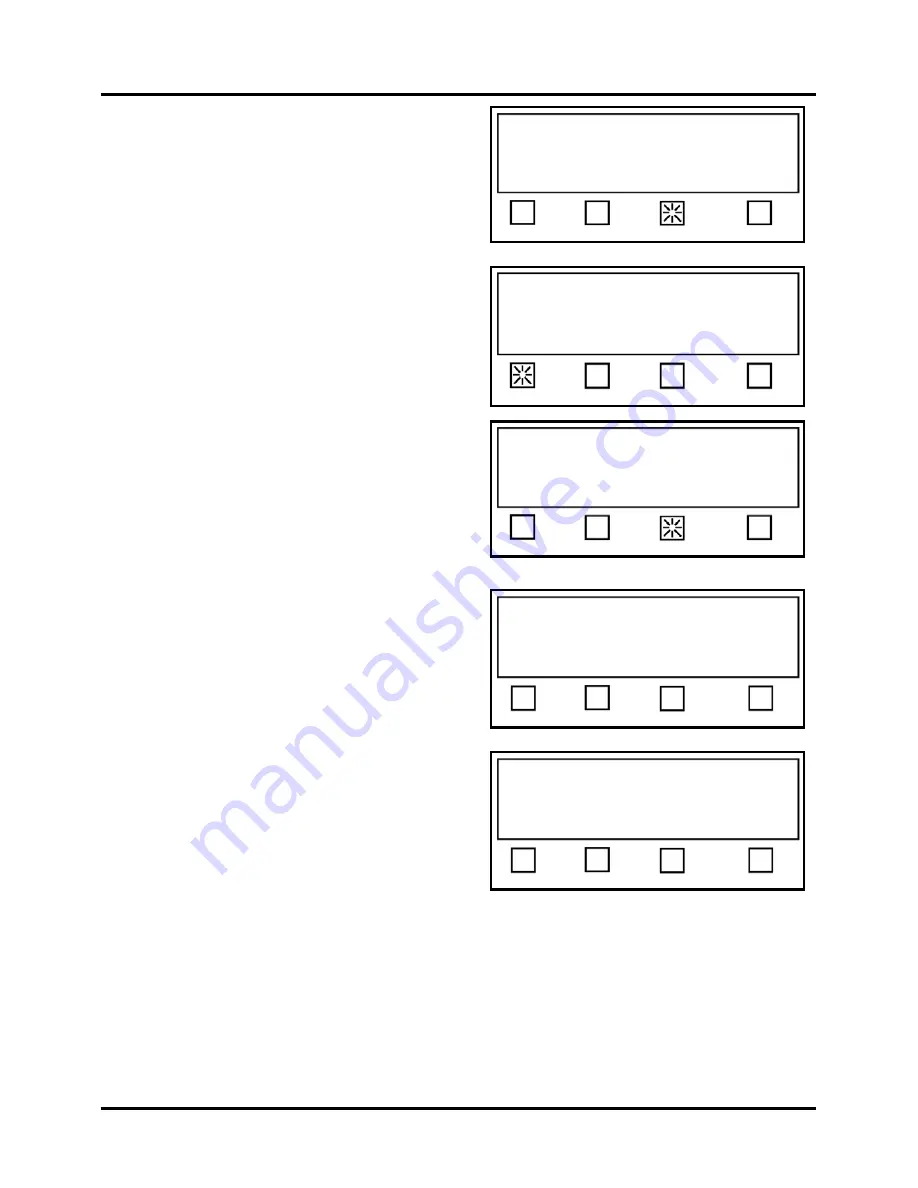
V-Tab Backlight More… EXIT
Tab Sensor setup. Press EXIT when done.
V=1.95, Trip=1.37, Backing=0.75, Tab=2.00
Status: Advanced
Backing V Tab V Automatic EXIT
Feed 1 Product now
Current liner type is: Opaque
Opaque Clear EXIT
Tab Sensor setup. Press EXIT when done.
V=1.75, Trip=1.02, Backing=1.80, Tab=0.24
Status: Advanced
Backing V Tab V Automatic EXIT
Sensor 1 is currently: Enabled
Choose: Sensor 1, or Sensor 2 to enable
Status: Advanced
Sensor 1 Sensor 2 More… EXIT
Summary of Contents for rena T-950
Page 1: ...TABBER Labeler Stamp Affixer User Guide T 950 XPS ProTab 4 0 ...
Page 2: ......
Page 60: ...SETUP OPERATION 60 ...
Page 80: ...80 ...
Page 81: ......
Page 82: ... Quadient May 26 2020 ...


