1
Basic
scanning 1-15
Basic scan functions
Scanning to an Evernote address
You can save a scanned document to Evernote, and then access to Evernote using your
smart phone or other devices and see the data.
NOTE
•
To use this feature, you need to have an Evernote account. Access to the Evernote
website to create an account.
•
This feature uses e-mail addresses of Evernote that are registered in the address
book or found using the LDAP server. Register the e-mail address in the address
or set up the LDAP server in advance. For details on how to set up
LDAP server, see chapter 2, “Registering LDAP servers” in “Specifying the network
settings” in the Administrator’s Guide.
1
Load the document.
2
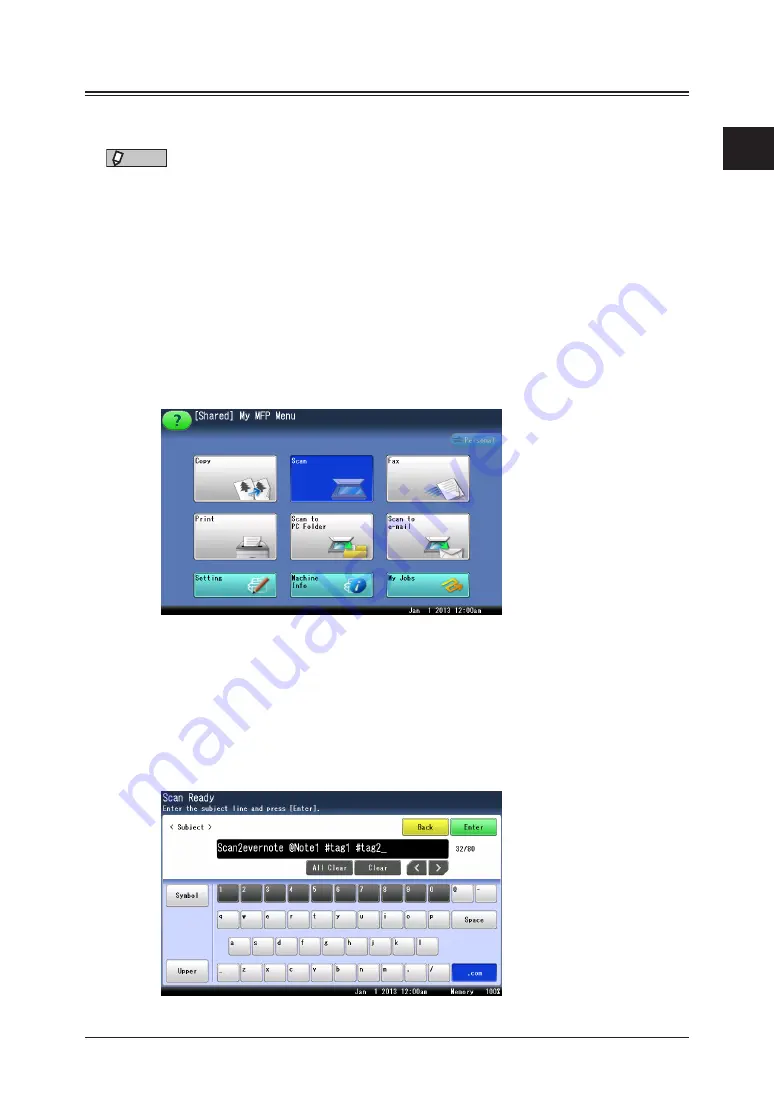
Press [Scan] on My MFP Menu screen.
If My MFP Menu screen is not displayed, press <Mode> repeatedly until “Scan Ready” screen
is displayed.
3
Set the resolution and document type, as necessary.
For details, see
4
To specify a notebook or apply tags, edit the e-mail subject.
•
For details on editing the e-mail subject, see
•
To specify a notebook, enter a space, then “@” and enter the notebook name at the subject.
•
To apply tags, enter a space, then “#” and enter the tag at the subject.
• Notebook and tag can be entered up to 20 characters including spaces and symbols.
Summary of Contents for MFX-3590
Page 1: ...Scanner and Fax Guide Plain paper digital Fax Copier Printer Scanner...
Page 31: ...1 24 Scanning with a TWAIN driver This page intentionally left blank...
Page 63: ...2 32 Advanced scan functions This page intentionally left blank...
Page 147: ...5 16 Checking specified destinations This page intentionally left blank...
Page 161: ...6 14 Printing journals This page intentionally left blank...
Page 207: ...7 46 Registering other settings This page intentionally left blank...


