2-30 Advanced scan functions
ScanTag
The ScanTag feature allows you to create image data and metadata (data indicating the
attributes and processing method of the image file) in a single scan. The image data and
metadata will be sent automatically to a network computer.
NOTE
•
This function is available only when it is activated. To enable it, contact your local
technical representative.
•
Set ScanTag before using this function. For details, refer to Chapter 4, “Setting
ScanTag” in the OfficeBridge Guide.
1
Press [Scan] on My MFP Menu screen.
If My MFP Menu screen is not displayed, press <Mode> repeatedly until “Scan Ready” screen
is displayed.
2
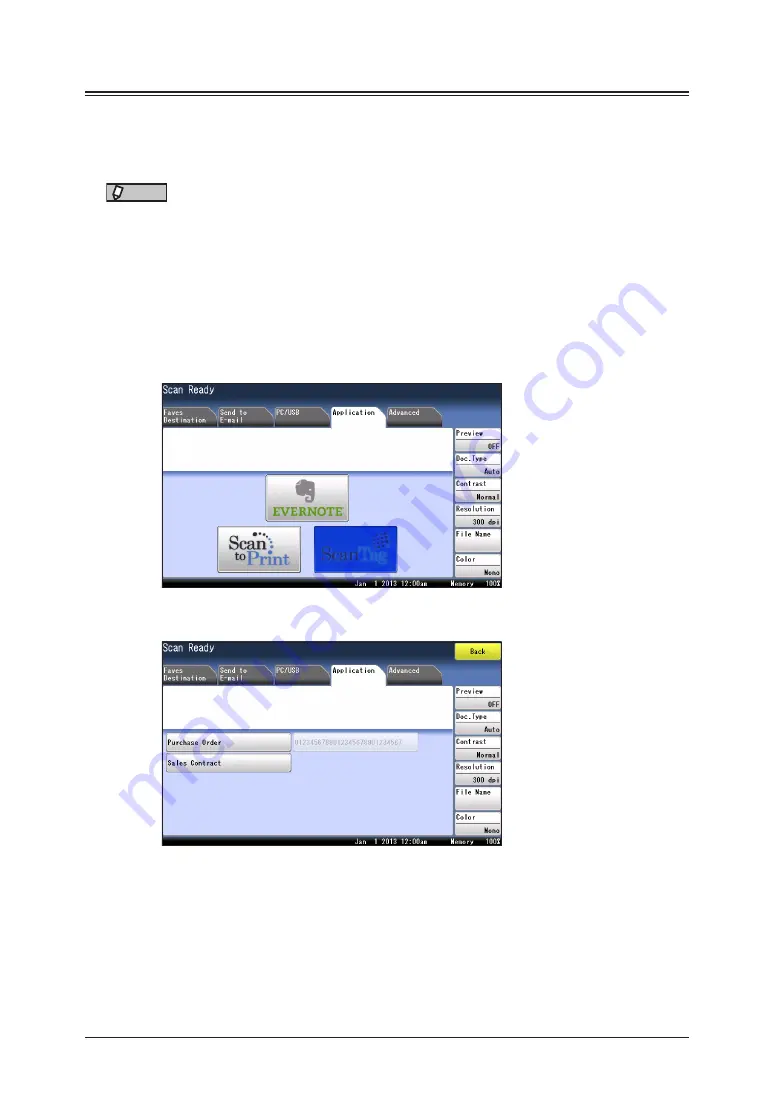
Press [Application], and then [ScanTag].
3
Select the ScanTag setting you wish to use.
4
Set the tag.
•
If the selected ScanTag setting has been defined as requiring user authentication and you
have not logged in, the login screen will appear. For details on logging in, refer to Chapter 1,
“Logging In / Logging Out” in the Administrator’s Guide.
•
If the tag entry has been set to “List Input”, the defined text strings will appear as keys.
Select a value from the list. (If the text string is defined as editable, the character entry
screen will appear. Change the value (if needed) and then press [Enter].)
•
If the tag entry has been set to character entry, enter the appropriate text string manually,
and then press [Enter].
Summary of Contents for MFX-3590
Page 1: ...Scanner and Fax Guide Plain paper digital Fax Copier Printer Scanner...
Page 31: ...1 24 Scanning with a TWAIN driver This page intentionally left blank...
Page 63: ...2 32 Advanced scan functions This page intentionally left blank...
Page 147: ...5 16 Checking specified destinations This page intentionally left blank...
Page 161: ...6 14 Printing journals This page intentionally left blank...
Page 207: ...7 46 Registering other settings This page intentionally left blank...


