4-28 Security fax functions
Security reception
This allows documents received after the security reception start time to be stored in
memory without being printed.
To print the documents stored in memory, you need to enter the protect passcode.
NOTE
•
To set security reception, it is necessary to set a protect passcode in advance. For
details, see chapter 2, in “Setting the protect passcode” in “Setting security codes” in
the Administrator’s Guide.
•
When the protect passcode is deleted, this function will be turned off.
•
When security reception is set, it will start at the preset start time every day.
•
When documents have been received during security reception, the message
“Security Reception document exists” is displayed and the information lamp
illuminates green.
•
Even if it is not the start time, you can set this function ON from the advanced
settings.
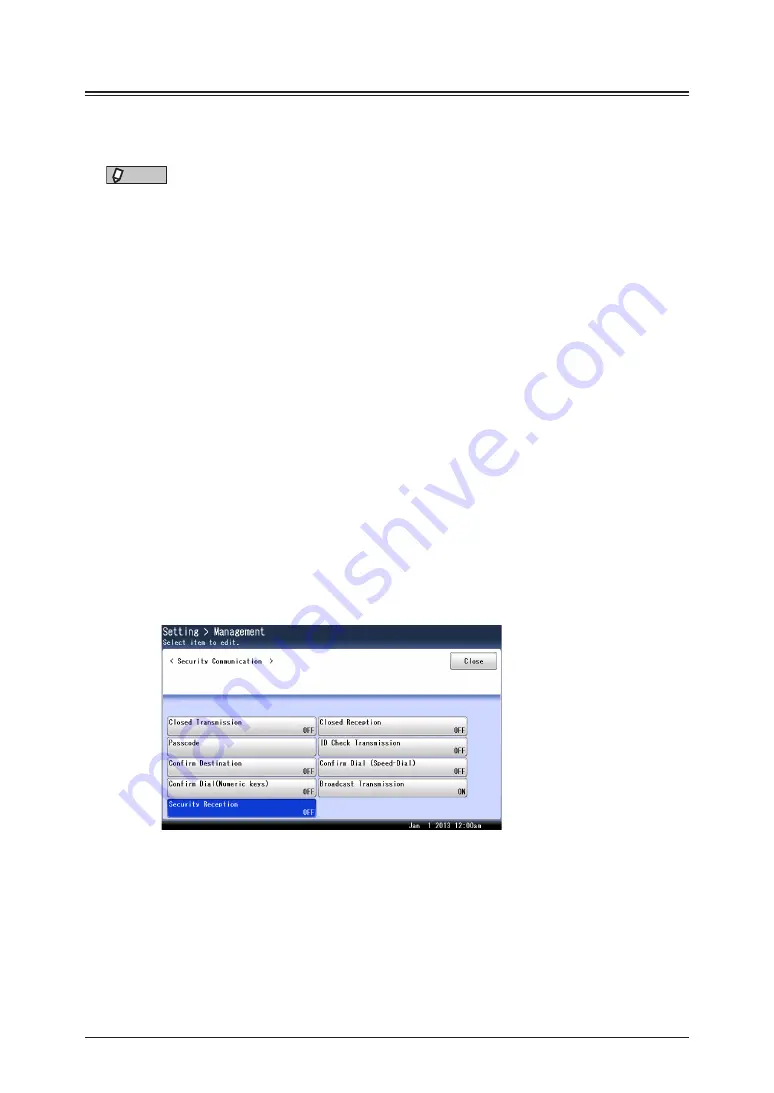
Setting security reception
1
Press [Setting] on My MFP Menu screen.
If My MFP Menu screen is not displayed, press <Mode> repeatedly until My MFP menu
screen is displayed.
2
Press [Management].
If an administrator password is set, press [Admin Password] to enter the password and then
press [Enter].
3
Press [Security Communication].
4
Press [Security Reception].
5
Enter the protect passcode, and press [Enter].
6
Press [ON] to perform the security reception.
Press [OFF] and then [Enter] to deselect the setting. Proceed to step 8.
Summary of Contents for MFX-3590
Page 1: ...Scanner and Fax Guide Plain paper digital Fax Copier Printer Scanner...
Page 31: ...1 24 Scanning with a TWAIN driver This page intentionally left blank...
Page 63: ...2 32 Advanced scan functions This page intentionally left blank...
Page 147: ...5 16 Checking specified destinations This page intentionally left blank...
Page 161: ...6 14 Printing journals This page intentionally left blank...
Page 207: ...7 46 Registering other settings This page intentionally left blank...


