Copyright Planika Sp. z o.o.
www.planikafires.com
IG0139#02
30.07.2018
24
Unroll flexible metal gas hoses, not allowing the formation of hose kinks.
Install inspection hatch in this hole in the wall of the fireplace housing according to the previously
mentioned guidelines.
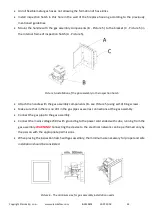
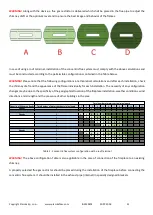
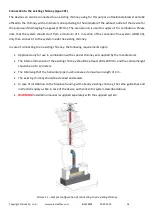
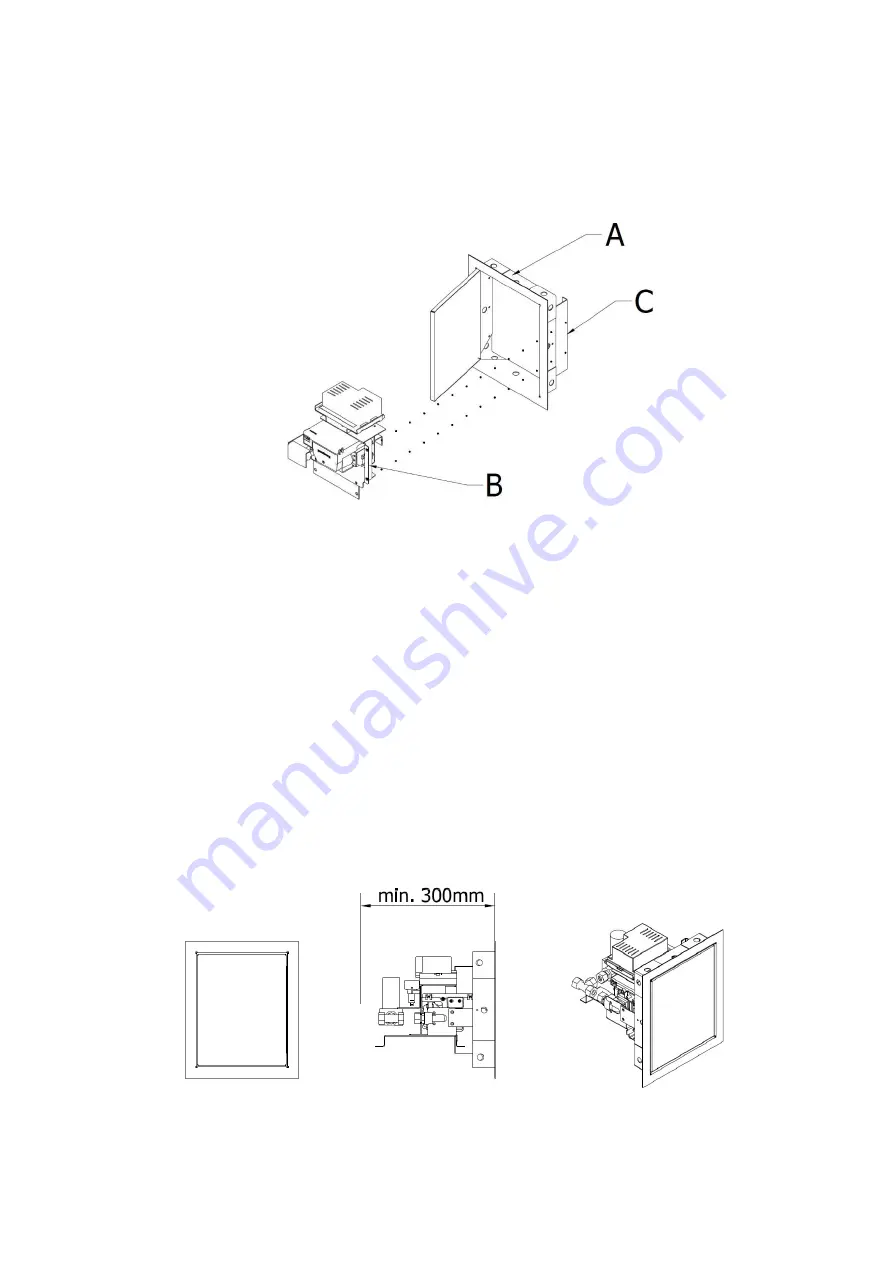
Mount the handle with the gas assembly components (B - Picture 5) to the bracket (C - Picture 5) in
the internal frame of inspection hatch (A - Picture 5).
Picture 5-Installation of the gas assembly in the inspection hatch
Attach the handle with the gas assembly components (B - see Picture 5) using self-drilling screws.
M
ake sure that in there is no dirt in the gas pipes as well as connections at the gas assembly.
Connect the gas pipe to the gas assembly.
Connect the mains voltage 230 V with grounding to the power cord ended with cube, running from the
gas assembly.
WARNING!
Connecting the device to the electrical network can be performed only by
the person with the appropriate permissions.
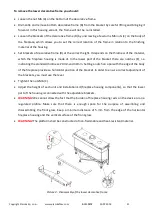
When placing the inspection hatch with gas assembly, the minimum size necessary for proper and safe
installation should be considered.
Picture 6 - The minimum size for gas assembly installation needs

