CDJ-800MK2
110
1
2
3
4
1
2
3
4
C
D
F
A
B
E
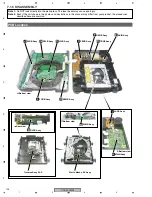
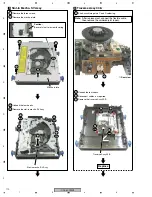
Caution:
Be careful not to lost earth spring.
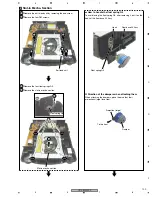
1
Remove the three screws.
2
Remove the mecha. plate.
3
Unhook the four hooks.
4
Remove the slot-in mecha. SV Assy.
Slot-in mecha. SV Assy
Slot-in Mecha. SV Assy
3
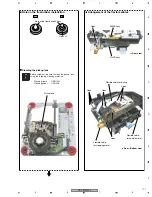
1
Short-circuit two points C and D soldering.
2
Unhook the four hooks.
3
Disconnect cables, as required.
4
Remove the traverse Assy 03-S.
Traverse Assy 03-S
4
2
3
1
1
1
Mecha. plate
Traverse Assy 03-S
3
2
2
2
2
3
3
4
1
C D
Note:
After replacement, connect the flexible cable,
then remove the soldered joint (open).
1
Rear view
Replace
Summary of Contents for CDJ-800MK2
Page 27: ...CDJ 800MK2 27 5 6 7 8 5 6 7 8 C D F A B E MODE MODE 3 3 A 27 24 26 19 36 ...
Page 29: ...CDJ 800MK2 29 5 6 7 8 5 6 7 8 C D F A B E Data PANEL DATA Digital A 2 3 3 3 A 3 3 A 23 ...
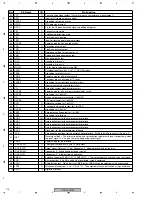
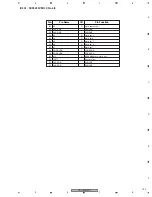
Page 130: ...CDJ 800MK2 130 1 2 3 4 1 2 3 4 C D F A B E Pin Function ...
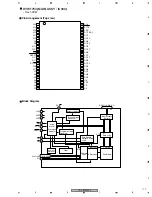
Page 135: ...CDJ 800MK2 135 5 6 7 8 5 6 7 8 C D F A B E Pin Function ...
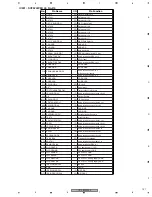
Page 139: ...CDJ 800MK2 139 5 6 7 8 5 6 7 8 C D F A B E Pin Function ...
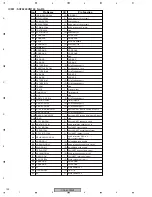
Page 143: ...CDJ 800MK2 143 5 6 7 8 5 6 7 8 C D F A B E ...
Page 153: ...CDJ 800 7 5 6 7 8 5 6 7 8 C D F A B E ...


