48
miroVIDEO DV 200
Set To Record:
Allows you to set the DV device to record. Useful for e.g. PAL cameras that
do not have a record button for use in VTR mode.
Rewind/Play fast in reverse:
If the DV device is stopped, this button rewinds it rapidly. If the DV device
is in play or pause mode, this will provide fast reverse play with viewable
video.
Step back:
This button lets you jump to the previous frame.
Step forward:
This key lets you jump to the next frame.
Fast-forward/Play fast forward:
If the DV device is stopped, this button causes the tape to move forward
rapidly. If the DV device is in play or pause mode, this will provide fast
forward play with viewable video.
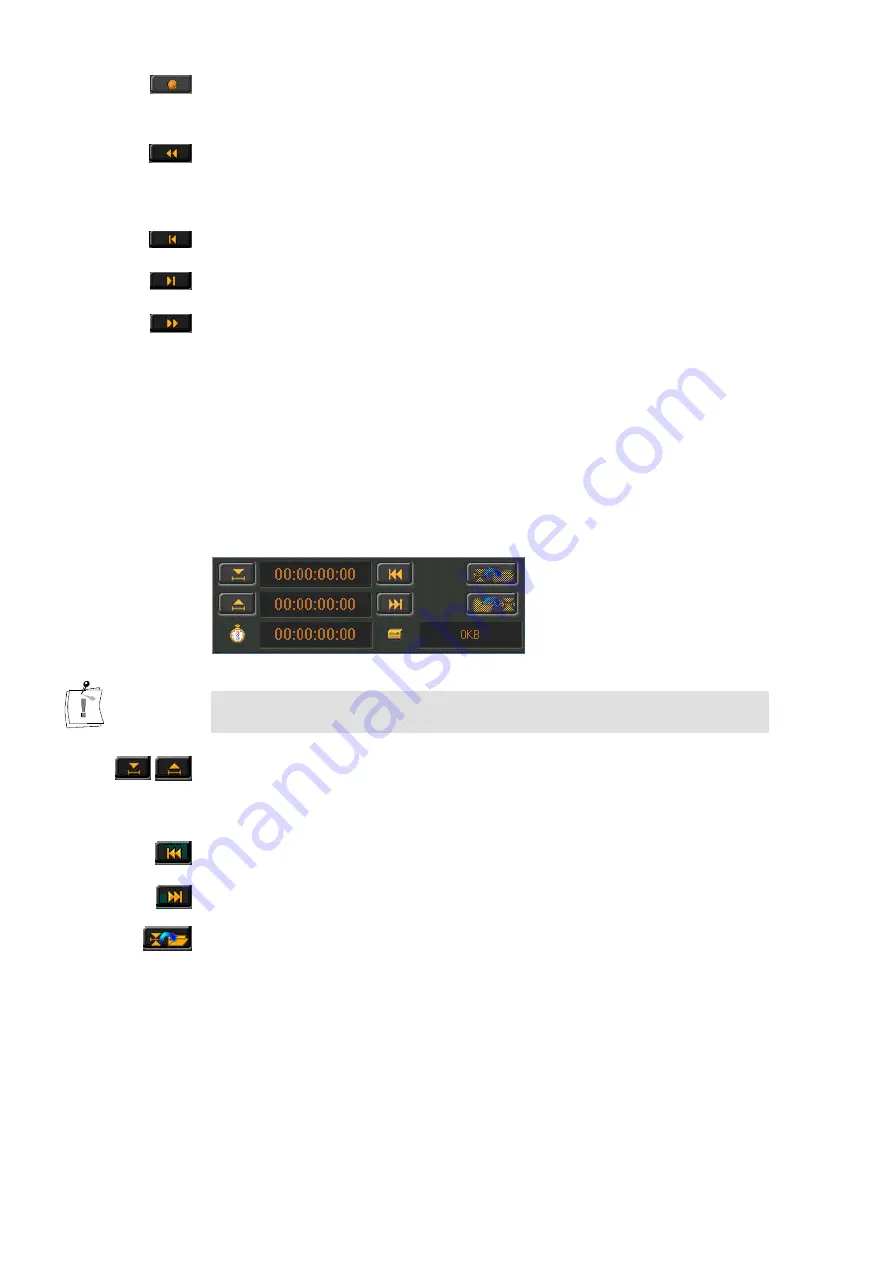
Trim points
If you do not want to capture the entire clip but only a section of it you may
want to define trim points (in and out points). It is only possible to add trim
points, if you scanned the tape. A clip is in this case the video footage
between the start of a shot and the end of a shot.
You cannot define sections extending beyond clip boundaries when you
opened the DV Device Control from within the Clip Info window.
These buttons let you define in and out points to define the start and end of a
section. Click on these buttons either during playback or in the pause mode.
You may also use the slider at the bottom of the DV Device Controller (jog
shuttle) to move the tape forward or to rewind it.
Start of clip:
Rewinds the current video clip to its beginning.
End of clip:
Moves the current video clip forward to its end.
Apply trims:
After you defined a section, click Apply trims.
Summary of Contents for miroVIDEO DV200
Page 1: ...miroVIDEO DV200 USER S GUIDE...
Page 94: ...88 miroVIDEO DV 200 NOTES...
Page 110: ...XVI miroVIDEO DV 200 NOTES...
Page 114: ...NOTES...


