Menu system
5-2
Philips Communication, Security & Imaging
Overview of the menu system
The main menu consists of six menu groups:
History.
The
History
menu allows you to trace all events that have occurred on
the unit.
Disk manager.
The
Disk Manager
menu provides information and functions
that relate to the maintenance of the storage system including internal and
external hard disks.
Time/Date.
The
Time/Date
menu is used to set the actual reference time and
date for the unit and the format that is used to display them.
View settings.
The
View Settings
menu is used to program how the individual
cameras are displayed on the monitors.
System settings.
The
System Settings
menu is where most of the static
parameters for the unit are set.
Profiles.
The
Profiles
menu is used to set up and store the dynamic
characteristics of the unit.
Setting the dynamic characteristics
The settings in the
Profiles
menu provide the opportunity to tap the powerful
functionality of the unit. By spending some time in planning and setting up the
six profiles available, you can provide efficient use of resources while maintaining
effective cover for most types of working situations.
Profiles are usually based on a calendar, switching on and off at a particular date
or time (for example, weekends or night). Profiles can also be switched by an
input signal based on an external switch or armed alarm system.
A profile determines how a unit behaves when that profile is active. Unit
behavior includes how events are handled. It also defines recording rates both
under normal conditions and in response to input and motion events.
Unit behavior can be set up differently for each of the six profiles. Profiles can be
named and copied to facilitate their setup and management.
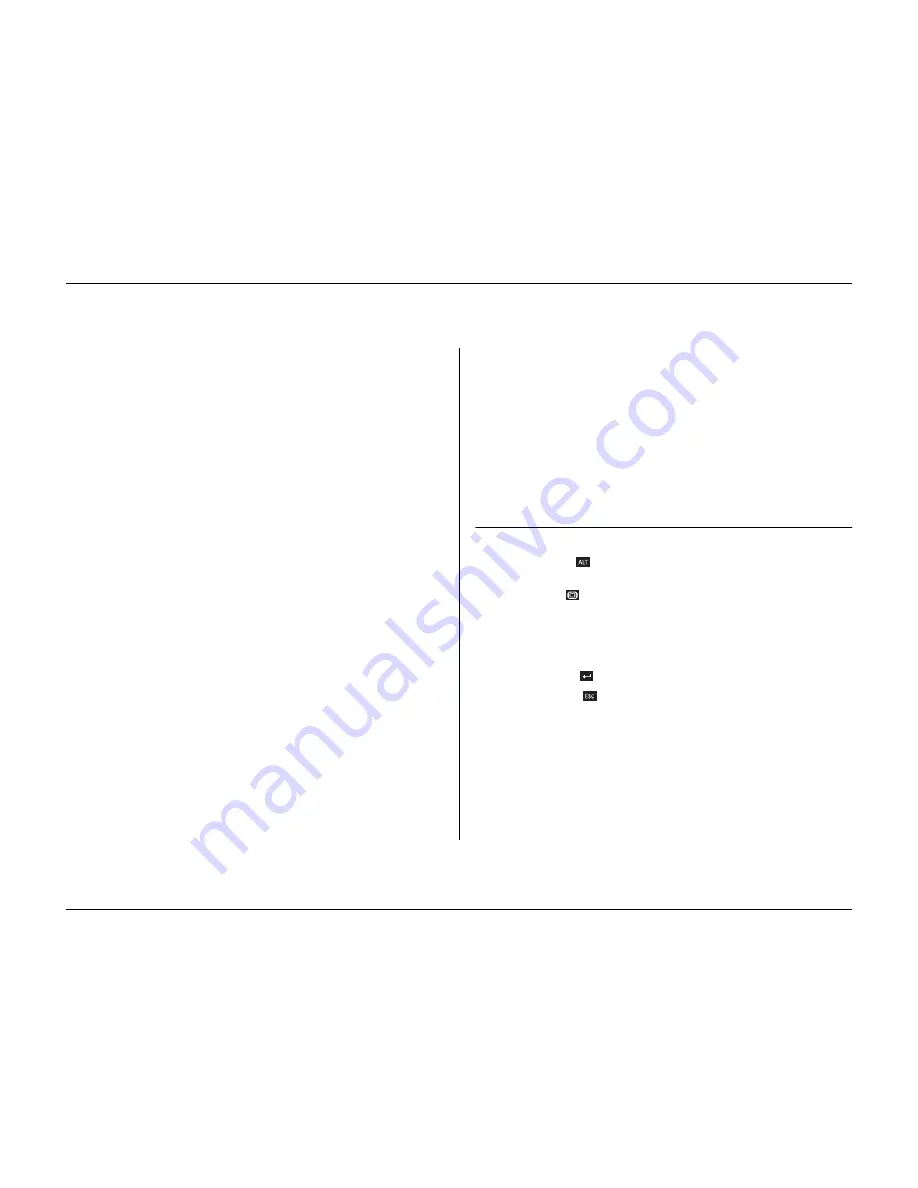
Accessing the menu from the unit
To open the menu:
1. Press the ALT key
to enter the alternate function mode.
> The ALT indicator lights.
2. Press the menu
key.
> The main menu appears full-screen on monitor A.
Navigating
• Use the arrow keys to move through a menu or list.
• Use the select key
to select a submenu or item.
• Use the escape key
to go back.
Access to some menu items can be password protected.
Summary of Contents for Divar
Page 1: ...DIVAR DIGITAL VERSATILE RECORDER Installation Manual www philipscsi com ...
Page 40: ...Hardware setup 4 10 Philips Communication Security Imaging ...
Page 62: ...Using the Configuration Tool 6 8 Philips Communication Security Imaging ...
Page 70: ...Menu default values 7 8 Philips Communication Security Imaging ...


