Quick install
2-4
Philips Communication, Security & Imaging
Q
UICK
INSTALL
MENU
>
>> Language
• Select the language for the menu from the list.
>> Time format
• Select either a 12 or a 24 hour clock format.
>> Time
• Fill in the actual time.
>> Date format
• Select from three date formats which show either the month (MM), the
day (DD) or the year (YYYY) first.
>> Date
• Fill in the actual date.
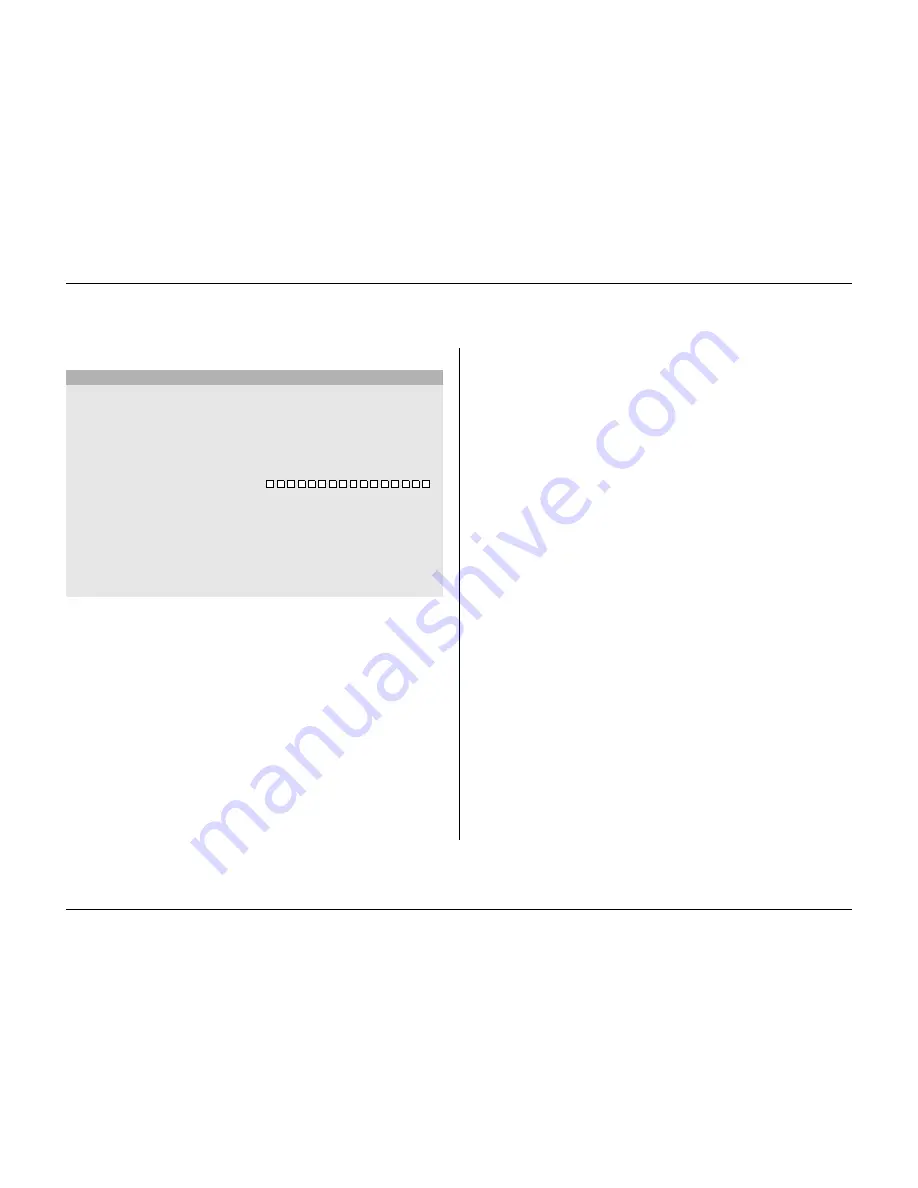
>> Active cams
• Select the cameras you wish to activate. Only activated cameras are
configured after exiting the Quick Install menu. Press the camera keys to
select or deselect a camera. A check mark means selected.
>> Alarm Monitor
• Select the monitor on which input alarm messages are displayed.
>> Recording settings
• Opens recording settings submenu to fill in the basic recording settings
for the day and weekend/night profiles.
>> Network settings
• Opens network settings submenu to fill in the settings that control the
behavior of the unit with respect to a network.
>> Save & exit
• Select this item to load the settings you have made into the unit and exit
the Quick Install.
>> Cancel
• Select this item to exit the Quick Install without saving.
QUICK INSTALL
LANGUAGE
ENGLISH
TIME FORMAT
24-HOUR
TIME
19:45:00
DATE FORMAT
YYYY-MM-DD
DATE
2002-06-20
1 2 3 4 5 6 7 8 9 10 11 12 13 14 15 16
ACTIVE CAMS
ALARM MONITOR
MON A ONLY
RECORDING SETTINGS
>
NETWORK SETTINGS
>
SAVE & EXIT
>
CANCEL
Summary of Contents for Divar
Page 1: ...DIVAR DIGITAL VERSATILE RECORDER Installation Manual www philipscsi com ...
Page 40: ...Hardware setup 4 10 Philips Communication Security Imaging ...
Page 62: ...Using the Configuration Tool 6 8 Philips Communication Security Imaging ...
Page 70: ...Menu default values 7 8 Philips Communication Security Imaging ...


