172
5
Edi
ting and Pr
in
ting
Ima
g
es
6
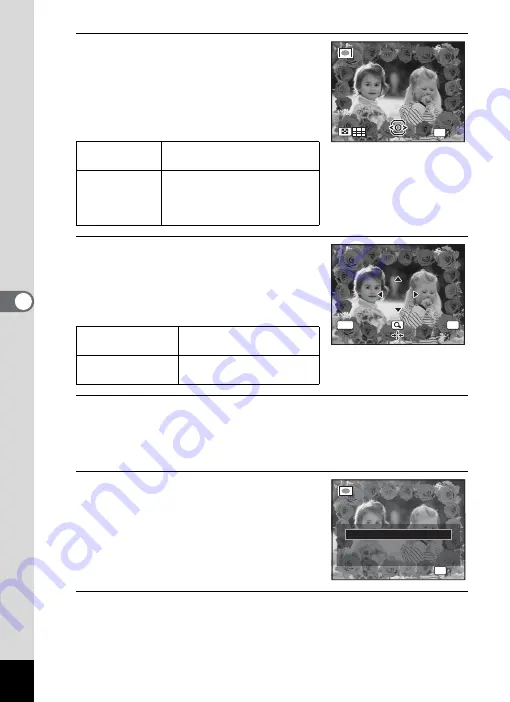
Press the zoom button towards
the right (
y
).
The selected frame appears in single-image
display.
You can choose another frame using either
of the following operations.
7
Press the
4
button.
The frame position and size adjustment
screen appears.
You can adjust the image using either of the
following operations.
8
Press the
4
button.
A confirmation dialog for overwriting the image appears.
If the selected image is protected, the processed image is saved as a
new image and the following confirmation dialog does not appear.
9
Use the four-way controller (
23
)
to select [Overwrite] or [Save as].
10
Press the
4
button.
The edited image is saved with the recorded pixels of
h
(2048×1536).
Four-way
controller (
45
)
Press to choose a different
frame.
Zoom button
towards the left
(
f
)
Press to return to the 9-frame
display of the frame selection
screen, and then perform Step
5 to choose a different frame.
Four-way controller
(
2345
)
Press to adjust the position
of the image
Zoom button
Press to make the image
larger or smaller.
OK
O K
O K
OK
MENU
C a n c e l
C a n c e l
C a n c e l
O K
O K
OK
O K
O K
O v e r w r i t e
S a v e a s
C a n c e l
O v e r w r i t e
o r i g i n a l i m a g e ?
O v e r w r i t e
o r i g i n a l i m a g e ?
Summary of Contents for 16101
Page 34: ...Memo 32...
Page 57: ...2 Common Operations Understanding the Button Functions 56 Setting the Camera Functions 61...
Page 70: ...Memo 68...
Page 184: ...Memo 182...
Page 192: ...Memo 190...
Page 193: ...7 Settings Camera Settings 192 Using the Clock Function 208...
Page 262: ...260 9 Appendix Z Zoom x w 82 Zoom button 56 58...
Page 263: ...Memo...


