123
3
Ta
king
Pict
ures
4
Press the
3
button.
The camera returns to capture status.
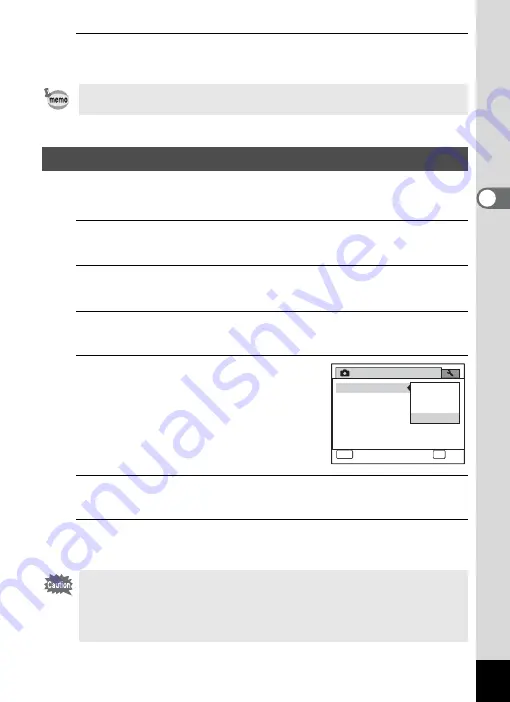
You can choose whether to imprint the date and/or time when taking still
pictures.
1
Press the
3
button in
A
mode.
The [
A
Rec. Mode] menu appears.
2
Use the four-way controller (
23
) to select [Date
Imprint].
3
Press the four-way controller (
5
).
A pull-down menu appears.
4
Use the four-way controller (
23
)
to select the Date Imprint details.
Choose from [Date], [Date & Time], [Time]
or [Off].
5
Press the
4
button.
The setting is saved.
6
Press the
3
button.
The camera returns to capture status.
If you change the [Contrast] setting frequently, you can save time by
assigning it to the Green button (p.124).
Setting the Date Imprint Function
• The date and/or time imprinted with the Date Imprint function cannot
be deleted.
• Note that if the printer or the image editing software is set to print the
date and the images to be printed already have the date and/or time
imprinted, the imprinted dates and/or times may overlap.
Rec. Mode
Date Imprint
MENU
Cancel
4 / 4
OK
OK
Date & Time
Date
Time
Off
Summary of Contents for 16101
Page 34: ...Memo 32...
Page 57: ...2 Common Operations Understanding the Button Functions 56 Setting the Camera Functions 61...
Page 70: ...Memo 68...
Page 184: ...Memo 182...
Page 192: ...Memo 190...
Page 193: ...7 Settings Camera Settings 192 Using the Clock Function 208...
Page 262: ...260 9 Appendix Z Zoom x w 82 Zoom button 56 58...
Page 263: ...Memo...


