44
Set the time zone and assign programs [Time Table]
Create timetables for each day of the week, and assign a program to each timetable. Up to 6 recording programs
can be created for each day of the week.
Screenshot 1
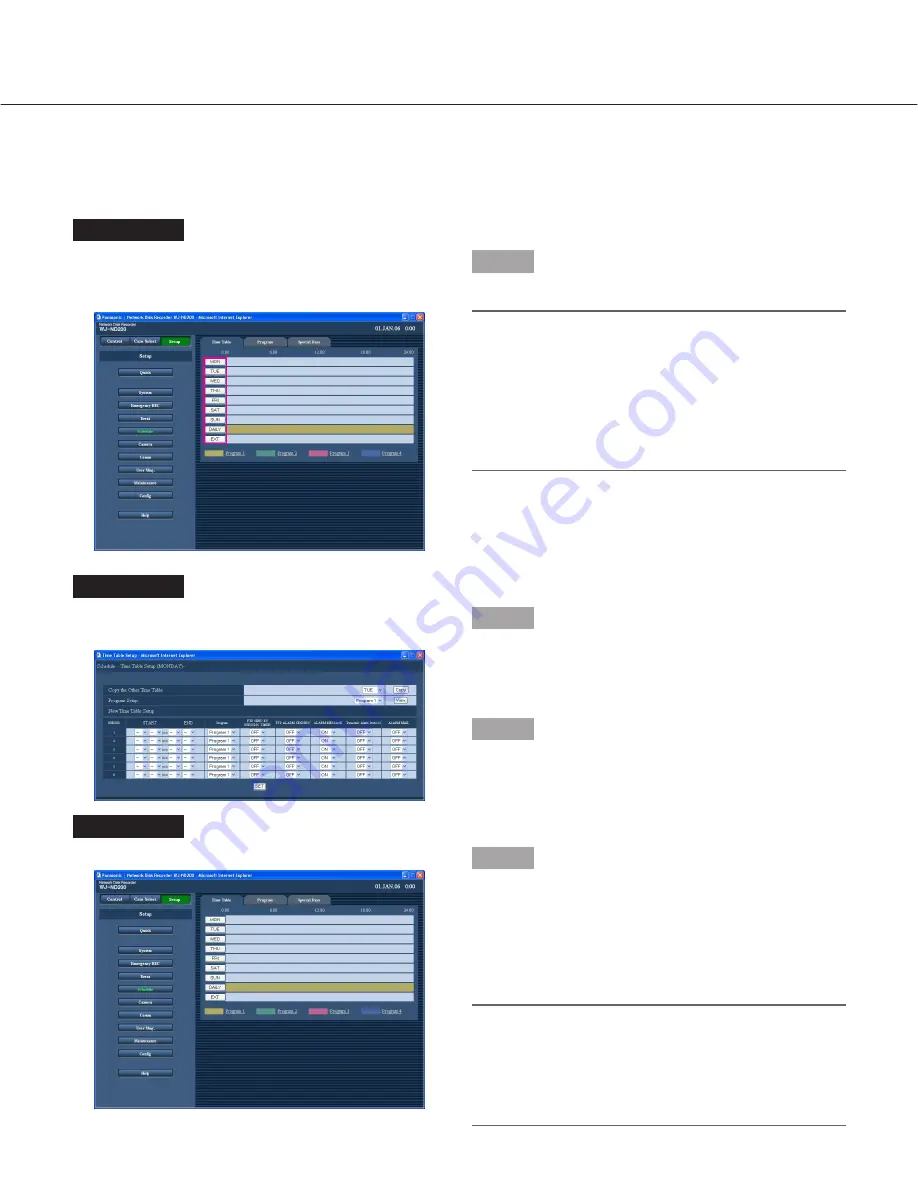
Click the [Schedule] button in the "Setup" panel and
then click the "Time Table" tab. The "Time Table" page
will be displayed.
Step 1
Click the button of the desired day of the week.
Notes:
• When a signal is supplied from the ALARM/CON-
TROL connector on the rear panel (the external
recording mode changeover terminal (pin no. 24)) of
the unit will work with the set timetable for "EXT".
• It is possible to display the "Program" window (
☞
page 39) by clicking the program title displayed at
the bottom of the table.
Screenshot 2
The timetable of the selected day of the week will be
displayed.
Step 2
Perform the settings for each item.
Refer to the following for further information about the
settings for each item.
Step 3
Click the [SET] button after completing the settings, and
close the window by clicking the [
×
] button at the top
right of the window.
Screenshot 3
The "Time Table" page will be displayed again.
Step 4
The set timetables and programs will be applied.
Programs will be displayed with different colors.
Program 1:
Yellow
Program 2:
Green
Program 3:
Pale purple
Program 4:
Dark blue
Note:
To obtain SD memory data automatically, set time
length between the schedules longer than 30 min-
utes.
However, if the timetable is set for "EXT" only, SD
memory data will not be obtained automatically.


