23
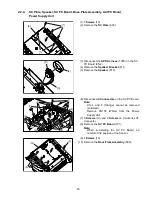
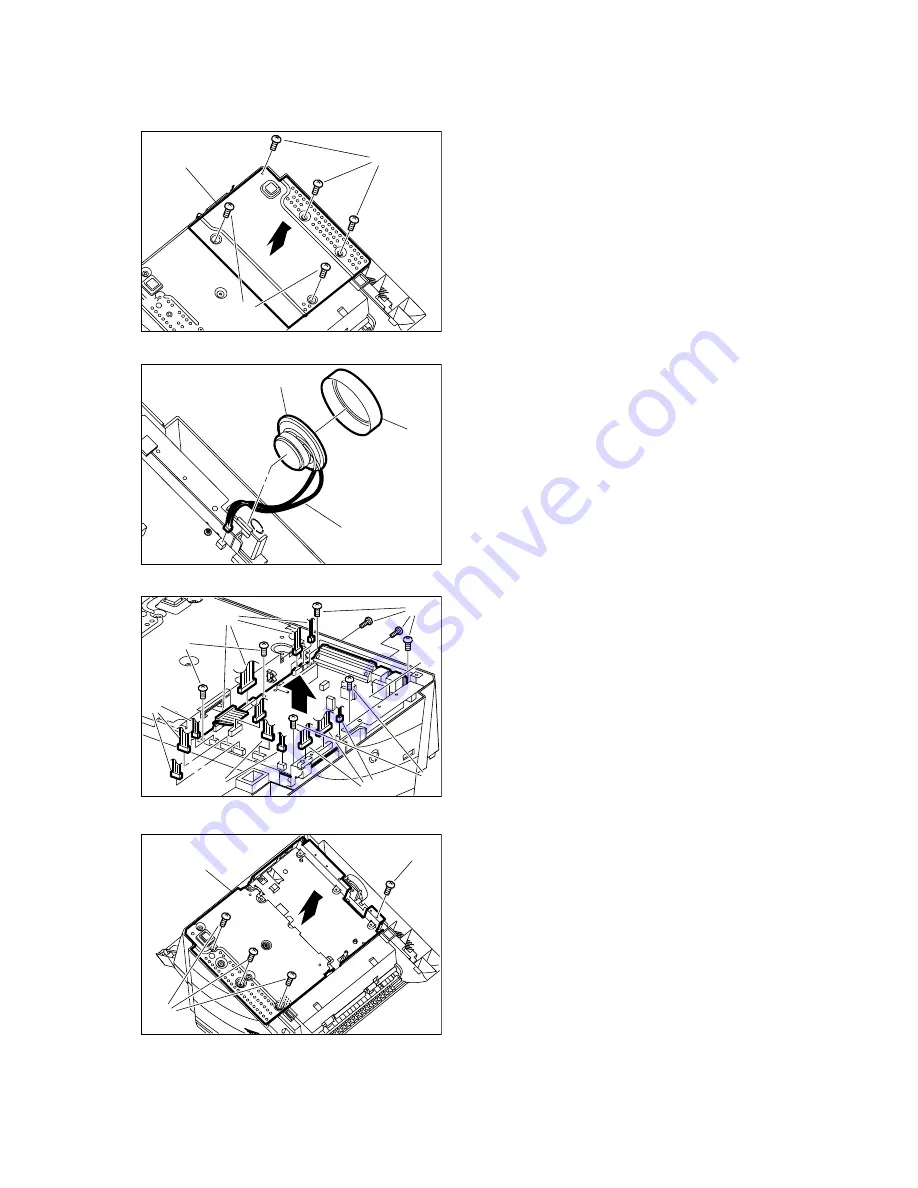
2.2.4.
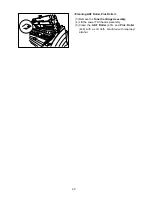
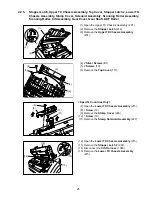
SC Plate, Speaker, SC PC Board, Base Plate Assembly, ACI PC Board,
Power Supply Unit
(1) 5 Screws (19).
(2) Remove the SC Plate (603).
(3) Disconnect the SPK Harness (1005) on the SC
PC Board (CN2).
(4) Remove the Speaker Bracket (611).
(5) Remove the Speaker (612).
(6) Disconnect all Connectors on the SC PC Board.
Note:
CN 4 and 6 (Orange) cannot be removed
(soldered).
Remove CN103 (White) from the Power
Supply Unit.
(7) 6 Screws (19) and 2 Screws on Centronics I/F
Connector.
(8) Remove the SC PC Board (701).
Note:
When re-installing the SC PC Board, be
careful of the position of the Sensor
(9) 4 Screws (19).
(10) Remove the Base Plate Assembly (602).
(1)
(1)
(2)
(3)
(4)
(5)
(6)
(7)
(8)
(7)
(7)
(6)
(6)
(6)
(9)
(10)
(9)
Summary of Contents for Panafax UF-490
Page 2: ...2 ...
Page 15: ...15 1 4 Control Panel For USA and Canada For Other Countries ...
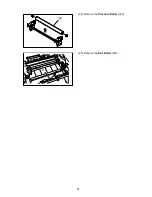
Page 37: ...37 24 Remove the Pressure Roller 322 25 Remove the Exit Roller 304 24 25 ...
Page 63: ...63 3 10 ILS PC Board CN73 Refer to SC PC Board CN11 ...
Page 65: ...65 3 12 ACI PC Board Refer to Power Supply Unit CN101 ...


