42
IPX Peer-to-Peer Setup
IPX Peer-to-Peer printing allows you to print to a network printer for networks without a
file server or for networks where you do not want to use the server for printing. Use
peer-to-peer printing on Windows 95/Windows 98 systems.
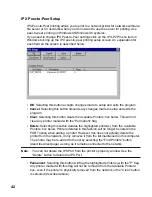
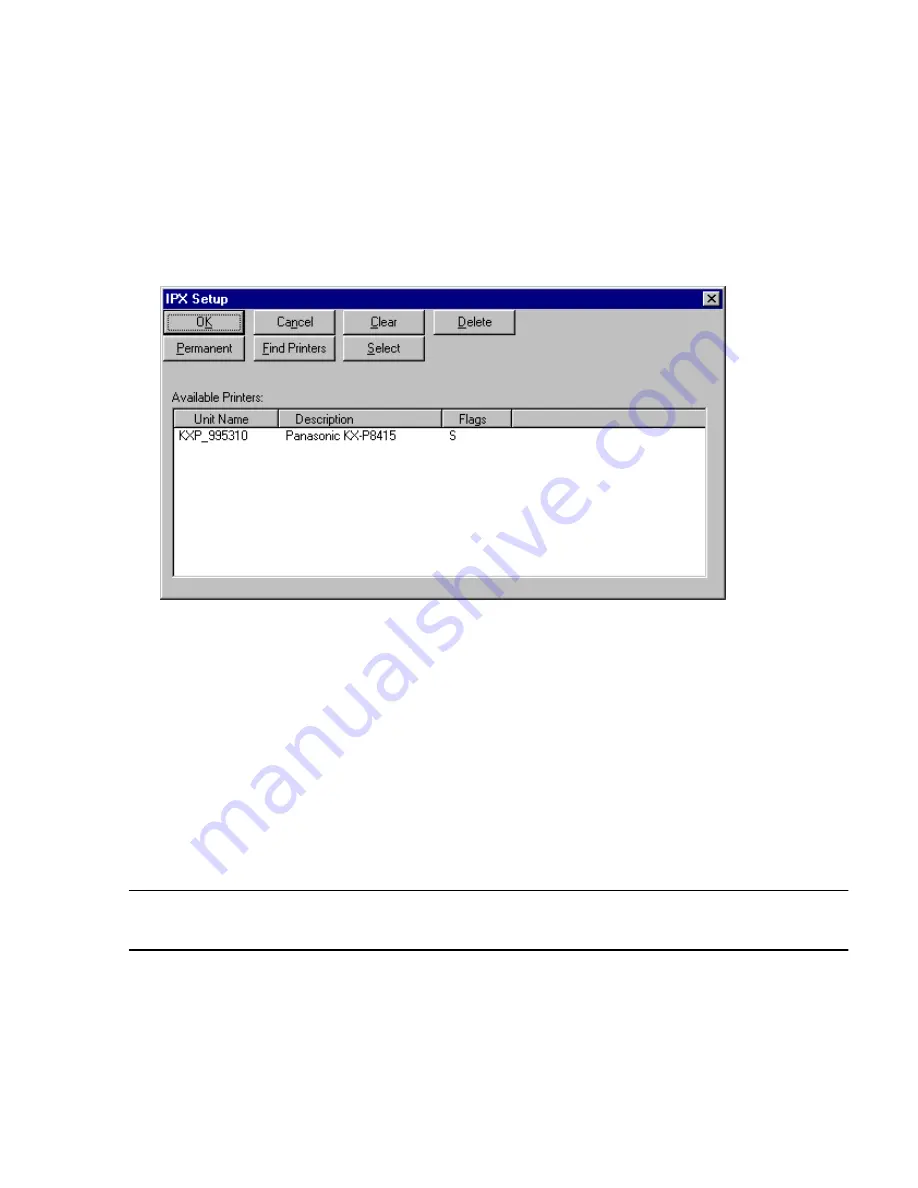
If you need to change IPX Peer-to-Peer settings click on the IPX-P2P menu item in
Windows to bring up the IPX peer-to-peer printing setup screen. An explanation for
each field on the screen is described below.
• OK: Selecting this button accepts changes made to setup and exits the program.
• Cancel: Selecting this button discards any changes made to setup and exits the
program.
• Clear: Selecting this button clears the Available Printers: box below. This will not
clear any printer marked with the “Permanent” flag.
• Delete: Selecting this button deletes the highlighted printer(s) from the Available
Printers: box below. Printers deleted in this fashion will no longer be listed in the
PORT listing when adding a printer. However, this does not actually delete the
printer from the network, it only removes it from the list maintained on this computer.
The printer may be re-added to the list by selecting the “Find Printers” button
(described next page) as long as it remains connected to the network.
Note:
You can not delete the IPX Port from the printer’s property window. Use the
“Delete” button to delete the IPX Port.
• Permanent: Selecting this button will flag the highlighted printer(s) with the “P” flag.
Any printer marked with this flag will not be removed from the Available Printers:
box, even if the printer is physically removed from the network or the “Clear” button
is selected (described above).


