102
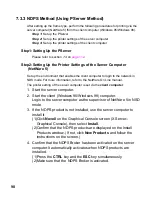
16. Type “NWCONFIG” on the console screen, then press the ENTER
key.
The NetWare Configuration menu is displayed.
17. Choose NCF Files Option from the Configuration Option, then press
the ENTER key.
The Available NCF Files Option menu is displayed.
18. Select EDIT AUTOEXEC.NCF file, then press the ENTER key.
The File: AUTOEXEC.NCF window is displayed.
19. Type “NDPSM xxxxxxxx” at the bottom of the window.
(xxxxxxxx indicates the NDPS Manager name you entered in step
8.)
20. Press the ESC key.
A message “Save File AUTOEXEC. NCF?” is displayed.
21. Select Yes, then press the ENTER key.
The screen returns to the Available NCF Files Option.
22. Press the ESC key two times.
A message “Exit nwconfig?” is displayed.
23. Select Yes, then press the ENTER key.
Go back to the client computer and continue on the settings.
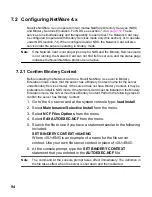
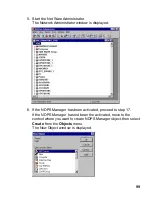
24. Move to the context of which you want to make NDPS Manager
object, then select Create from the Objects menu.
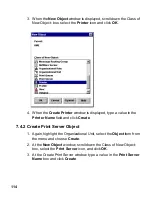
The New Object window is displayed.
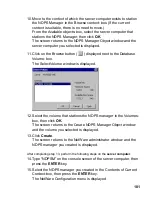
25. Select NDPS Printer in the Class of new Object: box, then click
OK
.
26. Type a NDPS Printer name in the NDPS Printer Name: box.
For example, P8415_ NDPS.
Note:
It is recommended to enter the model number of the printer because this name
displayed almost like a printer name from the client computer.
You can not use the same queue name you previously created for the NDPS
Printer name.

