150
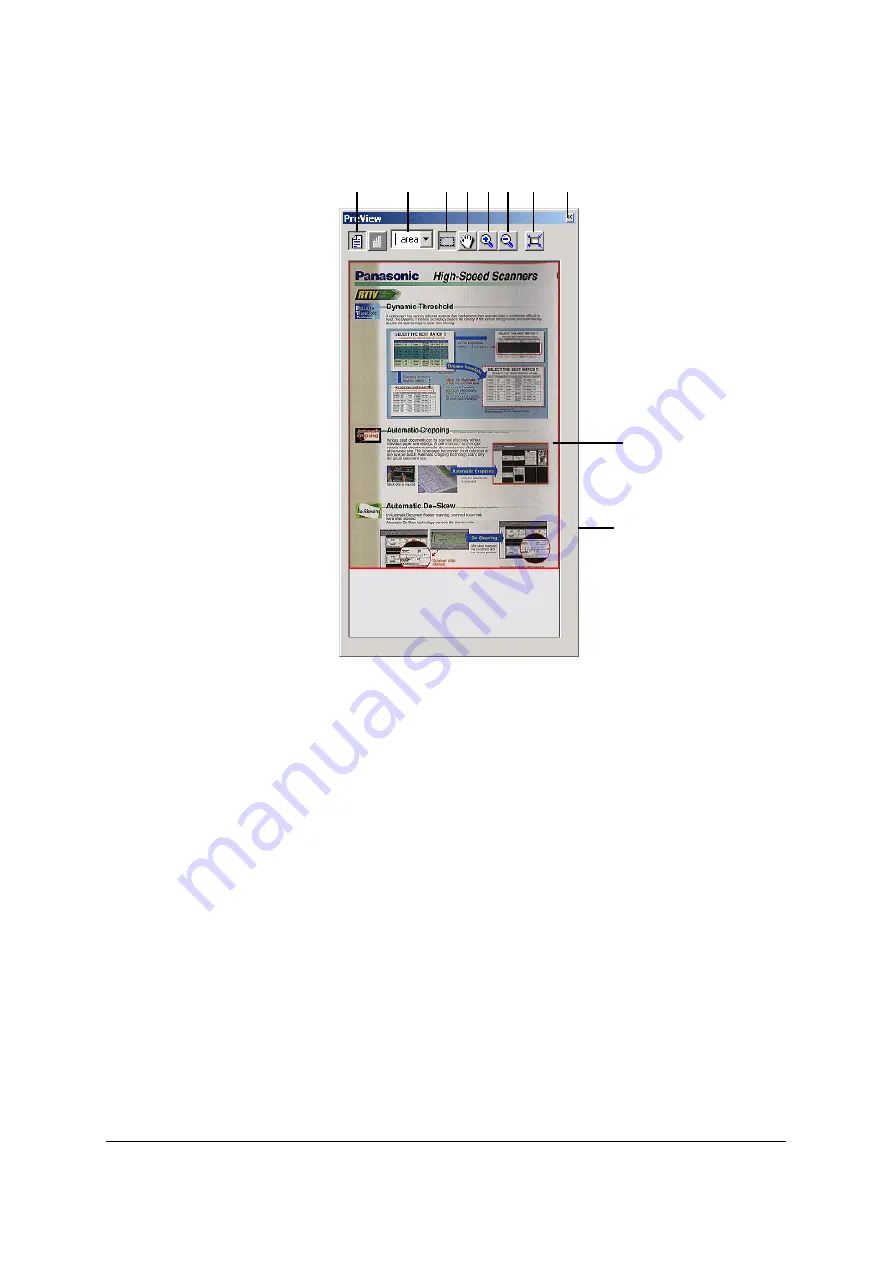
Preview window configuration
1
[Front] button, [Back] button
•
To establish the setting for Both scanning, select Front and Back by clicking
the respective buttons.
•
The image and areas shown on the preview window are also switched.
2
[Switch Area] list box
•
The area (MainArea (Scanning area), Sub Area1, Sub Area2 or Sub Area3)
to be edited is selected here.
•
Only the area currently selected can be edited.
3
[Area Edit Mode] button
•
This specifies the Area when the desired area on the image shown on the
preview window is dragged using the mouse.
•
The Area to be specified is selected in the [Switch Area] list box ahead of time.
•
When the outside of the specified Area is clicked, the area is deleted.
•
When the top, bottom, left or right line or a corner of the specified Area is
dragged using the mouse, the size of the Area can be changed.
•
The Area can be moved by dragging the inside of the specified Area using the
mouse.
1
2
9
10
3 4 5 6
7
8


