


Maintenance
t
4-3
R
UNNING
A C
LEANING
C
ARTRIDGE
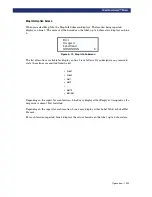
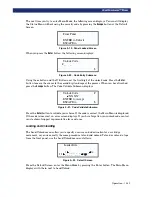
Figure 4–3. Cleaning Submenu
5) Press the
Enter
button to accept Drive1. The
u
moves to line 4 of the display. The
choices available on Line 4 are slots 1 through 19. Press the
Enter
button again to
use the cartridge in Slot 1.
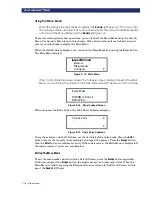
If you cannot use slot 1 for the cleaning cartridge, you can scroll line 4 to select another slot.
The Cleaning Confirmation Screen displays:
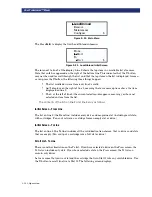
Figure 4–4. Cleaning Confirmation Screen
6) As the confirmation screen indicates, to execute the cleaning operation, press the
Enter
button. If the confirmation screen does not show your intended drive and
cleaning cartridge, press the
Escape
button to return to the Cleaning submenu.
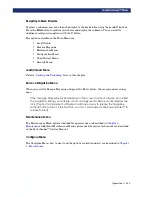
When you press the
Enter
button, the Cleaning In Progress screen displays:
Figure 4–5. Cleaning In Progress Screen
When the cleaning operation is completed, the Default Screen reappears.
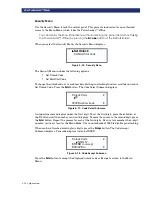
Removing the Cleaning Cartridge
1) Examine the Default Screen on the PowerLoader™ to make sure the cleaning cartridge has
been unloaded from the drive. If not, then unload it using the Load/Unload Menu, as
described in
2) Remove the magazine from the PowerLoader™ (refer to
in Chapter 3).
3) Remove the cleaning cartridge from the magazine.
4) Insert any desired data cartridge into the slot vacated by the cleaning cartridge.
5) Insert the magazine into the PowerLoader™.
6) Close the magazine door.
Cleaning:
u
u
u
u
✶
✶
✶
✶
Drv 1
Using:
✶
✶✶
✶
Slot 1
Cleanin
Using
ENTER to
ESCAPE to
Dri
Slo
Cleanin
Using
Cleaning in
Dri
Slo
Summary of Contents for PowerLoaders AIT-2
Page 1: ......
Page 4: ...ii u...
Page 13: ...xi LIST OF FIGURES CONT D...
Page 14: ...xii LIST OF FIGURES CONT D...
Page 16: ...xiv LIST OF TABLES CONT D...
Page 26: ...2 2 u Installation RELEASING THE LOCKDOWN MECHANISM Lockdown Screw...
Page 52: ...2 28 u Installation CONFIGURATION OPTIONS DESCRIPTION...
Page 96: ...5 18 u Troubleshooting ERROR RECOVERY...
Page 102: ...A 6 u Specifications SPECIFICATIONS...
Page 104: ...B 2 u...


