
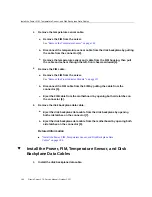


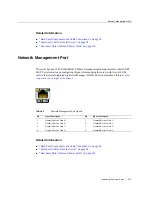

Install the Motherboard
Install the Motherboard
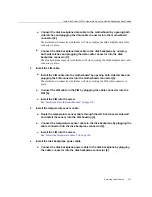
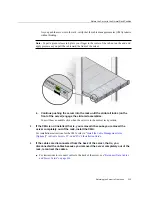
1.
Attach an antistatic wrist strap to your wrist, and then to a metal area on the
chassis.
“Take Antistatic Measures” on page 61
.
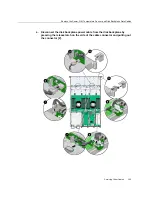
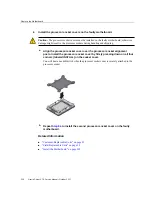
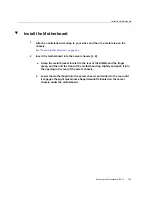
2.
Insert the motherboard into the server chassis [1, 2].
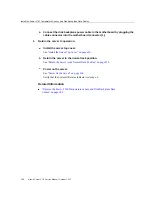
a.
Grasp the metal bracket located to the rear of the DIMMs and the finger
grasp, and then tilt the front of the motherboard up slightly and push it into
the opening in the rear of the server chassis.
b.
Lower the motherboard into the server chassis and slide it to the rear until
it engages the eight mushroom-shaped standoffs located on the server
chassis under the motherboard.
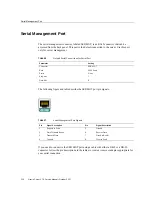
Servicing the Motherboard (FRU)
205
Summary of Contents for X7-2
Page 1: ...Oracle Server X7 2 Service Manual Part No E72445 03 October 2017 ...
Page 2: ......
Page 14: ...14 Oracle Server X7 2 Service Manual October 2017 ...
Page 86: ...86 Oracle Server X7 2 Service Manual October 2017 ...
Page 96: ...96 Oracle Server X7 2 Service Manual October 2017 ...
Page 110: ...110 Oracle Server X7 2 Service Manual October 2017 ...
Page 136: ...136 Oracle Server X7 2 Service Manual October 2017 ...
Page 150: ...150 Oracle Server X7 2 Service Manual October 2017 ...
Page 162: ...162 Oracle Server X7 2 Service Manual October 2017 ...
Page 168: ...168 Oracle Server X7 2 Service Manual October 2017 ...
Page 178: ...178 Oracle Server X7 2 Service Manual October 2017 ...
Page 184: ...184 Oracle Server X7 2 Service Manual October 2017 ...
Page 192: ...192 Oracle Server X7 2 Service Manual October 2017 ...
Page 216: ...216 Oracle Server X7 2 Service Manual October 2017 ...
Page 252: ...252 Oracle Server X7 2 Service Manual October 2017 ...
Page 282: ...282 Oracle Server X7 2 Service Manual October 2017 ...
Page 306: ...306 Oracle Server X7 2 Service Manual October 2017 ...


