
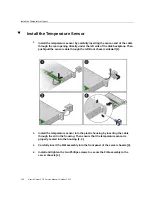


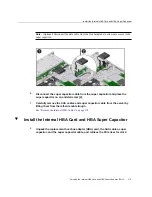
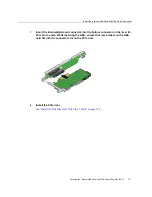

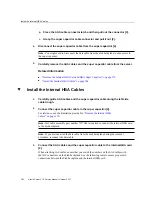

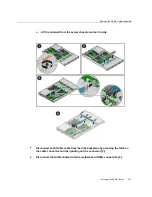
Install the Internal HBA Card and HBA Super Capacitor
“Install the Internal HBA Cables” on page 182
.
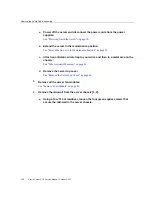
Note -
If you did not remove the HBA super capacitor when removing the internal HBA card,
reconnect the HBA super capacitor cable to the internal HBA card.
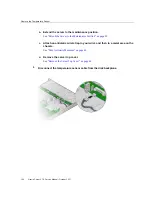
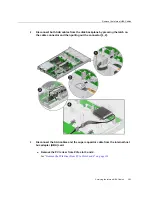
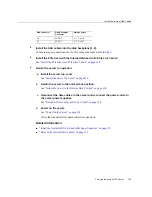
5.
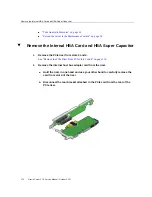
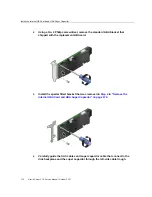
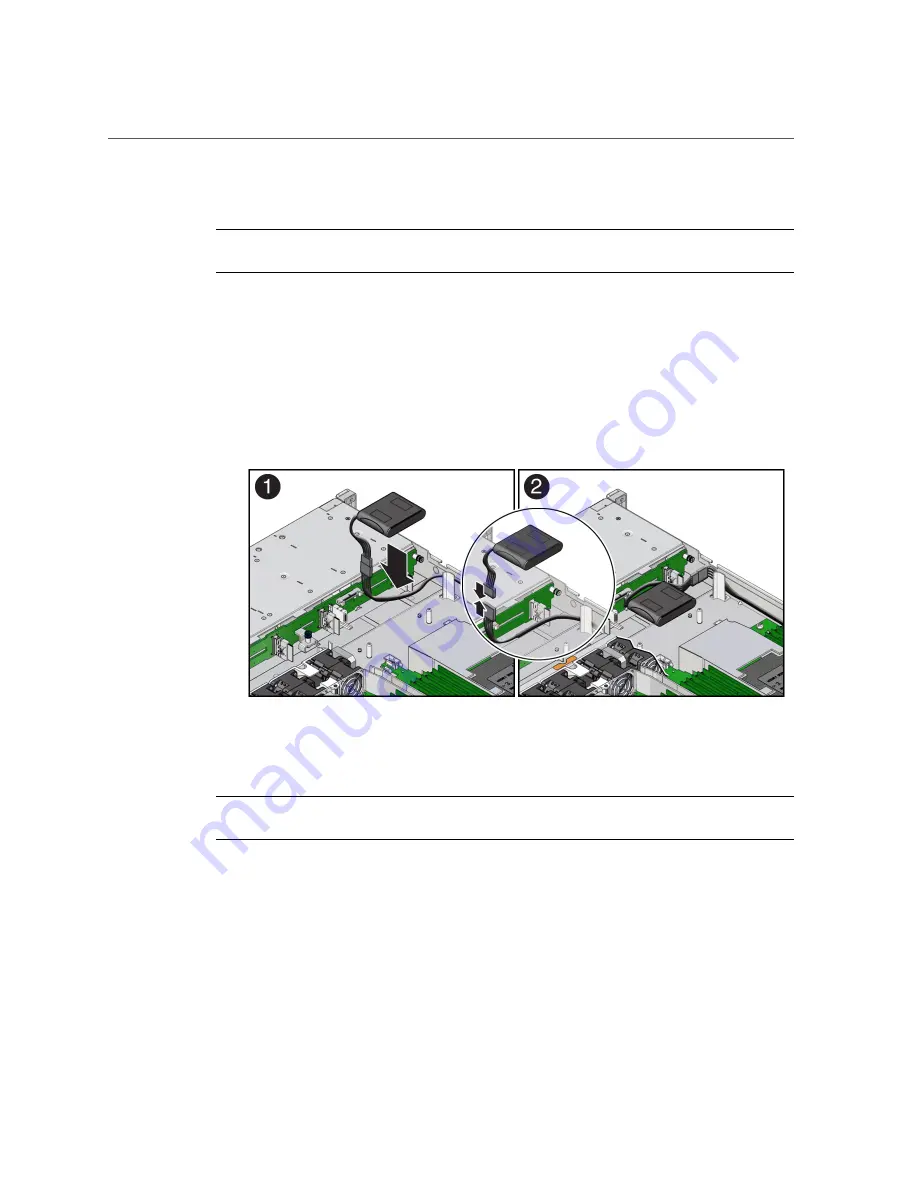
Install the super capacitor into the server.
a.
Attach the reclosable fasteners supplied with the replacement super
capacitor to its underside.
b.
Connect the super capacitor cable to the super capacitor [1, 2].
c.
Press the super capacitor into the server's chassis so that it is secured to
the existing reclosable fastener [2].
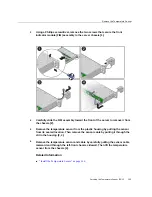
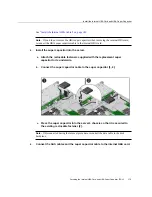
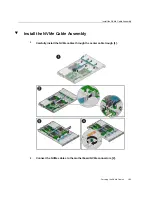
Note -
If disconnected during the removal procedure, reconnect the data cable to the disk
backplane.
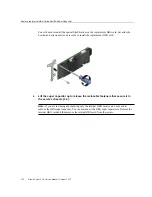
6.
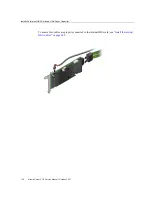
Connect the SAS cables and the super capacitor cable to the internal HBA card.
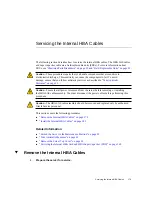
Servicing the Internal HBA Card and HBA Super Capacitor (FRU)
175
Summary of Contents for X7-2
Page 1: ...Oracle Server X7 2 Service Manual Part No E72445 03 October 2017 ...
Page 2: ......
Page 14: ...14 Oracle Server X7 2 Service Manual October 2017 ...
Page 86: ...86 Oracle Server X7 2 Service Manual October 2017 ...
Page 96: ...96 Oracle Server X7 2 Service Manual October 2017 ...
Page 110: ...110 Oracle Server X7 2 Service Manual October 2017 ...
Page 136: ...136 Oracle Server X7 2 Service Manual October 2017 ...
Page 150: ...150 Oracle Server X7 2 Service Manual October 2017 ...
Page 162: ...162 Oracle Server X7 2 Service Manual October 2017 ...
Page 168: ...168 Oracle Server X7 2 Service Manual October 2017 ...
Page 178: ...178 Oracle Server X7 2 Service Manual October 2017 ...
Page 184: ...184 Oracle Server X7 2 Service Manual October 2017 ...
Page 192: ...192 Oracle Server X7 2 Service Manual October 2017 ...
Page 216: ...216 Oracle Server X7 2 Service Manual October 2017 ...
Page 252: ...252 Oracle Server X7 2 Service Manual October 2017 ...
Page 282: ...282 Oracle Server X7 2 Service Manual October 2017 ...
Page 306: ...306 Oracle Server X7 2 Service Manual October 2017 ...


