


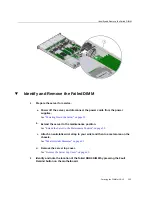

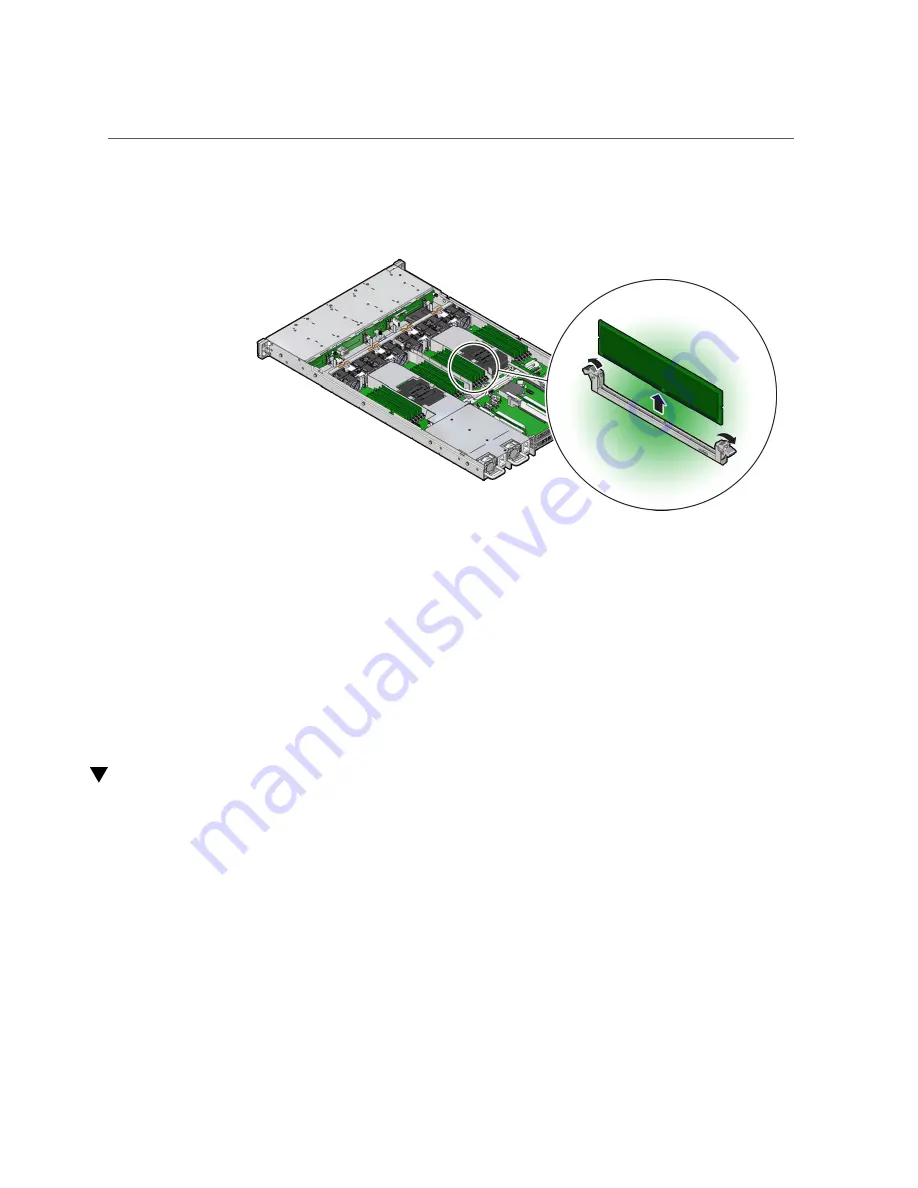
Install a DIMM
b.
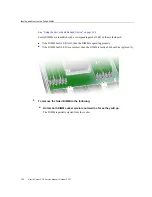
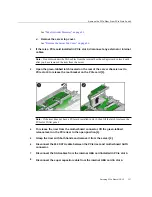
Carefully lift the DIMM straight up to remove it from the socket.
4.
Replace each faulty DIMM with either another DIMM of the same rank size (quad-
rank or dual-rank) or leave the socket empty.
For DIMM replacement instructions, see
.
Related Information
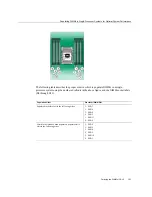
■
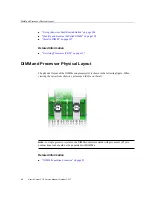
“DIMM and Processor Physical Layout” on page 98
■
“DIMM Population Rules” on page 99
■
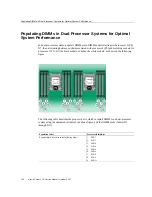
“Populating DIMMs for Optimal System Performance” on page 100
■
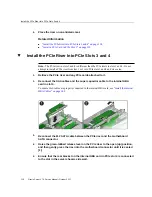
Install a DIMM
1.
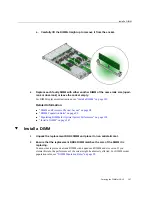
Unpack the replacement DDR4 DIMM and place it on an antistatic mat.
2.
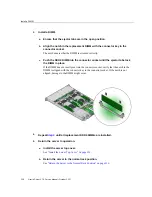
Ensure that the replacement DDR4 DIMM matches the size of the DIMM it is
replacing.
You must not replace a dual-rank DIMM with a quad-rank DIMM and vice versa. If you
violate this rule, the performance of the server might be adversely affected. For DIMM socket
“DIMM Population Rules” on page 99
.
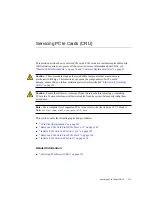
Servicing the DIMMs (CRU)
107
Summary of Contents for X7-2
Page 1: ...Oracle Server X7 2 Service Manual Part No E72445 03 October 2017 ...
Page 2: ......
Page 14: ...14 Oracle Server X7 2 Service Manual October 2017 ...
Page 86: ...86 Oracle Server X7 2 Service Manual October 2017 ...
Page 96: ...96 Oracle Server X7 2 Service Manual October 2017 ...
Page 110: ...110 Oracle Server X7 2 Service Manual October 2017 ...
Page 136: ...136 Oracle Server X7 2 Service Manual October 2017 ...
Page 150: ...150 Oracle Server X7 2 Service Manual October 2017 ...
Page 162: ...162 Oracle Server X7 2 Service Manual October 2017 ...
Page 168: ...168 Oracle Server X7 2 Service Manual October 2017 ...
Page 178: ...178 Oracle Server X7 2 Service Manual October 2017 ...
Page 184: ...184 Oracle Server X7 2 Service Manual October 2017 ...
Page 192: ...192 Oracle Server X7 2 Service Manual October 2017 ...
Page 216: ...216 Oracle Server X7 2 Service Manual October 2017 ...
Page 252: ...252 Oracle Server X7 2 Service Manual October 2017 ...
Page 282: ...282 Oracle Server X7 2 Service Manual October 2017 ...
Page 306: ...306 Oracle Server X7 2 Service Manual October 2017 ...


