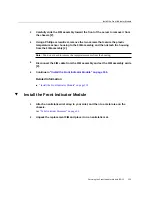


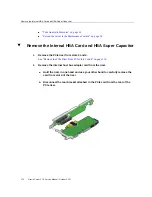

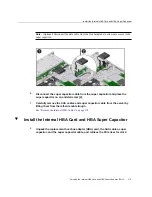

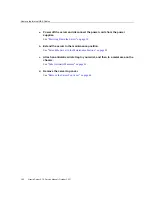


Install the Internal HBA Card and HBA Super Capacitor
Note -
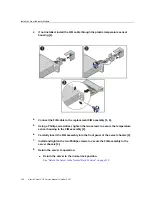
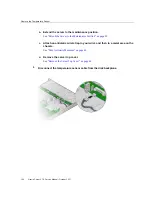
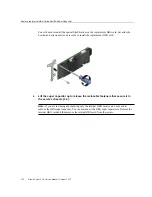
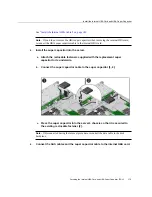
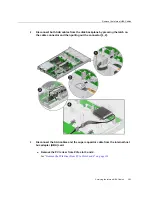
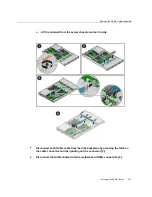
(Optional) Disconnect the data cable from the disk backplane to allow easy access to the
super capacitor.
6.
Disconnect the super capacitor cable from the super capacitor and place the
super capacitor on an antistatic mat [2].
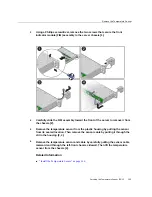
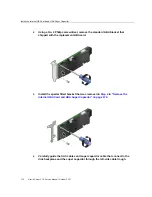
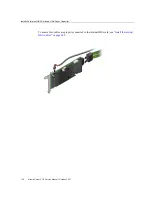
7.
Carefully remove the SAS cables and super capacitor cable from the server by
lifting them from the left-side cable trough.
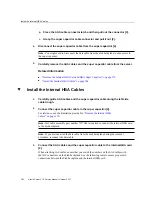
“Remove the Internal HBA Cables” on page 179
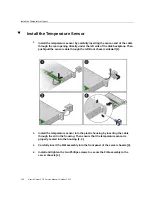
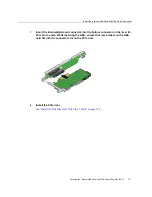
Install the Internal HBA Card and HBA Super Capacitor
1.
Unpack the replacement host bus adapter (HBA) card, the SAS cables, super
capacitor, and the super capacitor cable, and retrieve the PCIe riser for slot 3.
Servicing the Internal HBA Card and HBA Super Capacitor (FRU)
173
Summary of Contents for X7-2
Page 1: ...Oracle Server X7 2 Service Manual Part No E72445 03 October 2017 ...
Page 2: ......
Page 14: ...14 Oracle Server X7 2 Service Manual October 2017 ...
Page 86: ...86 Oracle Server X7 2 Service Manual October 2017 ...
Page 96: ...96 Oracle Server X7 2 Service Manual October 2017 ...
Page 110: ...110 Oracle Server X7 2 Service Manual October 2017 ...
Page 136: ...136 Oracle Server X7 2 Service Manual October 2017 ...
Page 150: ...150 Oracle Server X7 2 Service Manual October 2017 ...
Page 162: ...162 Oracle Server X7 2 Service Manual October 2017 ...
Page 168: ...168 Oracle Server X7 2 Service Manual October 2017 ...
Page 178: ...178 Oracle Server X7 2 Service Manual October 2017 ...
Page 184: ...184 Oracle Server X7 2 Service Manual October 2017 ...
Page 192: ...192 Oracle Server X7 2 Service Manual October 2017 ...
Page 216: ...216 Oracle Server X7 2 Service Manual October 2017 ...
Page 252: ...252 Oracle Server X7 2 Service Manual October 2017 ...
Page 282: ...282 Oracle Server X7 2 Service Manual October 2017 ...
Page 306: ...306 Oracle Server X7 2 Service Manual October 2017 ...


