3-8
Basic Operation
6
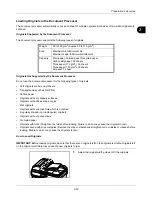
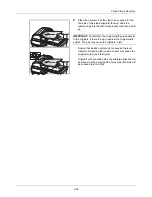
Remove the finished copies from the inner tray.
Adjusting Density
Use this procedure to adjust the density when copying.
NOTE:
You may choose Auto mode as the default setting (refer to
Density on page 8-46
).
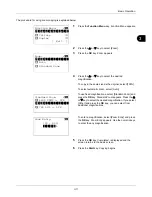
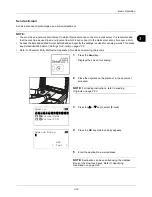
The procedure for adjusting the density of copies is explained below.
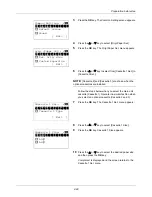
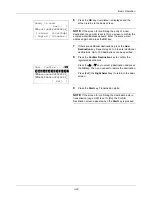
1
Press the
Function Menu
key. Function Menu appears.
2
Press the
U
or
V
key to select [Density].
3
Press the
OK
key. Density appears.
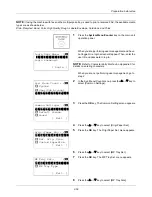
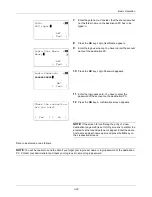
4
Press the
U
or
V
key to select [Auto] or [Manual].
5
Press the
OK
key.
When [Manual] is selected, Manual appears. Press the
U
or
V
key to select your desired density and then press
the
OK
key.
Completed.
is displayed and the screen returns to the
basic screen.
6
Press the
Start
key. Copying begins.
Density Adjustment Option
Description
Manual
Adjust density using 7 levels.
Auto
Optimum density is selected according
to the density of the original.
Function Menu:
a
b
*********************
2
Collate
T
3
Duplex
T
[ Exit
]
1
Paper Selection
T
Density:
a
b
1
Auto
*********************
2
*Manual
Manual:
a
b
3
v
Lighter -1
*********************
5
y
Darker
+1
4
w
Normal
0
Summary of Contents for d-COPIA3003MF
Page 21: ...xviii...
Page 119: ...3 30 Basic Operation...
Page 137: ...4 18 Copying Functions...
Page 161: ...5 24 Sending Functions...
Page 173: ...6 12 Document Box...
Page 343: ...8 150 Default Setting System Menu...
Page 405: ...11 38 Management...
Page 431: ...Appendix 26...
Page 437: ...Index 6 Index Index...
Page 439: ......
Page 440: ...First edition 2011 12 2MHLVEN000...

