5-10
Sending Functions
Original Image
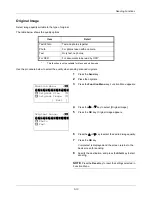
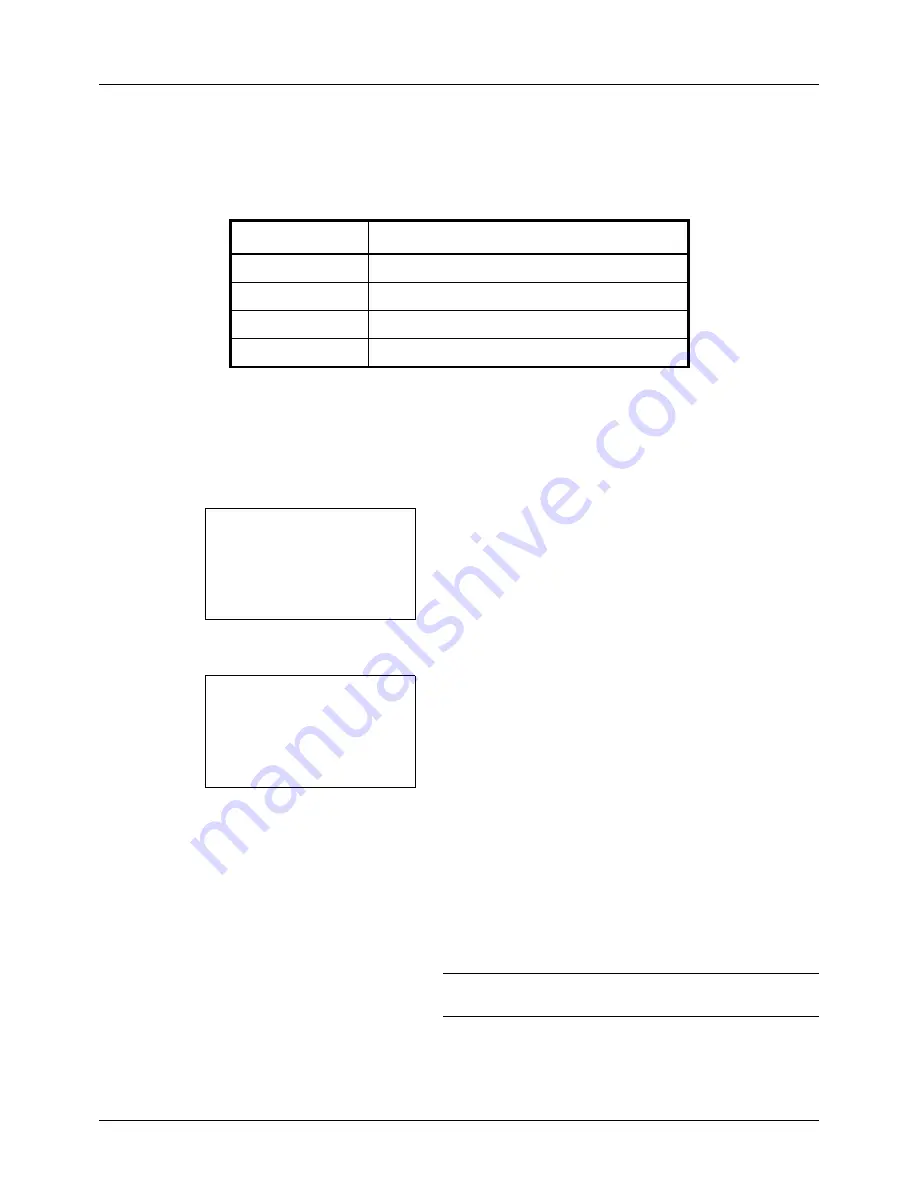
Select image quality suitable to the type of original.
The table below shows the quality options.
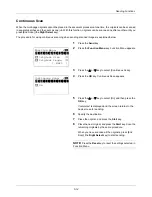
Use the procedure below to select the quality when sending scanned originals.
1
Press the
Send
key.
2
Place the originals.
3
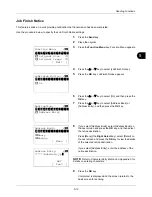
Press the
Function Menu
key. Function Menu appears.
4
Press the
U
or
V
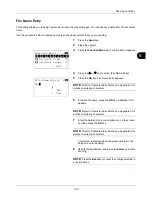
key to select [Original Image].
5
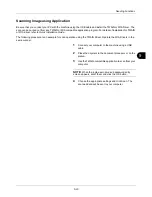
Press the
OK
key. Original Image appears.
6
Press the
U
or
V
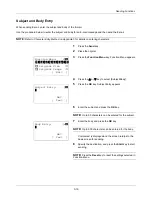
key to select the desired image quality.
7
Press the
OK
key.
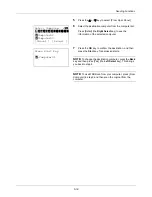
Completed.
is displayed and the screen returns to the
basic screen for sending.
8
Specify the destination, and press the
Start
key to start
sending.
NOTE:
Press the
Reset
key to reset the settings selected in
Function Menu.
Item
Detail
Text+Photo
Text and photos together.
Photo
For photos taken with a camera.
Text
Only text, no photos.
For OCR
For documents to be read by OCR*.
*
This function is only available for black and white mode.
Function Menu:
a
b
*********************
2
Original Size
T
3
Original Image
T
[ Exit
]
1
Color Selection
T
Original Image:
a
b
*********************
2
Photo
3
Text
1
*Text+Photo
Summary of Contents for d-COPIA3003MF
Page 21: ...xviii...
Page 119: ...3 30 Basic Operation...
Page 137: ...4 18 Copying Functions...
Page 161: ...5 24 Sending Functions...
Page 173: ...6 12 Document Box...
Page 343: ...8 150 Default Setting System Menu...
Page 405: ...11 38 Management...
Page 431: ...Appendix 26...
Page 437: ...Index 6 Index Index...
Page 439: ......
Page 440: ...First edition 2011 12 2MHLVEN000...

