FAX Operation (Advanced)
4-44
OPERATION GUIDE
5
To use sub addresses, press [
], [Sub Address],
and then [On].
6
Press [Sub Address] and enter the sub address
using the numeric keys.
NOTE:
You can use up to 20 digits including the
numbers from 0 to 9, ‘ (space)’, ‘#’ and ‘*’ characters to
enter a sub address.
7
To set the password, press [Password] and enter
the password using the numeric keys.
NOTE:
If a password has been entered, you can only
send faxes if you enter a matching password.
You can use up to 20 digits including the numbers from
0 to 9, ‘ (space)’, ‘#’ and ‘*’ characters to enter a sub
address password. When the machine receives
originals, a sub address password is not used.
8
Press [OK].
9
Press the
Start
key. The originals are scanned and
stored in the Polling box.
NOTE:
You can see a preview of the image to be
stored by pressing [Preview]. For details, refer to
Previewing Images on page 3-34
.
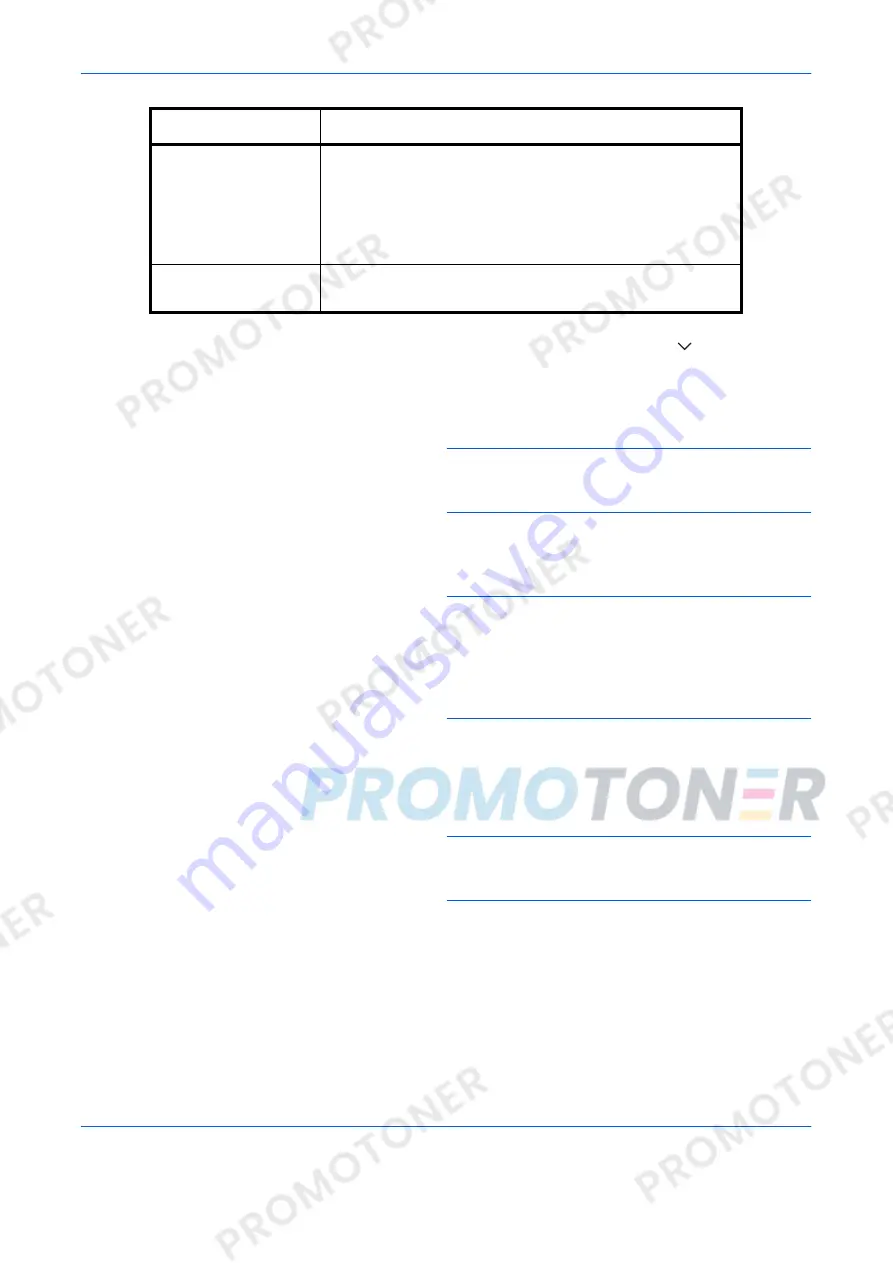
Centering
When you have scanned the original after specifying the
original size and sending size, depending on these sizes, a
margin is created at the bottom, left, or right side of paper.
By using the centering, the image is placed with a margin
equally created at each of the page Top/Bottom and Left/
Right.
Job Finish Notice
Sends a notice by an e-mail when a transmission is
complete.
Function
Description
Summary of Contents for d-Copia 4200MF
Page 1: ...FAX SYSTEM S 556105en GB d Copia 5200MF d Copia 4200MF...
Page 22: ...Part Names and Functions 1 6 OPERATION GUIDE...
Page 28: ...Preparation Before Use 2 6 OPERATION GUIDE...
Page 64: ...FAX Operation Basic 3 36 OPERATION GUIDE...
Page 134: ...Checking Transmission Results and Registration Status 5 12 OPERATION GUIDE...
Page 166: ...Setup and Registration 6 32 OPERATION GUIDE...
Page 214: ...Appendix 20 OPERATION GUIDE...


