6
6-3
Document Box
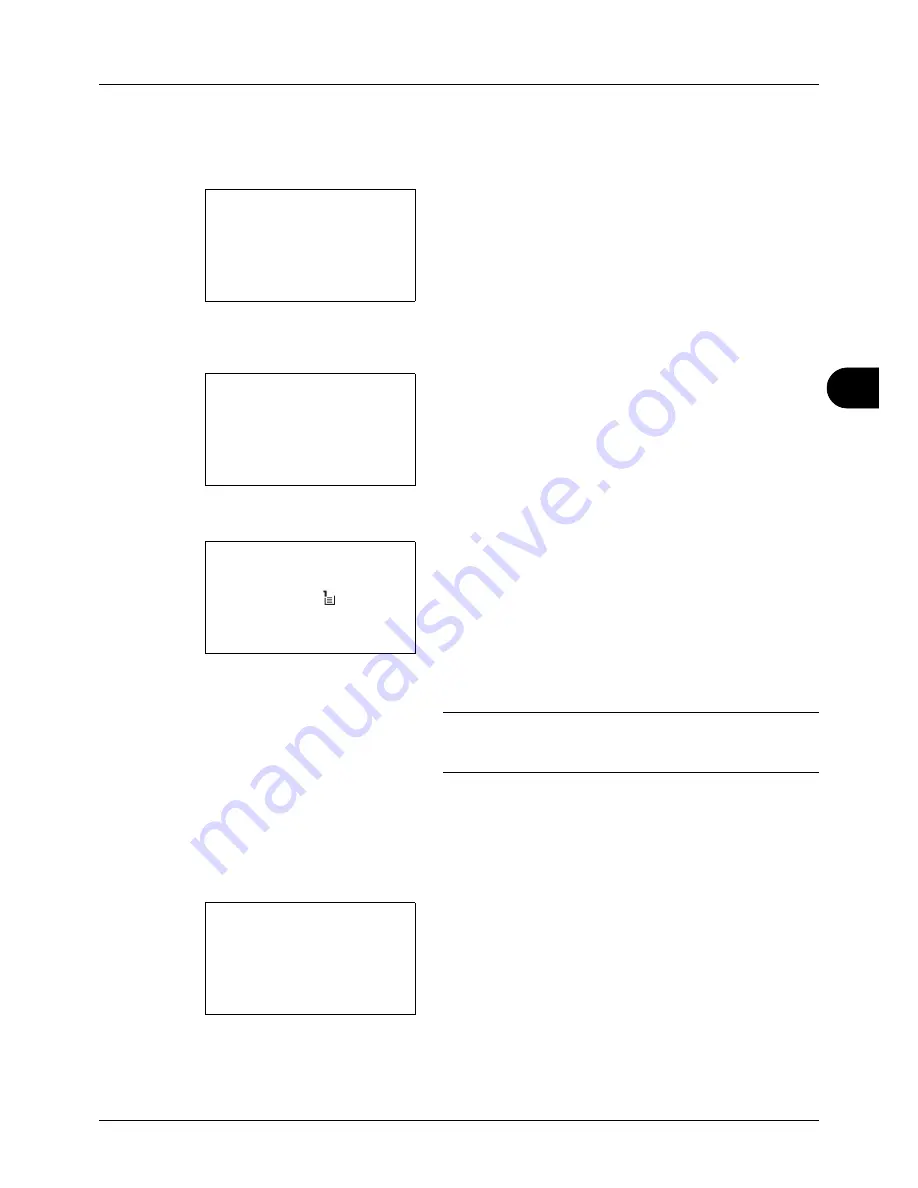
Select a folder and press the
OK
key to view the files in
the folder. Documents in the top 3 folder levels including
the root directory can be viewed.
6
Press [Select] (the
Right Select
key). The selected file
name is indicated by a checkmark next to it.
When you want to print additional files, repeat steps 5 to
6 to select them.
7
Press the
OK
key. A menu appears.
8
Press the
or
key to select [Print].
9
Press the
OK
key. The basic screen appears. Change
the number of copies, 1-sided/2-sided printing, etc., as
necessary. For changing print settings, refer to
Copying on page 3-7
and
Copying Functions on page 4-
1
.
10
Press the
Start
key. Printing of the selected file begins.
IMPORTANT:
When removing the USB memory, ensure that
you use the correct removal procedure, as described in
Removing USB Memory on page 6-7
.
JPEG/TIFF Print
Sets the print mode for JPEG/TIFF files. The default setting is Paper Size.
1
Follow steps 1 to 9 of
Printing on page 6-2
.
2
Press the
Function Menu
key. Function Menu appears.
3
Press the
or
key to select [JPEG/TIFF Print].
USB Memory:
a
b
N
Store File
i
Folder-1
*********************
[ Menu
] [ Select ]
j
File-1
g
USB Memory:
a
b
*********************
2
Delete
1
Ready to print.
Copies: 1
A4
q
s
A4
a
1-Sided
[ Duplex ] [ Paper
]
Function Menu:
a
b
*********************
2
Paper Selection
T
3
Duplex
T
[ Exit
]
1
Collate
T
Summary of Contents for d-COPIA 3013MF
Page 98: ...Preparation before Use 2 62 ...
Page 128: ...3 30 Basic Operation ...
Page 148: ...4 20 Copying Functions ...
Page 174: ...5 26 Sending Functions ...
Page 186: ...6 12 Document Box ...
Page 208: ...7 22 Status Job Cancel ...
Page 386: ...8 178 Default Setting System Menu ...
Page 474: ...Appendix 26 ...
Page 481: ......


