Creating a desktop shortcut
1.
Display the desktop.
2.
Click the right mouse button to display the shortcut menu.
3.
Select 'New' and then, select 'Job submitIT shortcut' .
4.
Follow the instructions in the shortcut wizard to define the print settings and the procedure
you want to follow before you print a job.
How to change the shortcut properties
1.
Display the desktop.
2.
Click the right mouse button on the shortcut to display the shortcut menu.
3.
Select 'Properties'.
4.
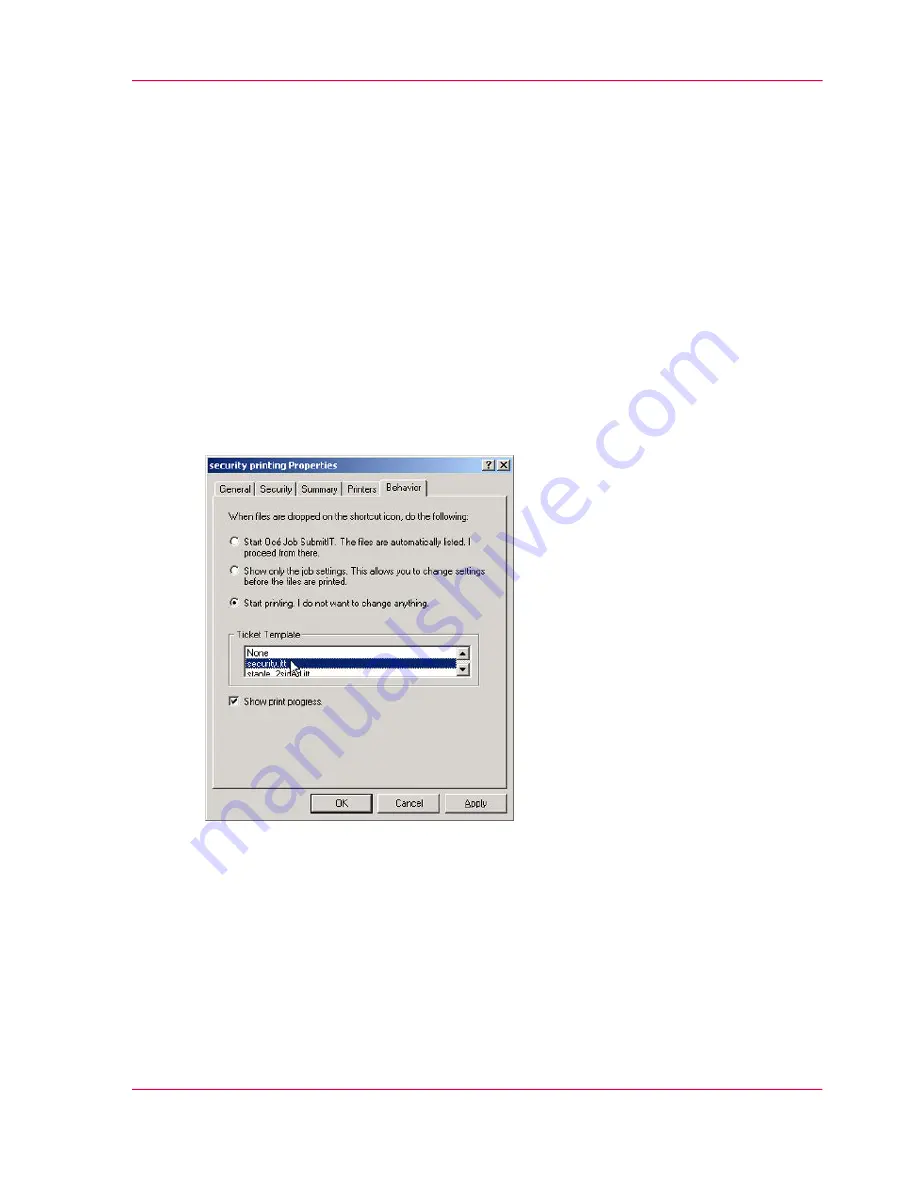
Change the settings in the 'Properties' dialog box.
[57] Change the settings of the Océ Job SubmitIT shortcut
How to print a job through a shortcut
1.
Open Windows Explorer.
2.
Select the print files in Windows Explorer.
3.
Make sure that both the shortcut icon and the selected print files are visible.
4.
Drag and drop the print files on the shortcut icon.
Chapter 2 - The Print Function
89
Create and Use Desktop Shortcuts
Summary of Contents for VarioPrint 2070
Page 1: ...Océ VarioPrint 2070 Prémia Class Print copy and scan jobs Océ User manual ...
Page 8: ...8 Contents ...
Page 9: ...Chapter 1 Introduction ...
Page 37: ...Chapter 2 The Print Function ...
Page 102: ...Chapter 2 The Print Function 102 Assign a print job to a user ...
Page 103: ...Chapter 3 The Copy Function ...
Page 147: ...Chapter 4 The Scan Function ...
Page 176: ...Chapter 4 The Scan Function 176 Stop or correct a scan job ...
Page 177: ...Chapter 5 Maintenance ...
Page 185: ...Chapter 6 Errors ...
Page 189: ...Appendix A Overview and Tables ...
Page 197: ...Appendix B Safety Information ...
Page 206: ...Appendix B Safety Information 206 Safety Data Sheets ...
Page 207: ...Appendix C Miscellaneous ...


