2 SafeCom Controller
D60700-07
24
2.6.4
SafeCom MFP Cable Konica Minolta
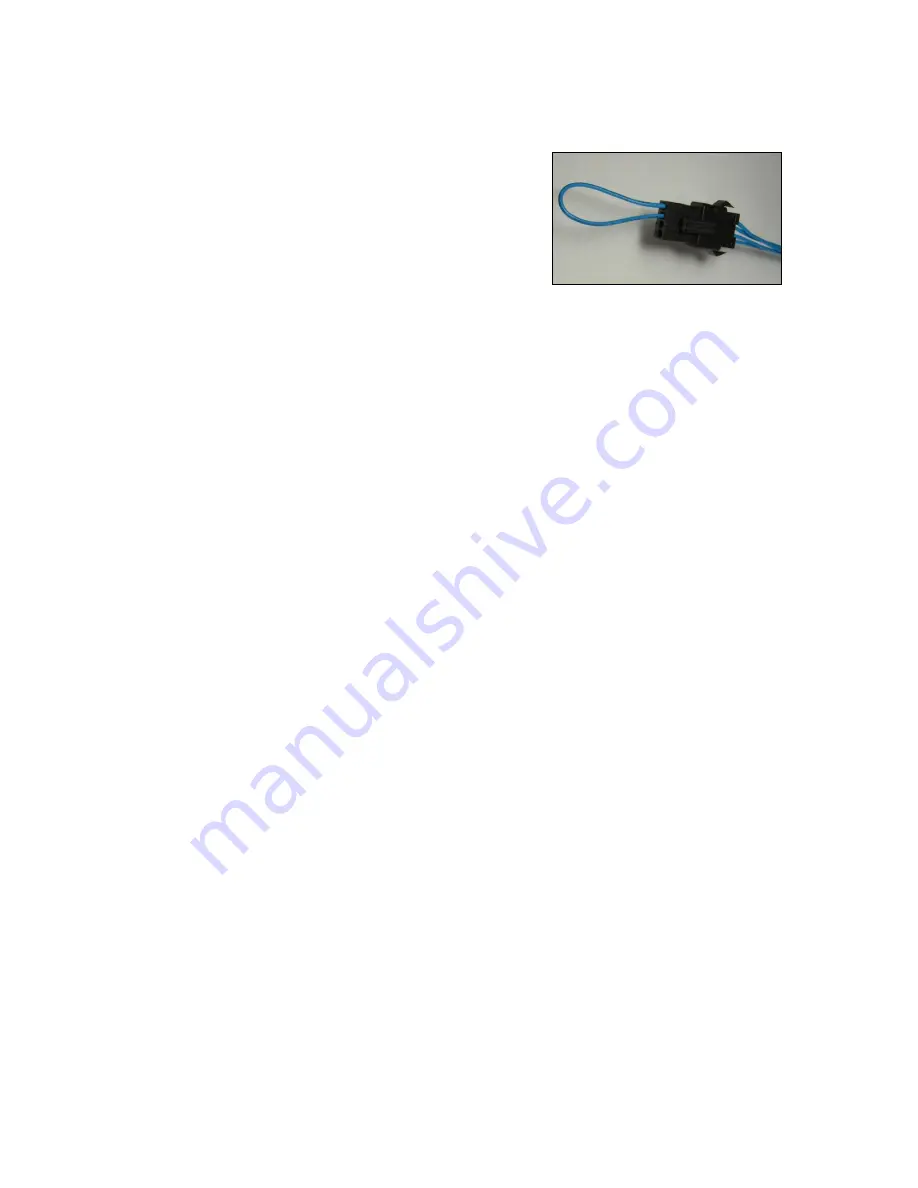
Locate the MFP’s FIH connector inside the MFP.
Remove the male connector with the two wires
and connect the equivalent black connector
from the supplied SafeCom MFP cable.
1.
On the MFP’s control panel press
COPY
.
2.
Press
HELP
.
3.
Touch
Key Ope mode
.
4.
Touch
3. Scanner
.
5.
Touch
1. Initial Setting
.
6.
Scroll to
SCAN W/O key count
and touch
EDIT
to change this setting to
Not valid
.
7.
Touch
RETURN
.
8.
Touch
RETURN
.
9.
Touch
RETURN
.
1.
Set Dipswitch 01-0 to OFF (0) so that the operation of the key counter
removal is the same as the stop key, instead of immediate stop (jam).
2.
Please ensure that printing is possible without key counter.
Note:
On the SafeCom Controller’s
Printer
web page (2.7.4) you need to set
Printer Manufacturer
to
OCE
. If you try to make copies without being logged
in via SafeCom, the MFP’s control panel displays
Please insert key counter
.
2.6.5
SafeCom MFP Cable Kyocera Mita
1.
Remove the MFP’s rear cover.
2.
Locate the 4-pin connector of the MFP’s key counter wire at the top left
corner inside the printer. The connector’s 4 wires are colored blue,
yellow, red and turquoise.
3.
Connect the SafeCom MFP Cable’s white connector to the MFP’s FIH
connector.
4.
Mount the MFP’s rear cover back on.
5.
On the MFP’ control panel press the
COPY
button. Enter the 8-digit code
to bring the MFP into maintenance mode.
6.
Enter the maintenance number
204
and press
Start
to set key-card/key-
counter.
7.
Touch
KEY-COUNTER
and press
Start.
8.
Enter the maintenance number
001
and press
Start
to return to normal
copy mode.
Note:
On the SafeCom Controller’s
Printer
web page (2.7.4) you need to set
Printer Manufacturer
to
KYOCERA
. If you try to make copies without being
logged in via SafeCom, the MFP’s control panel displays
Insert key counter
.


