suitable for Consumer Audio Equipment such as Cassette decks etc. (-10dB) In the + 25 position the sensitivity is suitable for gui-
tars etc. (-25dB) In the +55 position the sensitivity is suitable for Microphones etc. (-55dB) These settings may vary from equip-
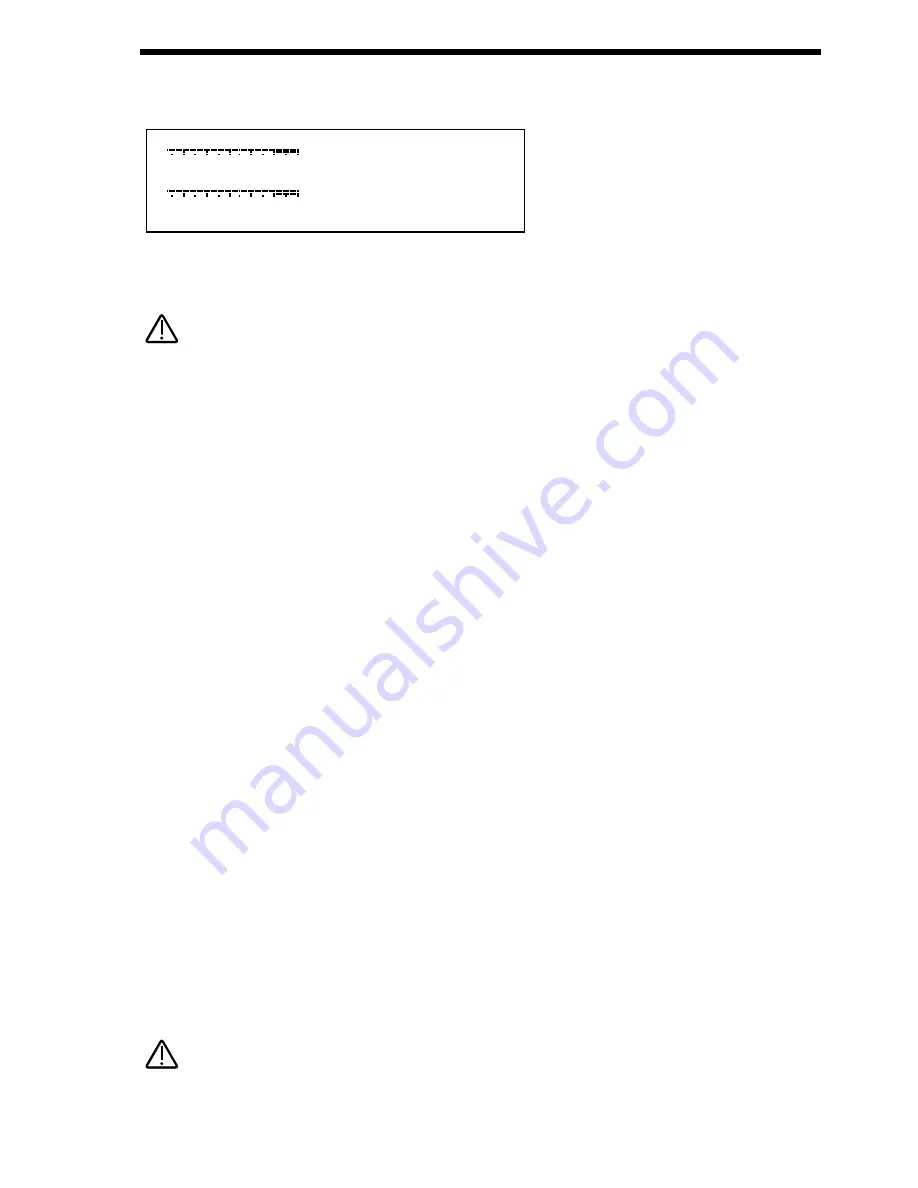
ment to equipment. To set this correctly press the menu button in the Input section & go to page 1. The display looks like so:
In this page meters are available showing the level of incoming signals on the 2 Inputs. The 2 Data knobs access "Gain" controls
allowing -8dBm attenuation ( a signal of =8dbm will clip ) to +60dBm of boost or gain to the signal. When the meters reach the
highest segment of the display the signal is clipping. Set the "Gain" controls to get the loudest possible signal without clipping.
The "Gain" can be set individually for each channel.
The Inputs on the Supernova II Rack can be used in 3 different ways, Firstly an Input can be used to "Tack on" to an effects chain
in a Program or to the Effects chain of a Part of a Performance. Secondly as waveform that con be processed by the Filter, LFOs,
ENVs & in turn the Effects. Thirdly as a Modulator or Carrier in a Vocoder setup. Lets look at these individually.
Setting the Inputs to be routed to the effects.
Set up the Input sensitivity with the “Gain”parameters as shown above. To connect an Input to an effects chain in Program or
Performance mode simply press the menu button in the Effects section. Go to page 7 of the Effects sections Special menu & set
the "Pass to effects:" parameter to either Input 1 or 2 or Program & Input 1 or 2. Input 1 or 2 settings mean only the selected Input
goes to the effects on the selected Program or Part & the sound assigned to the Program or Part is mute. Program & Input 1 or 2
settings mean that the selected Input & the sound assigned to the Program or Part go the effects. Remember there are 7 effects
available in each program or Part so a lot of effects processing can be used on the Inputs. Additionally in a Performance the output
of the effects can be routed to different output pairs allowing separate returns to be realised. To do this select the Part of the
Performance you wish to re-route & set the Part outputs parameter on page 1 of the Output menu in the Part edit section to the
output pair you require.
Passing an Input signal through the Filter & effects.
Passing loops & other signals through Filters has become popular over the last couple of years & the Supernova II Rack allows
either Input to be processed in this way. Set up the Input sensitivity with the “Gain”parameters as shown above. Simply selecting
the Program D125 Input/sw1 Program will assign Input one to an Oscillator & will therefore pass this signal through the Filter.
Additionally this Program also uses the “Constant Gate” parameter meaning no MIDI event is required to trigger the envelopes.
Alternatively you can set up your own Program.
To set this up it is necessary create a Program that is set up so that an Oscillator waveform is substituted with an Input signal & to
supply a MIDI note to “trigger” the Envelopes ( the Amp Envelope in particular ) or set the Constant gate parameter to On so that
you can hear the signal.
The best thing to do is to use B127 Init Prog as a starting point from which to create an “Input” Program. Select Prog B127 Init
Prog. Select Oscillator 1 & then press the Mix button ( so that it is lit ) in the Oscillator Mod Matrix.
Turn the Level knob in the Oscillator Mod Matrix fully clockwise to a value of 127. ( This turns Osc 1 up to a volume of 127 )
Select Oscillator 2 & then press the Mix button ( so that it is lit ) in the Oscillator Mod Matrix.
Turn the Level knob in the Oscillator Mod Matrix fully anticlockwise to a value of 000. ( This turns Osc 2 down to a volume of 000 )
Select Oscillator 3 & then press the Mix button ( so that it is lit ) in the Oscillator Mod Matrix.
Turn the Level knob in the Oscillator Mod Matrix fully anticlockwise to a value of 000. ( This turns Osc 3 down to a volume of 000 )
Now the only audible Oscillator should be Oscillator 1.
Select Oscillator 1 & then press the Special waveform button. Use the lower fast data knob to select the desired Input.
Now when pressing a note on the Supernova II Rack the Input signal should be heard.
If no signal is present on the Input no sound will be heard.
NOTE:
NOTE:
NOTE:
NOTE:
Gain 1 +OO
Gain 2 +OO
INPUTS SECTION
61
Summary of Contents for Supernova II
Page 145: ...145 NOTES...


