Chapter 20 — Meridian Mail Compact Option installation and maintenance
Page 239 of 536
Option 11C Compact
Planning, Installation, Fault Clearing and CCBR Guide
3
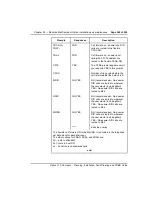
When you select your ACDDN and press <Return>, the table will
change to display your changes, as in the following example.
Result Notice that one more Vb port has been added at port 3.
4
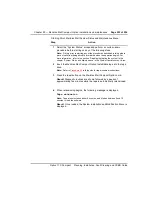
Select DetailedDisplay, then press <Return>.
Note:
You are asked to provide node ranges and location ranges to view the
hardware locations on a particular node or range of nodes.
Result The following example shows that node 1 (only one node can
be specified for Meridian Mail Compact Option) and locations 1 to 8
have been specified.
Step
Action
Summary of Contents for Meridian Meridian 1
Page 3: ...553 3121 210 Standard 3 0 January 1999 ...
Page 17: ...xiv Contents 553 3121 210 Standard 3 0 January 1999 ...
Page 97: ...Page 78 of 536 Chapter 8 Installing a new system 553 3121 210 Standard 3 0 January 1999 ...
Page 107: ...Page 88 of 536 Chapter 10 Installing the system ground 553 3121 210 Standard 3 0 January 1999 ...
Page 113: ...Page 94 of 536 Chapter 11 Installing the power supply 553 3121 210 Standard 3 0 January 1999 ...
Page 125: ...Page 106 of 536 Chapter 12 Adding an expansion cabinet 553 3121 210 Standard 3 0 January 1999 ...
Page 209: ...Page 190 of 536 Chapter 18 Connecting the trunks 553 3121 210 Standard 3 0 January 1999 ...
Page 323: ...Page 304 of 536 Chapter 21 Installing Hospitality 553 3121 210 Standard 3 0 January 1999 ...
Page 419: ...Page 400 of 536 Chapter 23 Pre programmed data 553 3121 210 Standard 3 0 January 1999 ...
Page 555: ...Page 536 of 536 Chapter 25 Fault locating and clearing 553 3121 210 Standard 3 0 January 1999 ...


