Web Graphical User In-
terface (GUI) for ESMS
171
- Time Out, and
- Up to three Domain Controller Server Addresses.
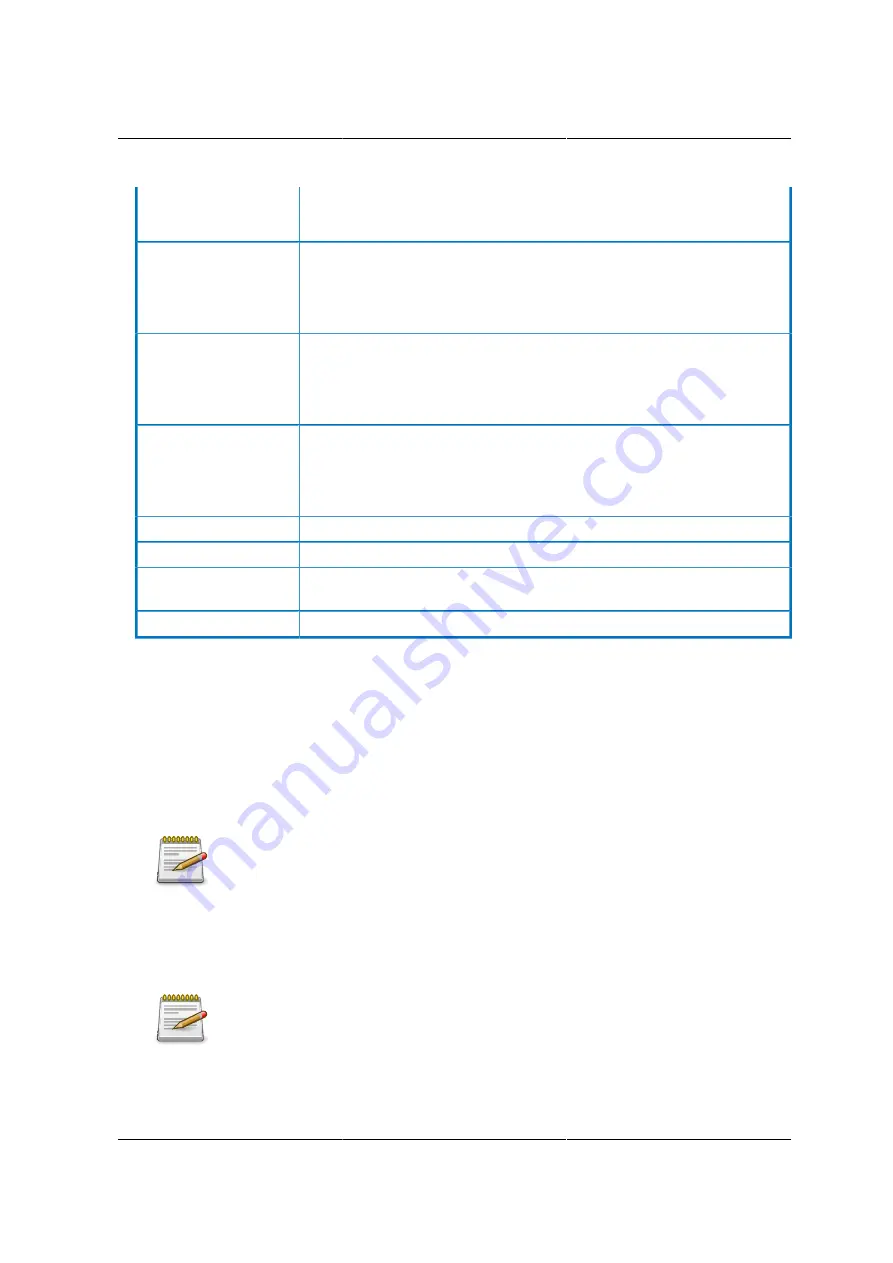
Role Group ID
The name that identifies the role group in the Active Directory.
- Role Group Name is a string of 255 alpha- numeric characters.
- Special symbols hyphen and underscore are allowed.
Group Name
This name identifies the role group in Active Directory.
- Role Group Name is a string of 255 alphanumeric characters.
- Special symbols hyphen and underscore are allowed.
Group Domain
The domain where the role group is located. NOTE: Rules
-Domain Name is a string of 255 alphanumeric characters.
-Special symbols hyphen, underscore and dot are allowed.
Group Privilege
The level of privilege to assign to this role group.
Add Role Group
To add a new role group to the device.
Modify role Group
To modify that role group. Alternatively, double click on the configured
slot.
Delete Role Group
To delete an existing Role Group.
Procedure:
Entering the details in Advanced Active Directory Settings Page
1. Click on
Advanced Settings
to open the Advanced Active Directory Settings Page.
2. In the Active Directory Settings Page, enter the following details.
3.
Active Directory Authentication
: To enable/disable Active Directory, check or uncheck the
Enable checkbox respectively.
If you have enabled
Active Directory Authentication
, enter the required informa-
tion to access the Active Directory server.
4. Specify the Domain Name for the user in the
User Domain Name
field. e.g. MyDomain.com
5. Specify the time (in seconds) to wait for Active Directory queries to complete in the
Time Out
field.
Rules
• Default Time out value: 120 seconds.
• Range from 15 to 300 allowed.
Summary of Contents for Demos R130 M2
Page 1: ...Netberg Demos R130 M2 server...
Page 2: ...Netberg Demos R130 M2 server...
Page 11: ...Netberg Demos R130 M2 server xi 9 5 Aligning the Rails 222...
Page 14: ...1 Chapter 1 Netberg Demos R130 M2 server...
Page 31: ...Netberg Demos R130 M2 server 18 On HDD failure HDD Fault Amber Off No failure detected...
Page 32: ...19 Chapter 2 Installing hardware...
Page 57: ...Installing hardware 44 Figure 2 36 Installing the Air Duct...
Page 60: ...Installing hardware 47 Figure 2 40 Connecting the Fan Assembly Cables...
Page 143: ...130 Chapter 6 Server Management Software...
Page 169: ...156 Chapter 8 Web Graphical User Interface GUI for ESMS...
Page 230: ...217 Chapter 9 Rail Kit Assembly...
Page 236: ...223 Chapter 10 Troubleshooting...


