28
4. Press
Save
to save the job with the entered settings under the specified job number
and name.
To name a job, see 4.2.6 ”Job Name” on page 26.
5. Press the
1x
button to verify that the insert position and address position are correct
(see 7.3.1 ”Insert Position” on page 49 and “Address Position” on page 49).
4.4
Copy a Job
To copy existing job settings to a new job:
1. Press the
Supervisor menu
button from the
main menu.
2. Enter the pin code 2546.
3. Press the
Job menu
button.
The ‘job menu’ opens.
4. Press the
Copy job
button.
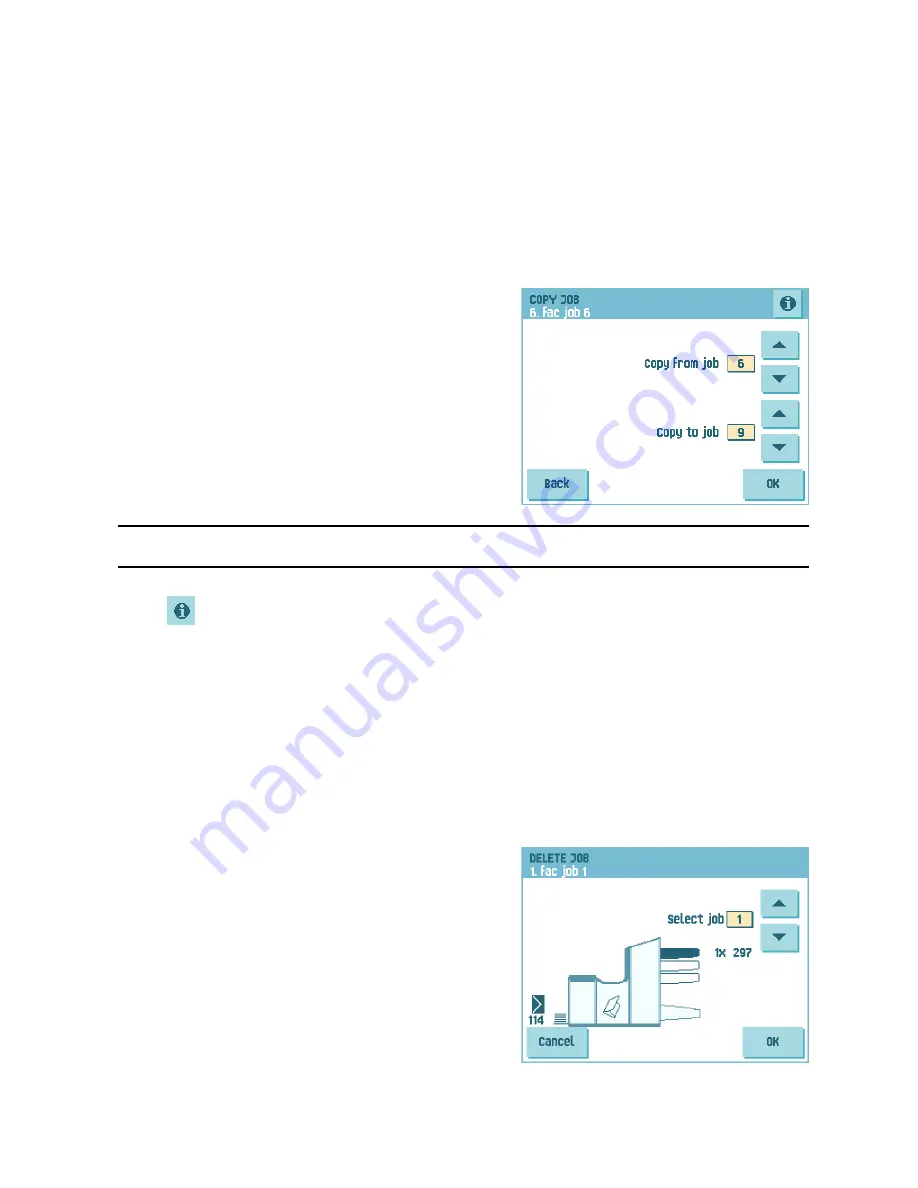
The ‘copy job’ menu appears.
5. Press the arrows if you want to select an other
job number to copy from or to copy to.
Note
You can only copy job settings to new jobs.
6. Press
for details of the job to copy from.
7. Press
OK
to copy the job settings.
If all jobs are programmed the touch screen shows “No more free jobs”.
It is possible to copy an Automatic job into a job. Before an Automatic job can be copied,
it has to be defined successfully (see 3.8 ”Using an Automatic Job (Fill & Start)” on page
18).
4.5
Delete a Job
To delete an existing job:
1. Press the
Supervisor menu
button from the
main menu.
2. Enter the pin code 2546.
3. Press the
Job menu
button.
The ‘job menu’ opens.
4. Press the
Delete job
button.
The ‘delete job’ menu appears.
5. Select a job number and press
OK
. The job will
be deleted without a warning.


