17
ENGLIS
H
5. Shift envelope support B in or out, so that the
top side of the envelope lies against the dotted
line on the support.
6. Turn envelope support B so the weight of the
envelopes is distributed evenly on both sides.
3.6
Filling the Sealing Liquid
Reservoir
When you want to seal envelopes, the sealing liquid
reservoir must be filled.
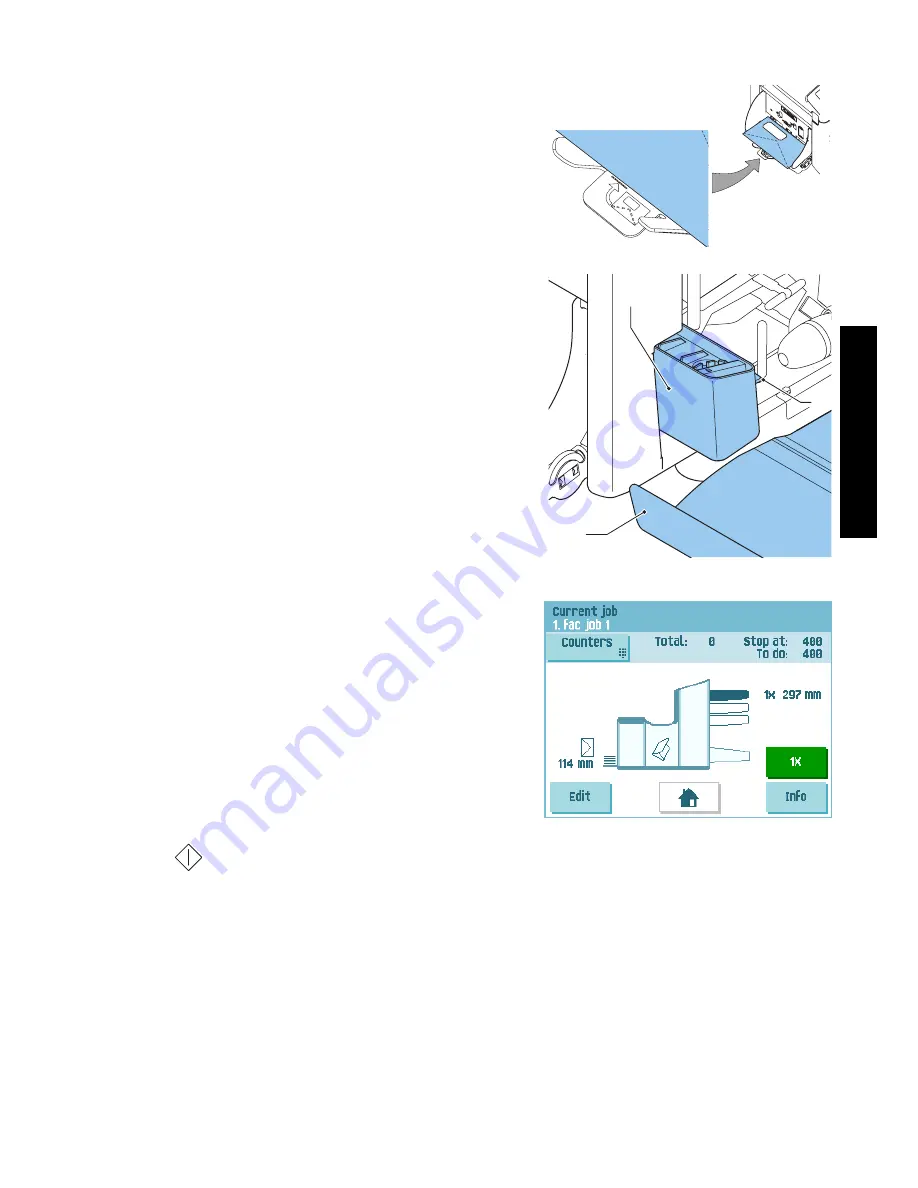
1. Open the front cover A.
2. Fill the reservoir B up to lip C with sealing liquid.
3. Close the front cover A.
Before you start the job, wait approximately 5
minutes for the brushes to moisten.
If the liquid reservoir is almost empty the
touchscreen shows a message to warn you that you
should refill the reservoir.
3.7
Run a Job
To run a job:
1. From the ‘home’ menu select a job.
If you press the
OK
button, the job information
appears (see “Job Description” on page 8).
2. Load envelopes as specified in the job. Press the
Info
button for details.
3. Load the documents face up and leading, as
specified in the job. Press the
Info
button for
details.
Place the address carrier in the upper feeder.
4. Press the
1x
button to start a test run or press
the
button to start the job.
If you press the
1x
test button, the screen shows questions that help you to solve any
problems on mail set quality. If necessary this troubleshooting wizard helps you to:
-
adjust envelope position (see 7.3.1 ”Insert Position” on page 49)
-
adjust finger position (see 7.3.2 ”Envelope Insert Fingers” on page 49)
-
adjust address position (see 7.3.3 ”Address Position” on page 49)
A
C
B


